Discover the step-by-step process of sanding and refurbishing your stairs, as well as installing carpet stair treads for an easy diy stair remodel.
Easy DIY Stair Remodel
Learn how to easily transform your old wooden stairs into a beautiful focal point in your home with this easy DIY stair remodel guide. Discover the step-by-step process of sanding and refurbishing your stairs, as well as installing carpet stair treads for a stylish and functional finish. Whether you’re a seasoned DIY enthusiast or a beginner, this article has everything you need to give your stairs a stunning makeover.
Introduction to DIY Stair Remodeling
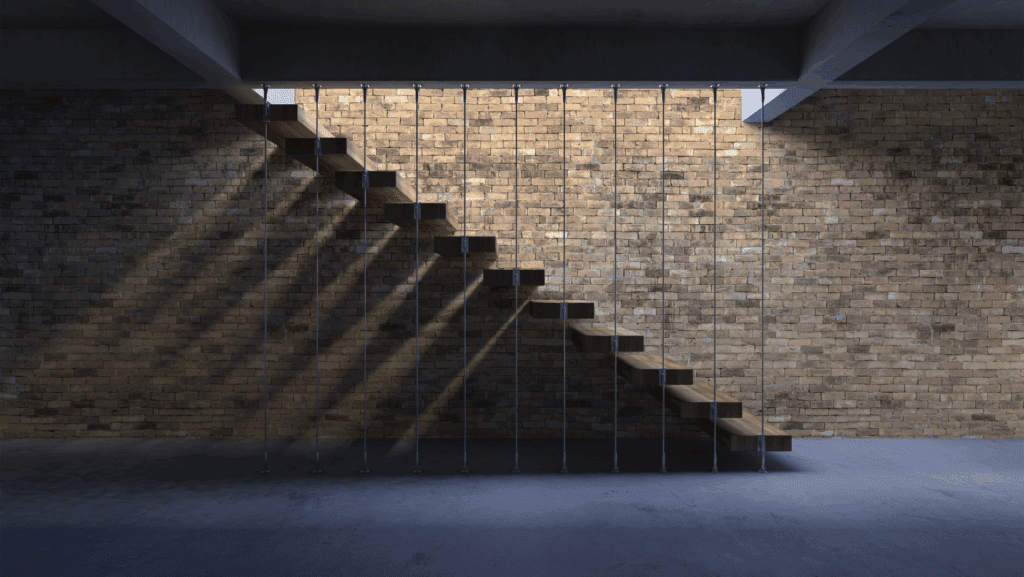
Are your old wooden stairs in need of a makeover? Transforming your stairs can breathe new life into your home and create a stunning focal point. A diy stair railing remodel is a great addition. With a DIY stair remodel, you can achieve a stylish and functional upgrade without breaking the bank. In this article, we will guide you through the step-by-step process of sanding and refurbishing your stairs, as well as installing carpet stair treads for a polished finish. Whether you’re a seasoned DIY enthusiast or a beginner, this guide has everything you need to give your stairs a stunning makeover.
Importance of Stair Remodel
A well designed staircase can have add drastic overall aesthetic appeal of your living space. A stair remodel can also increase the value of your home, making it a worthwhile investment for both your enjoyment and potential resale value.
Benefits of DIY Approach
Taking a do-it-yourself approach to stair remodeling offers several advantages. Not only can it save you money on labor costs, but it also allows you to customize the design to suit your personal style. Additionally, the sense of accomplishment that comes from completing a DIY project is incredibly rewarding.
Assessing Your Stairs for Remodeling
In order to know how to diy stair remodel, you must first assess the condition of your stairs and identify any necessary repairs or enhancements.
Checking for Structural Integrity
Start by examining the structural integrity of your stairs. Look for any signs of damage, such as loose or creaking steps, wobbly handrails, or cracks in the wood. Addressing these issues early on will ensure that your remodel is built on a solid foundation.
Identifying the Type of Wood
Identifying the type of wood used for your stairs is crucial for selecting the right sanding and refinishing techniques. Different wood species may require specific treatments to achieve the desired look.
Sanding and Refurbishing Your Stairs
Once you’ve assessed the condition of your stairs, it’s time to roll up your sleeves and start the sanding and refurbishing process.
Tools and Materials Needed
Gather the necessary tools and materials for sanding and refurbishing, including sandpaper, wood filler, a sander, a vacuum or brush for cleaning, and protective gear such as goggles and a mask.
Step-by-step Sanding Process
Begin by removing any existing finish or paint from the stairs using a sander and coarse-grit sandpaper. Gradually progress to finer grits for a smooth finish. Be sure to sand in the direction of the wood grain for the best results.
Refurbishing and Repairing Any Damages
Inspect the stairs for any dents, scratches, or gouges. Apply wood filler to these areas, then sand them smooth once the filler has dried. This step will ensure that your stairs look flawless after refinishing.
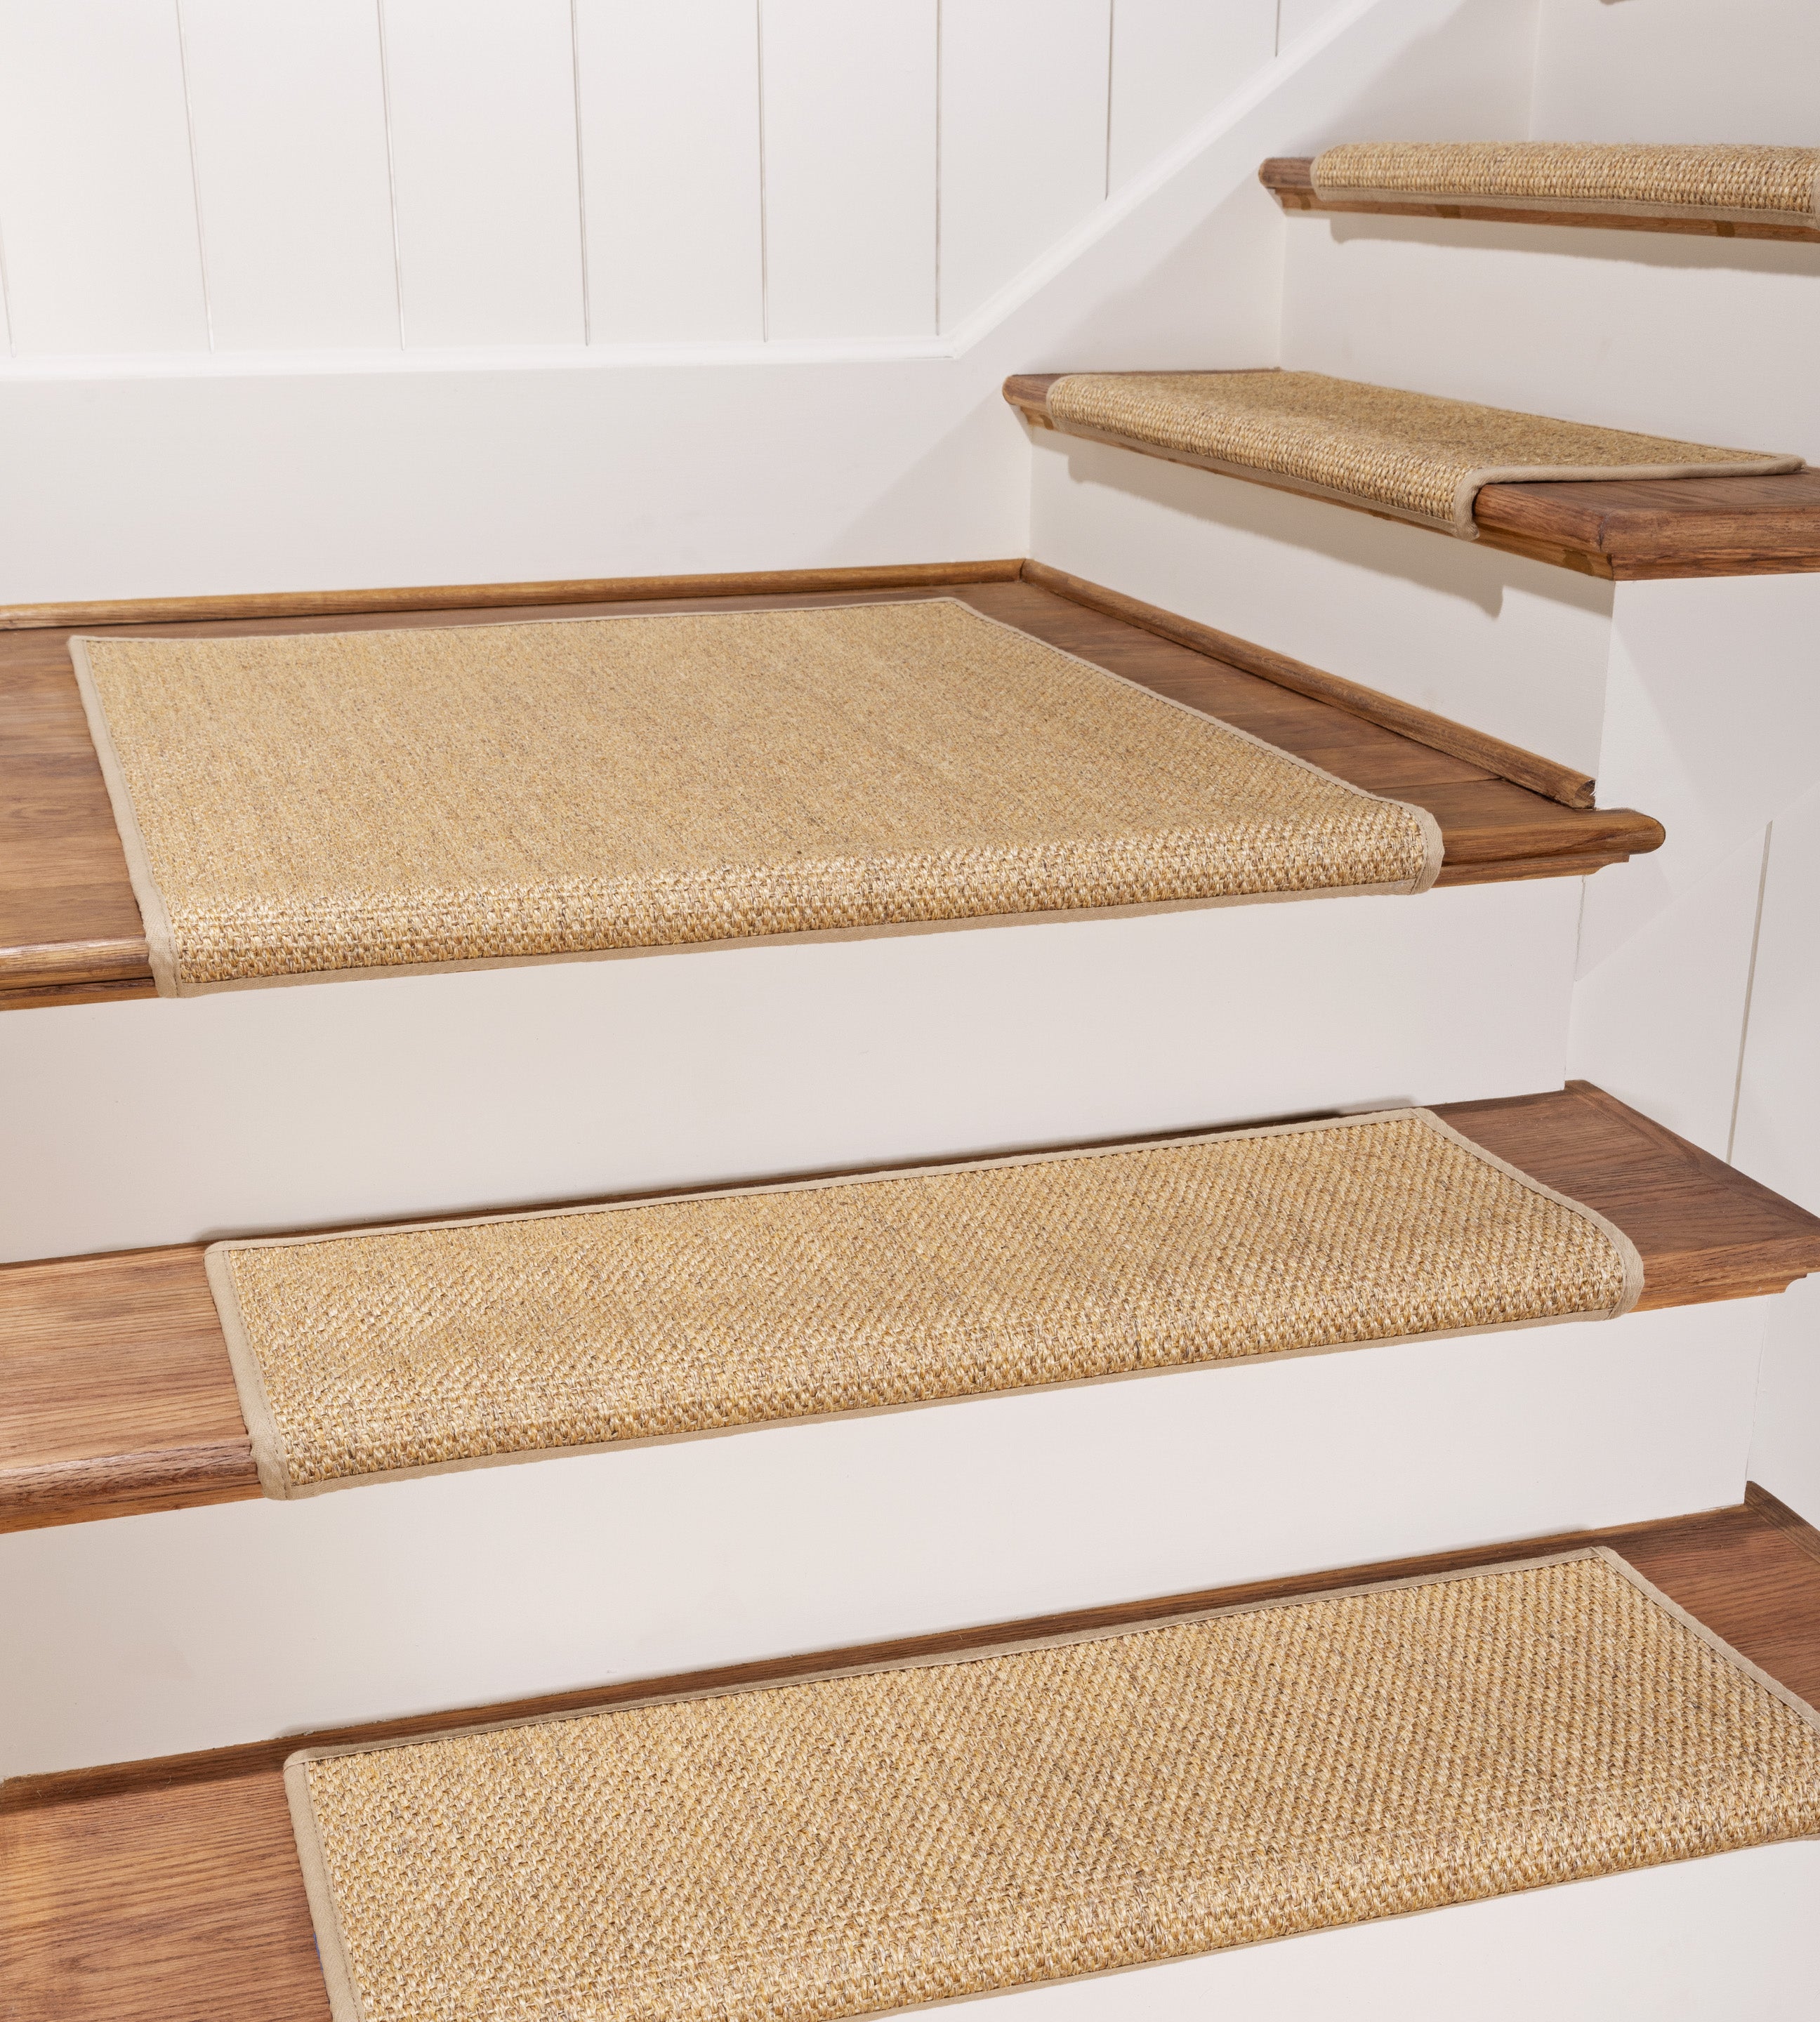
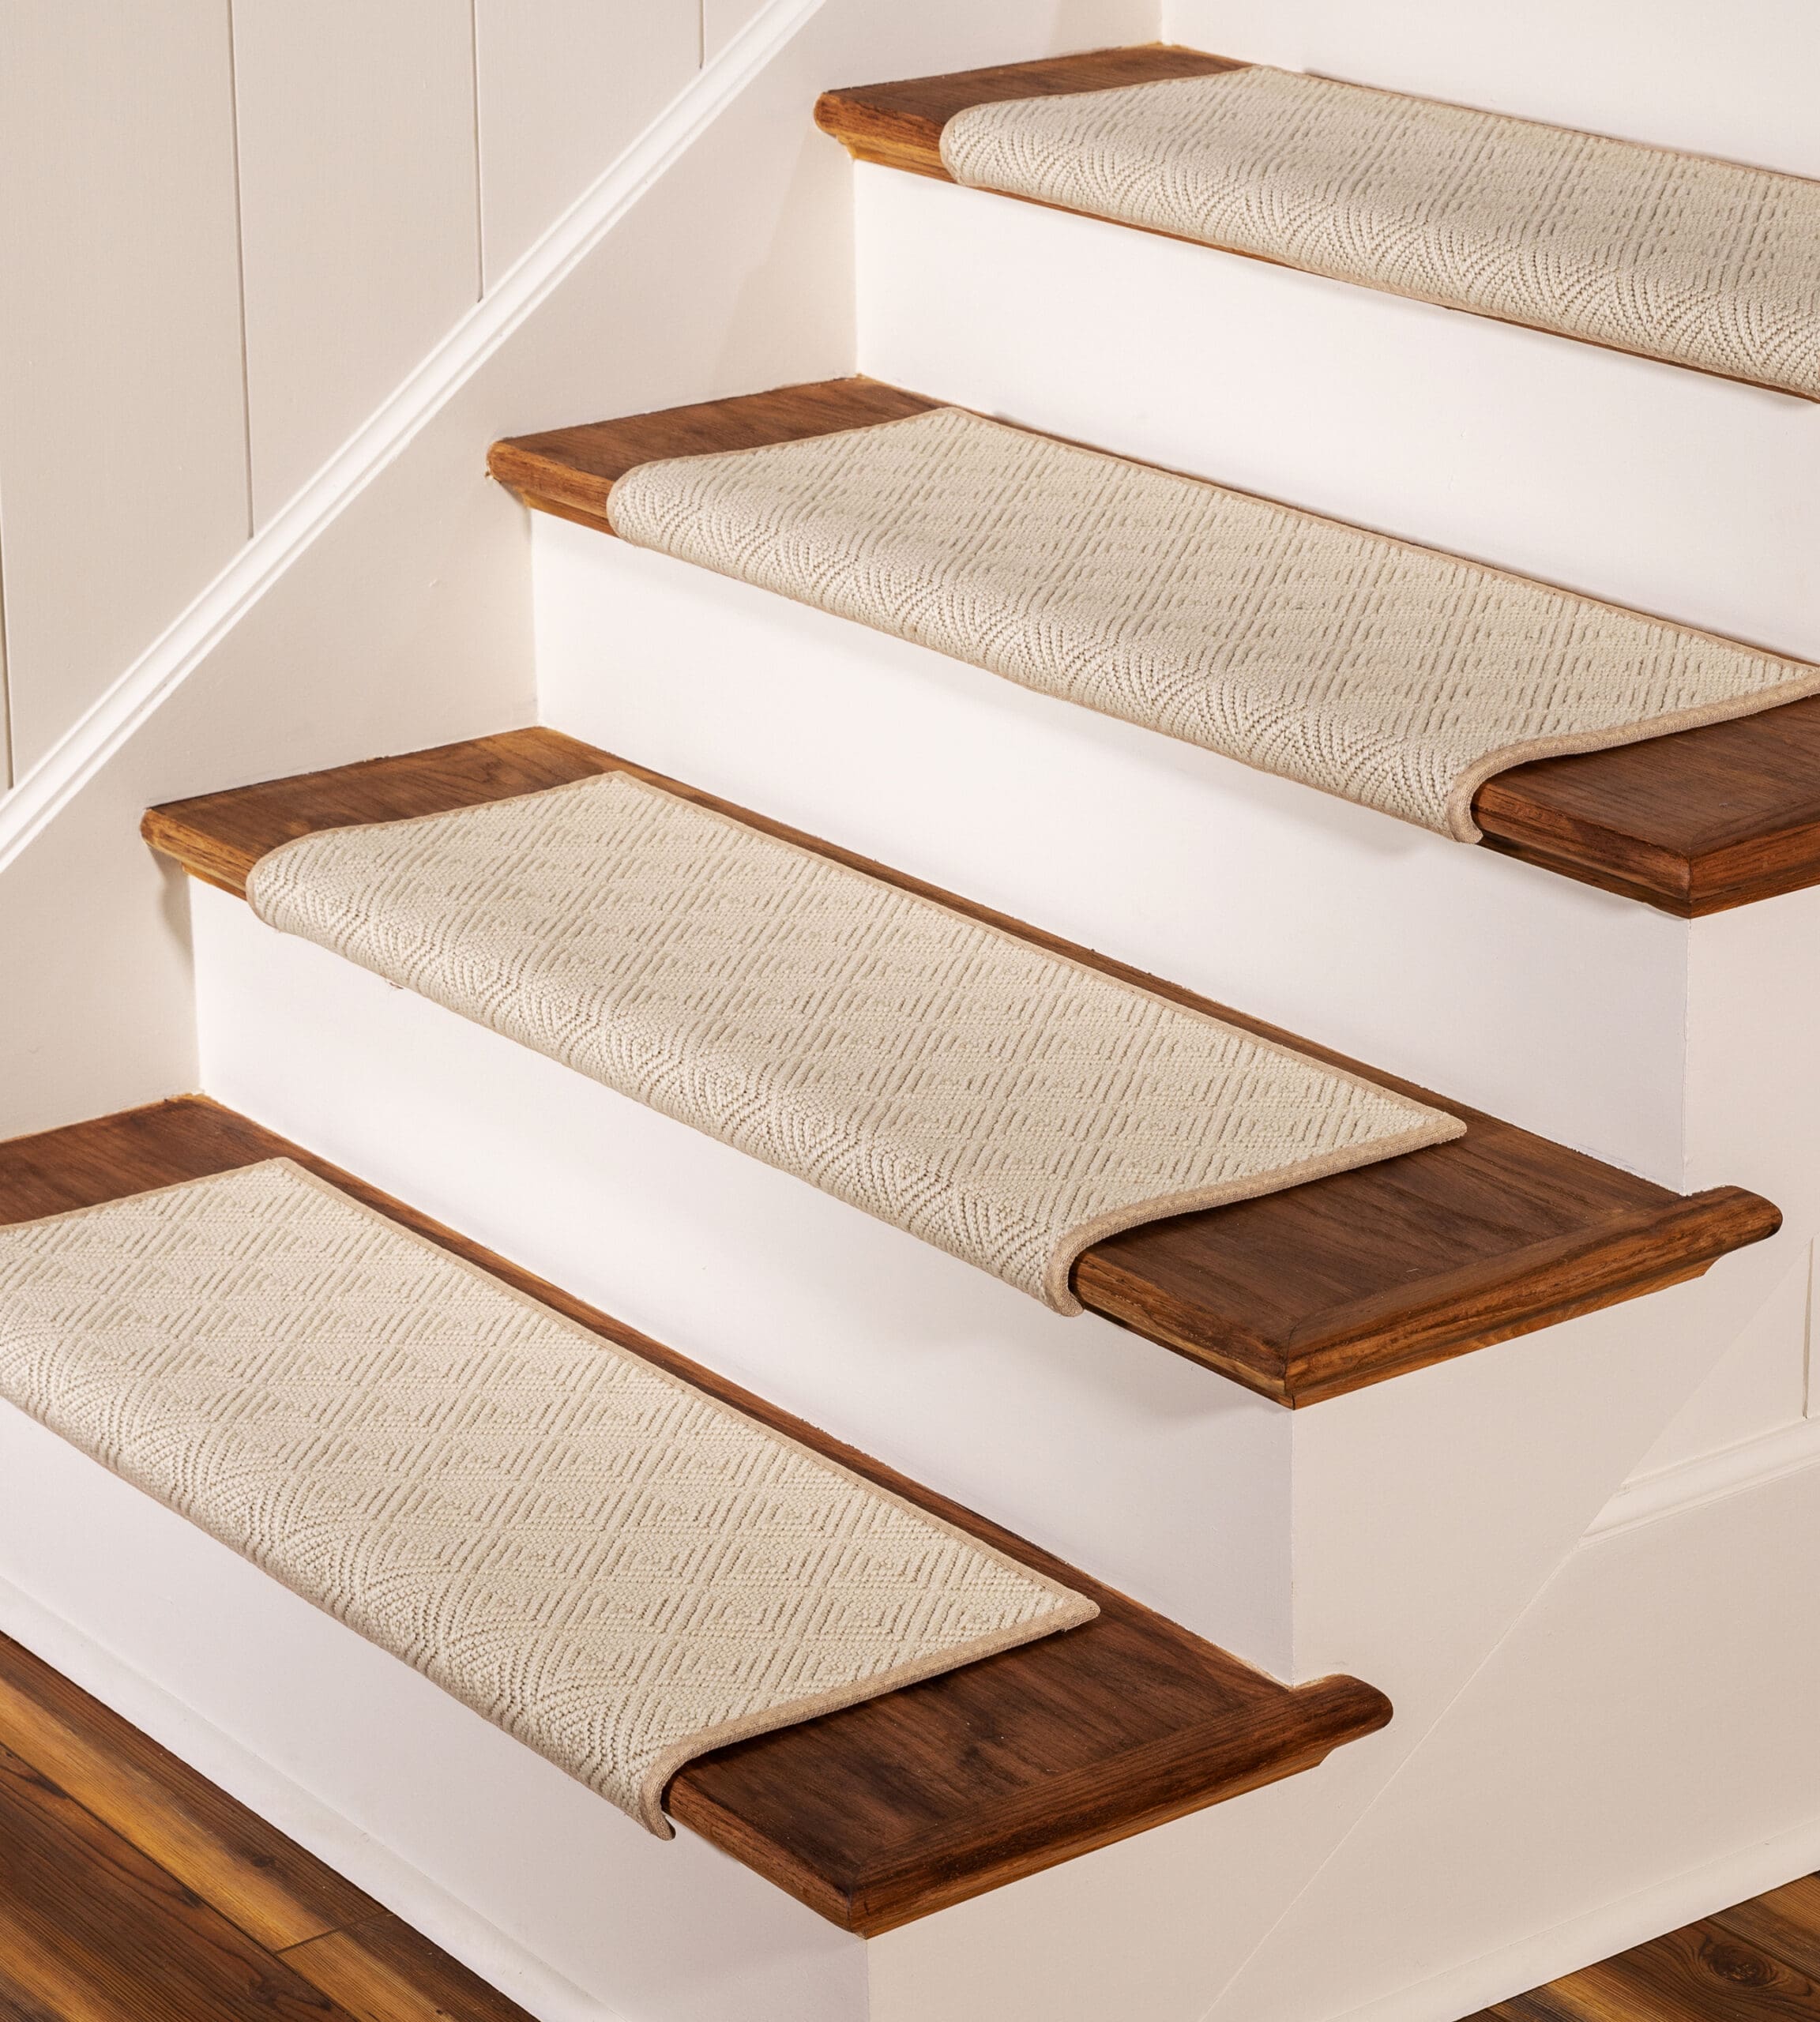
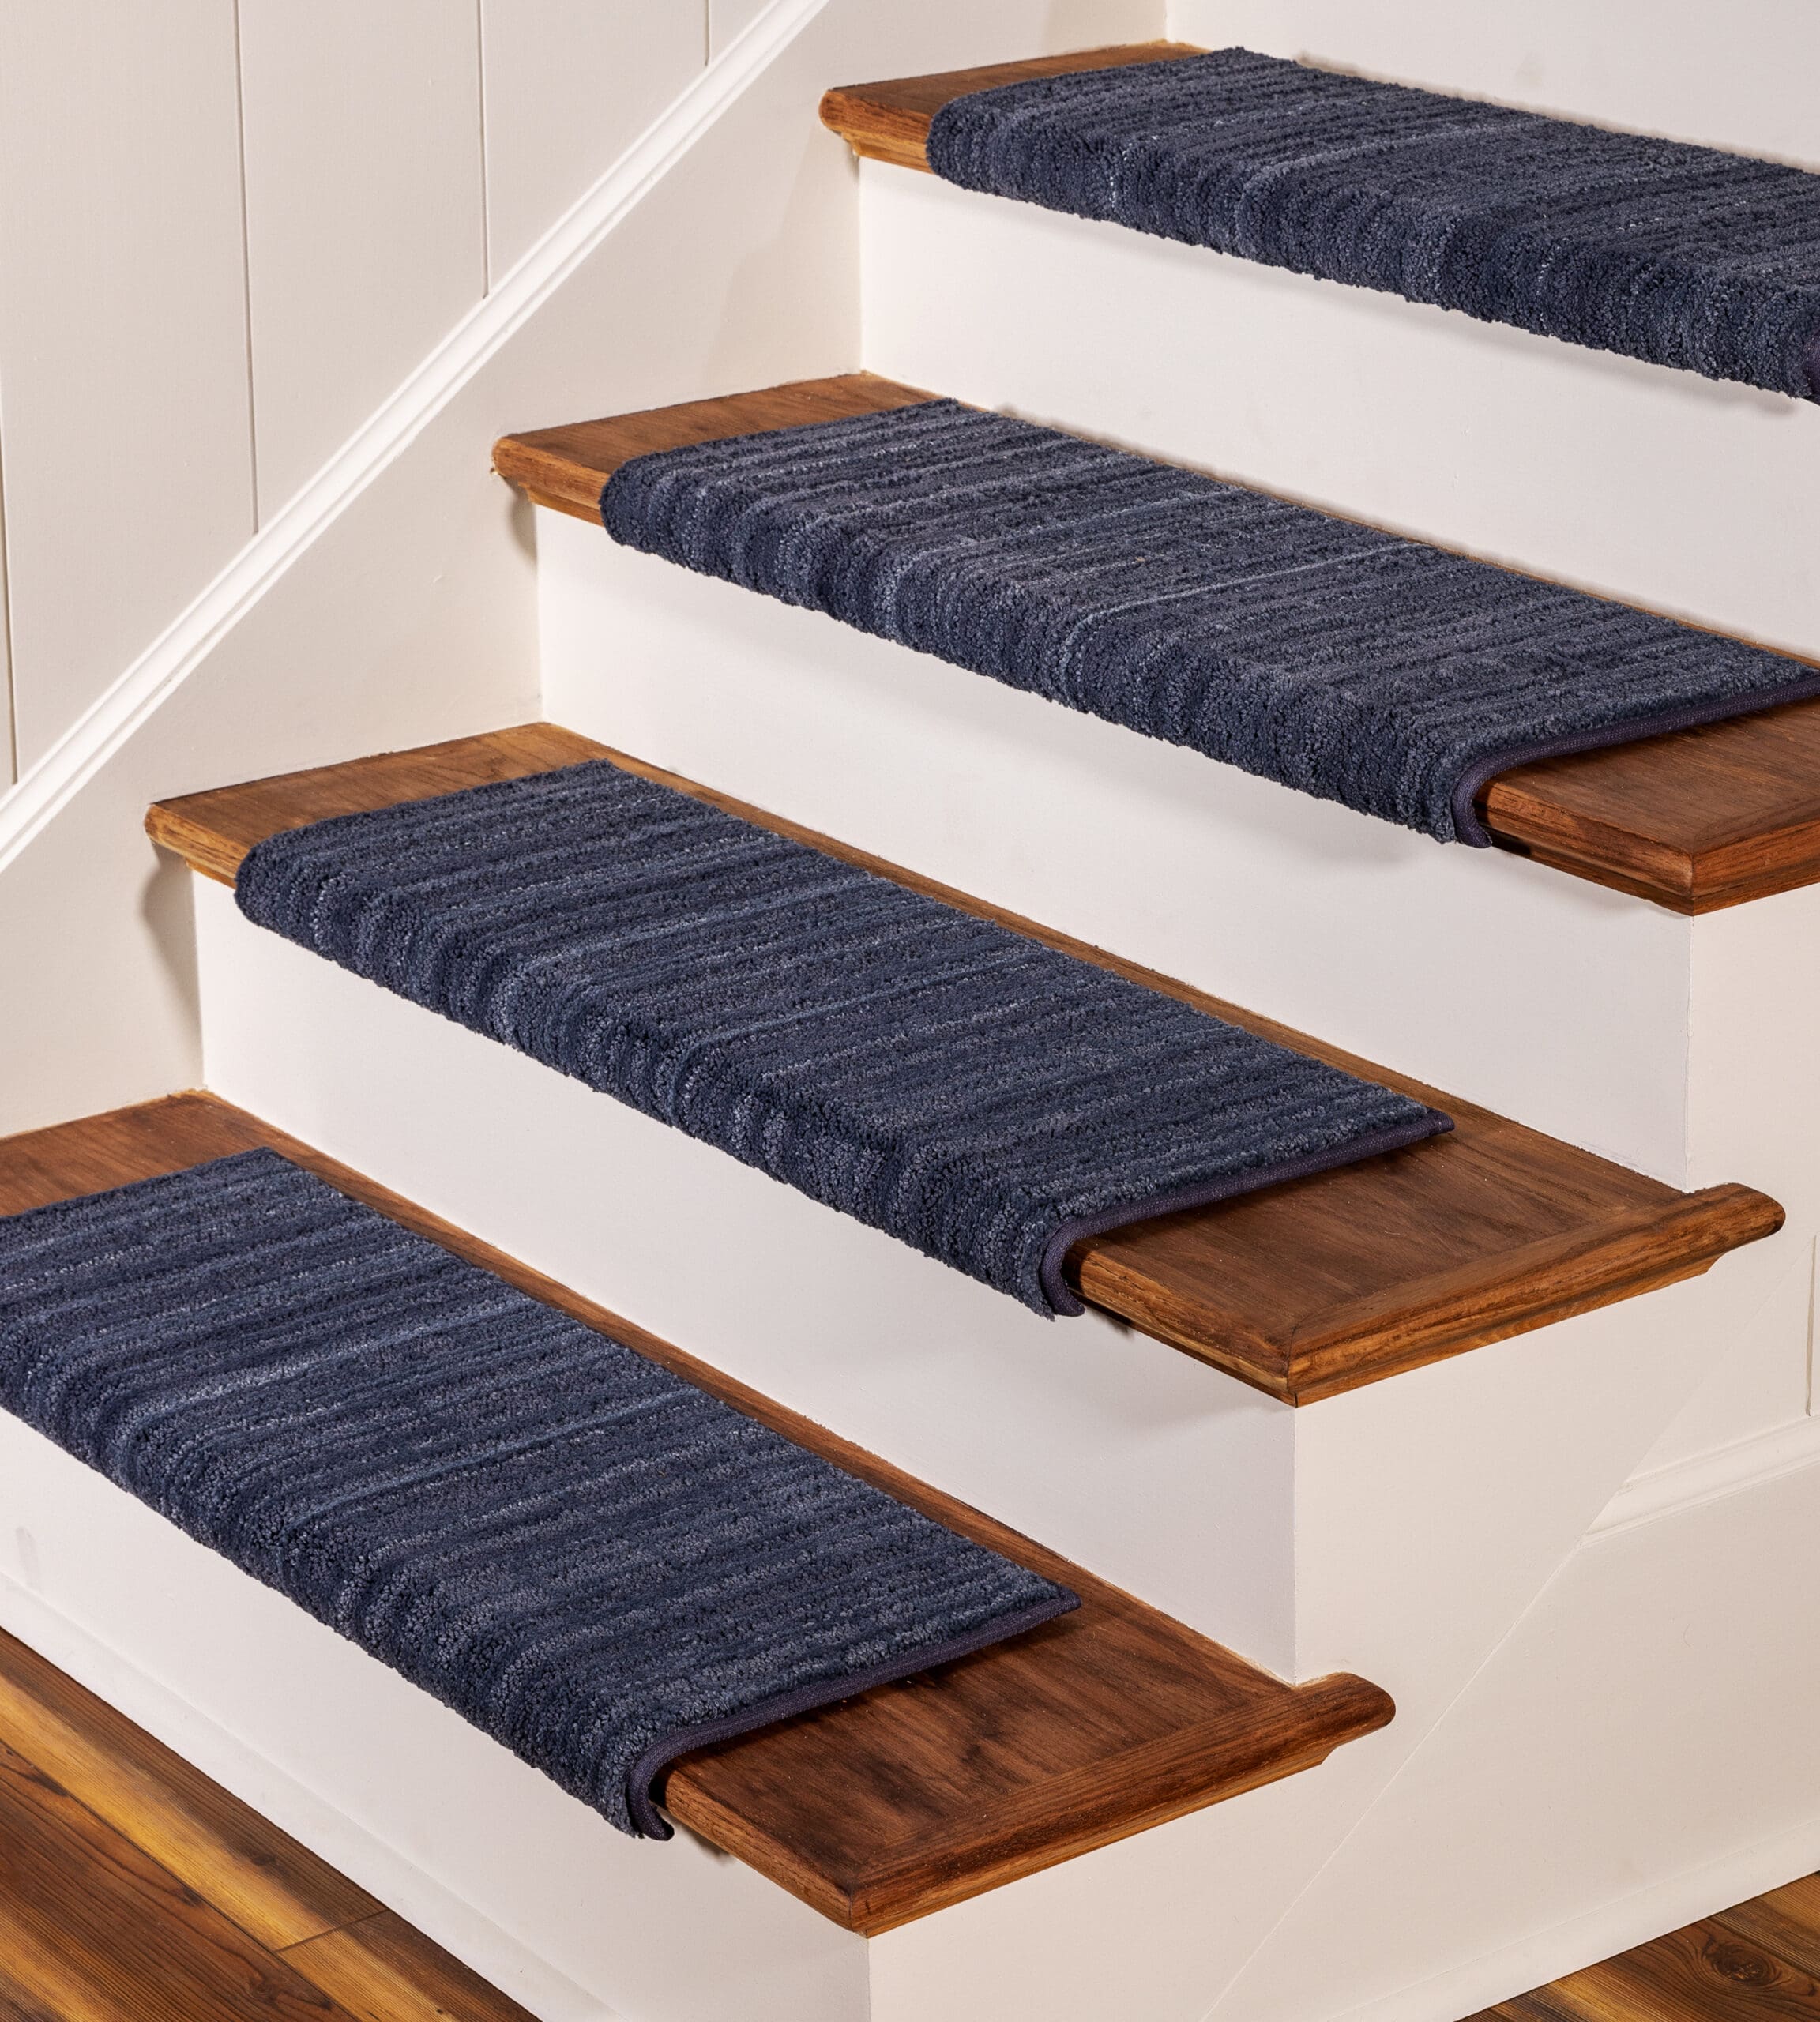
Choosing and Measuring Carpet Stair Treads
Carpet stair treads are an excellent option for adding both style and safety to your stairs. Before selecting and installing the treads, there are a few key considerations to keep in mind.
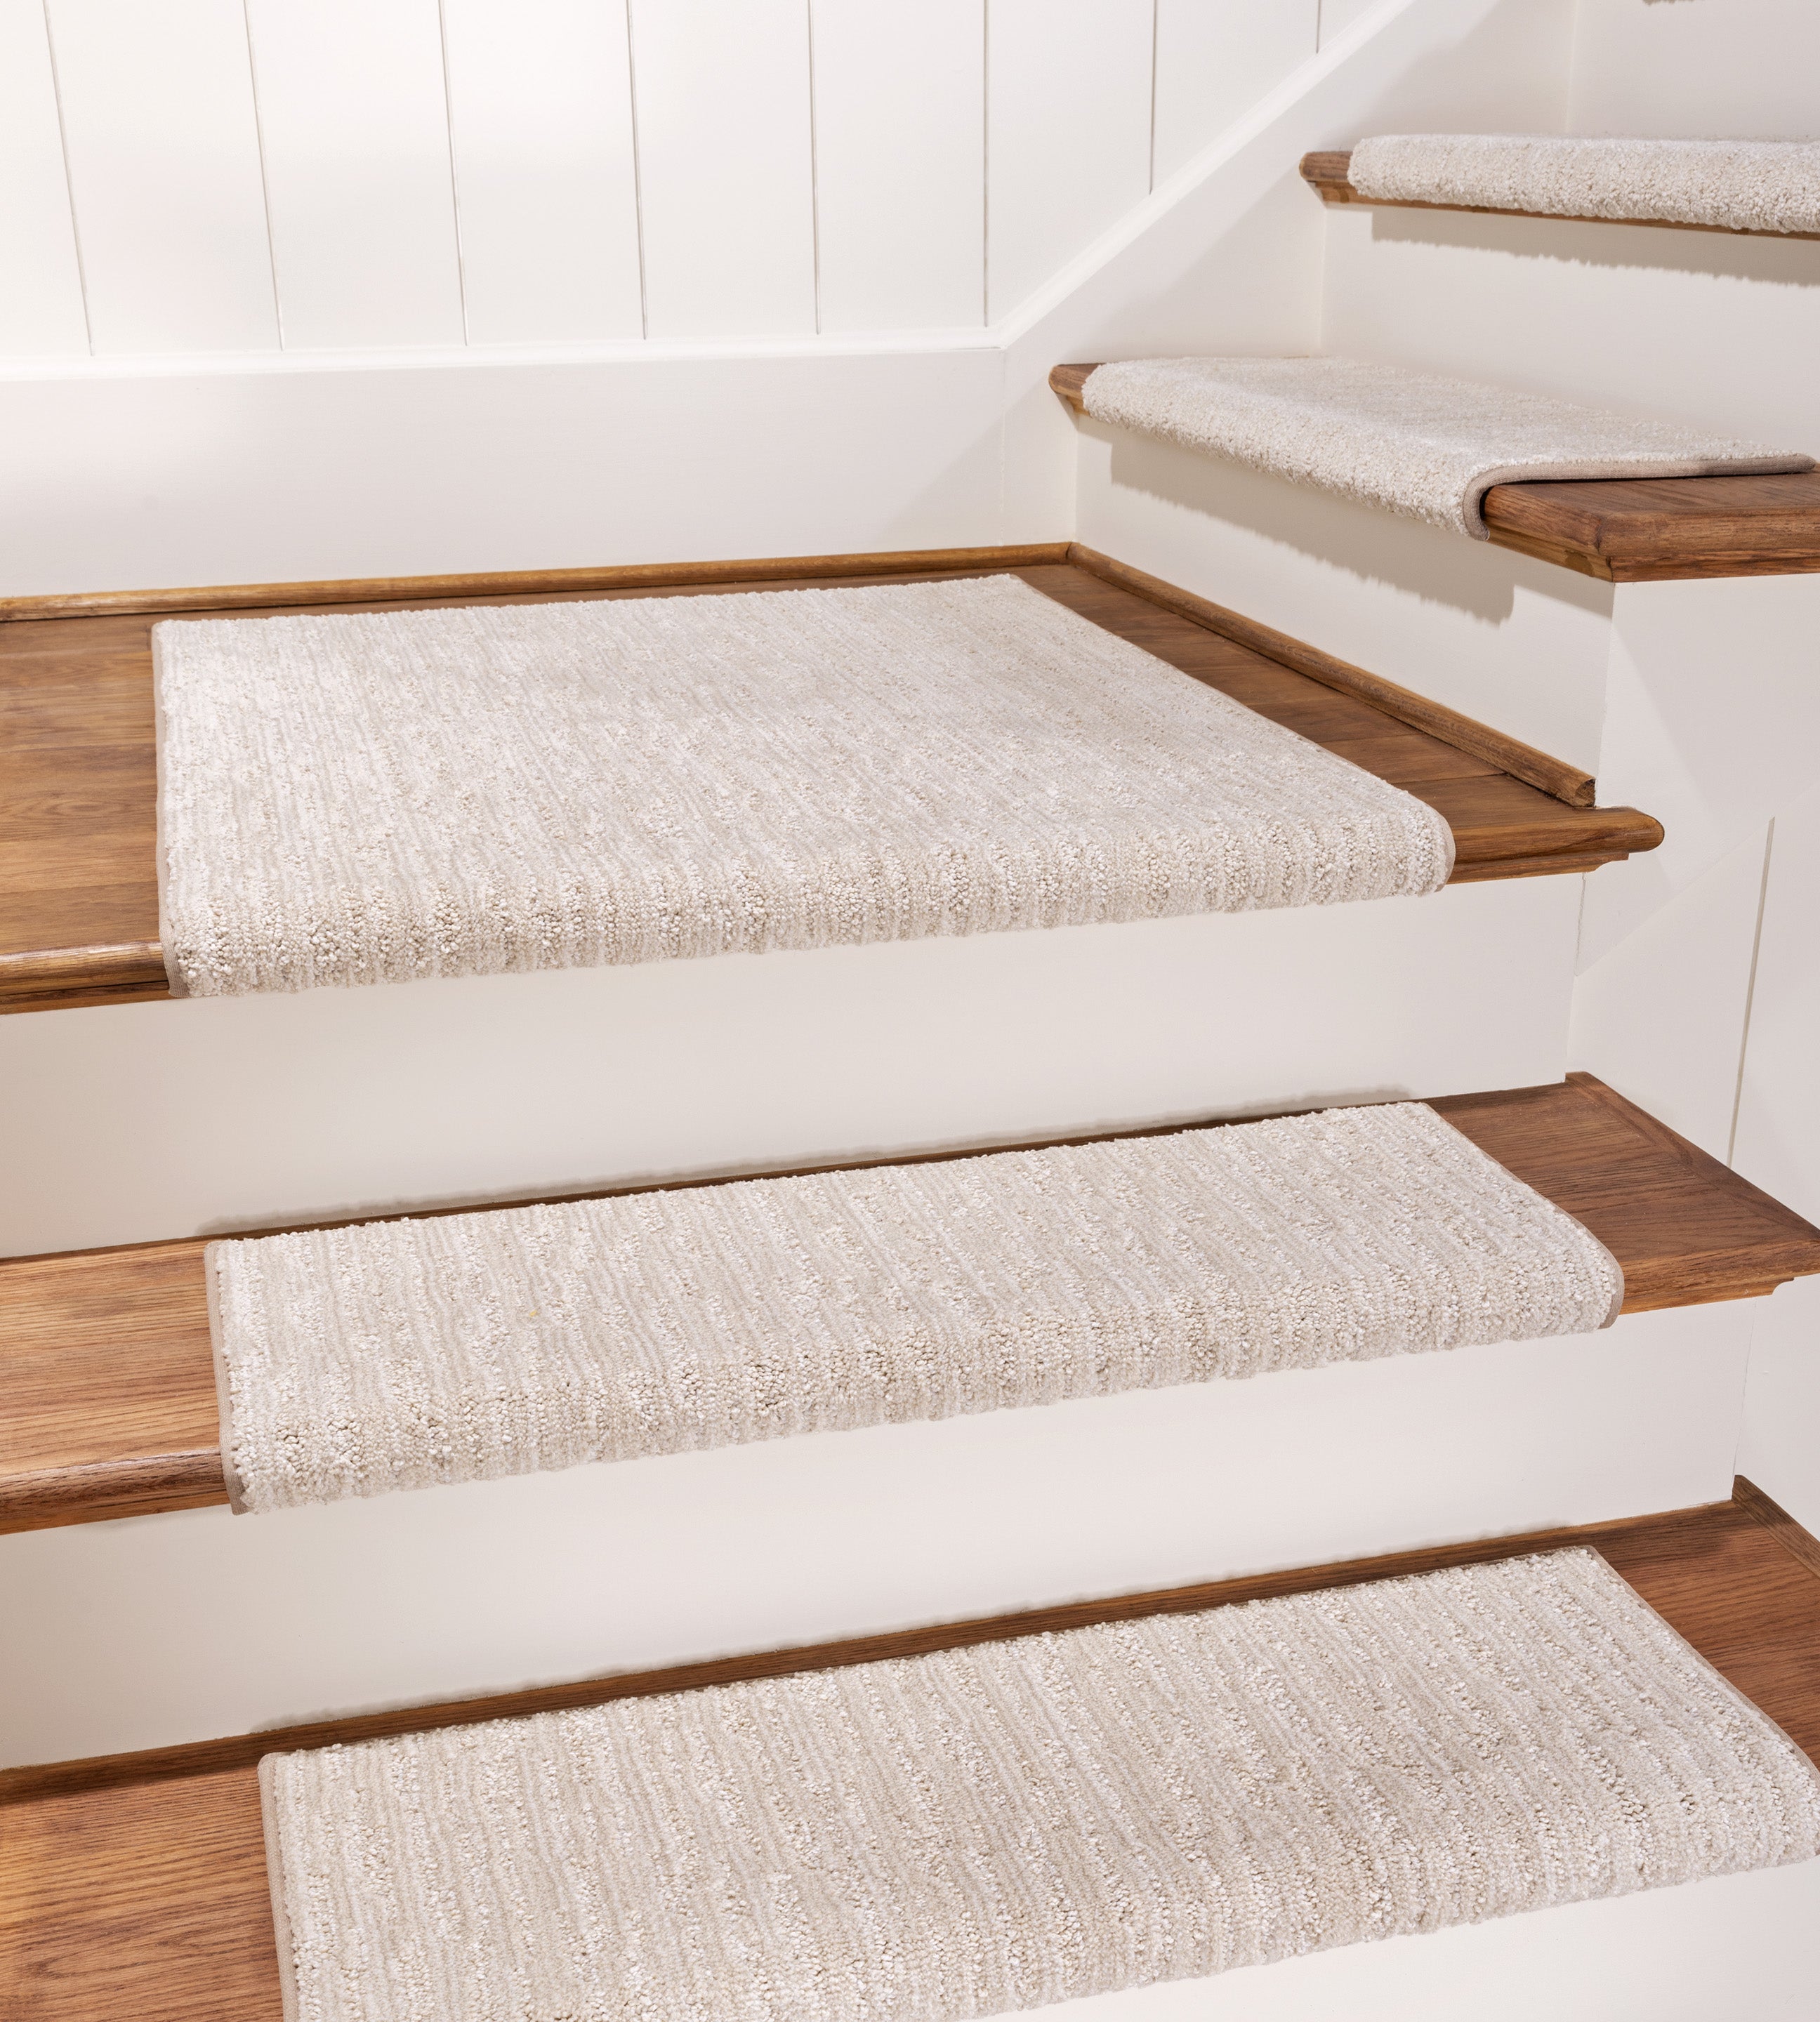
Benefits of Carpet Stair Treads
Carpet stair treads provide traction and reduce the risk of slipping on wooden stairs. They also add a layer of comfort and warmth to the space, making them a practical and stylish choice.
Measuring the Stairs for the Treads
Accurate measurements are crucial for ensuring that the carpet stair treads fit properly. Measure the width and depth of each step, allowing for a slight overhang for a secure fit.
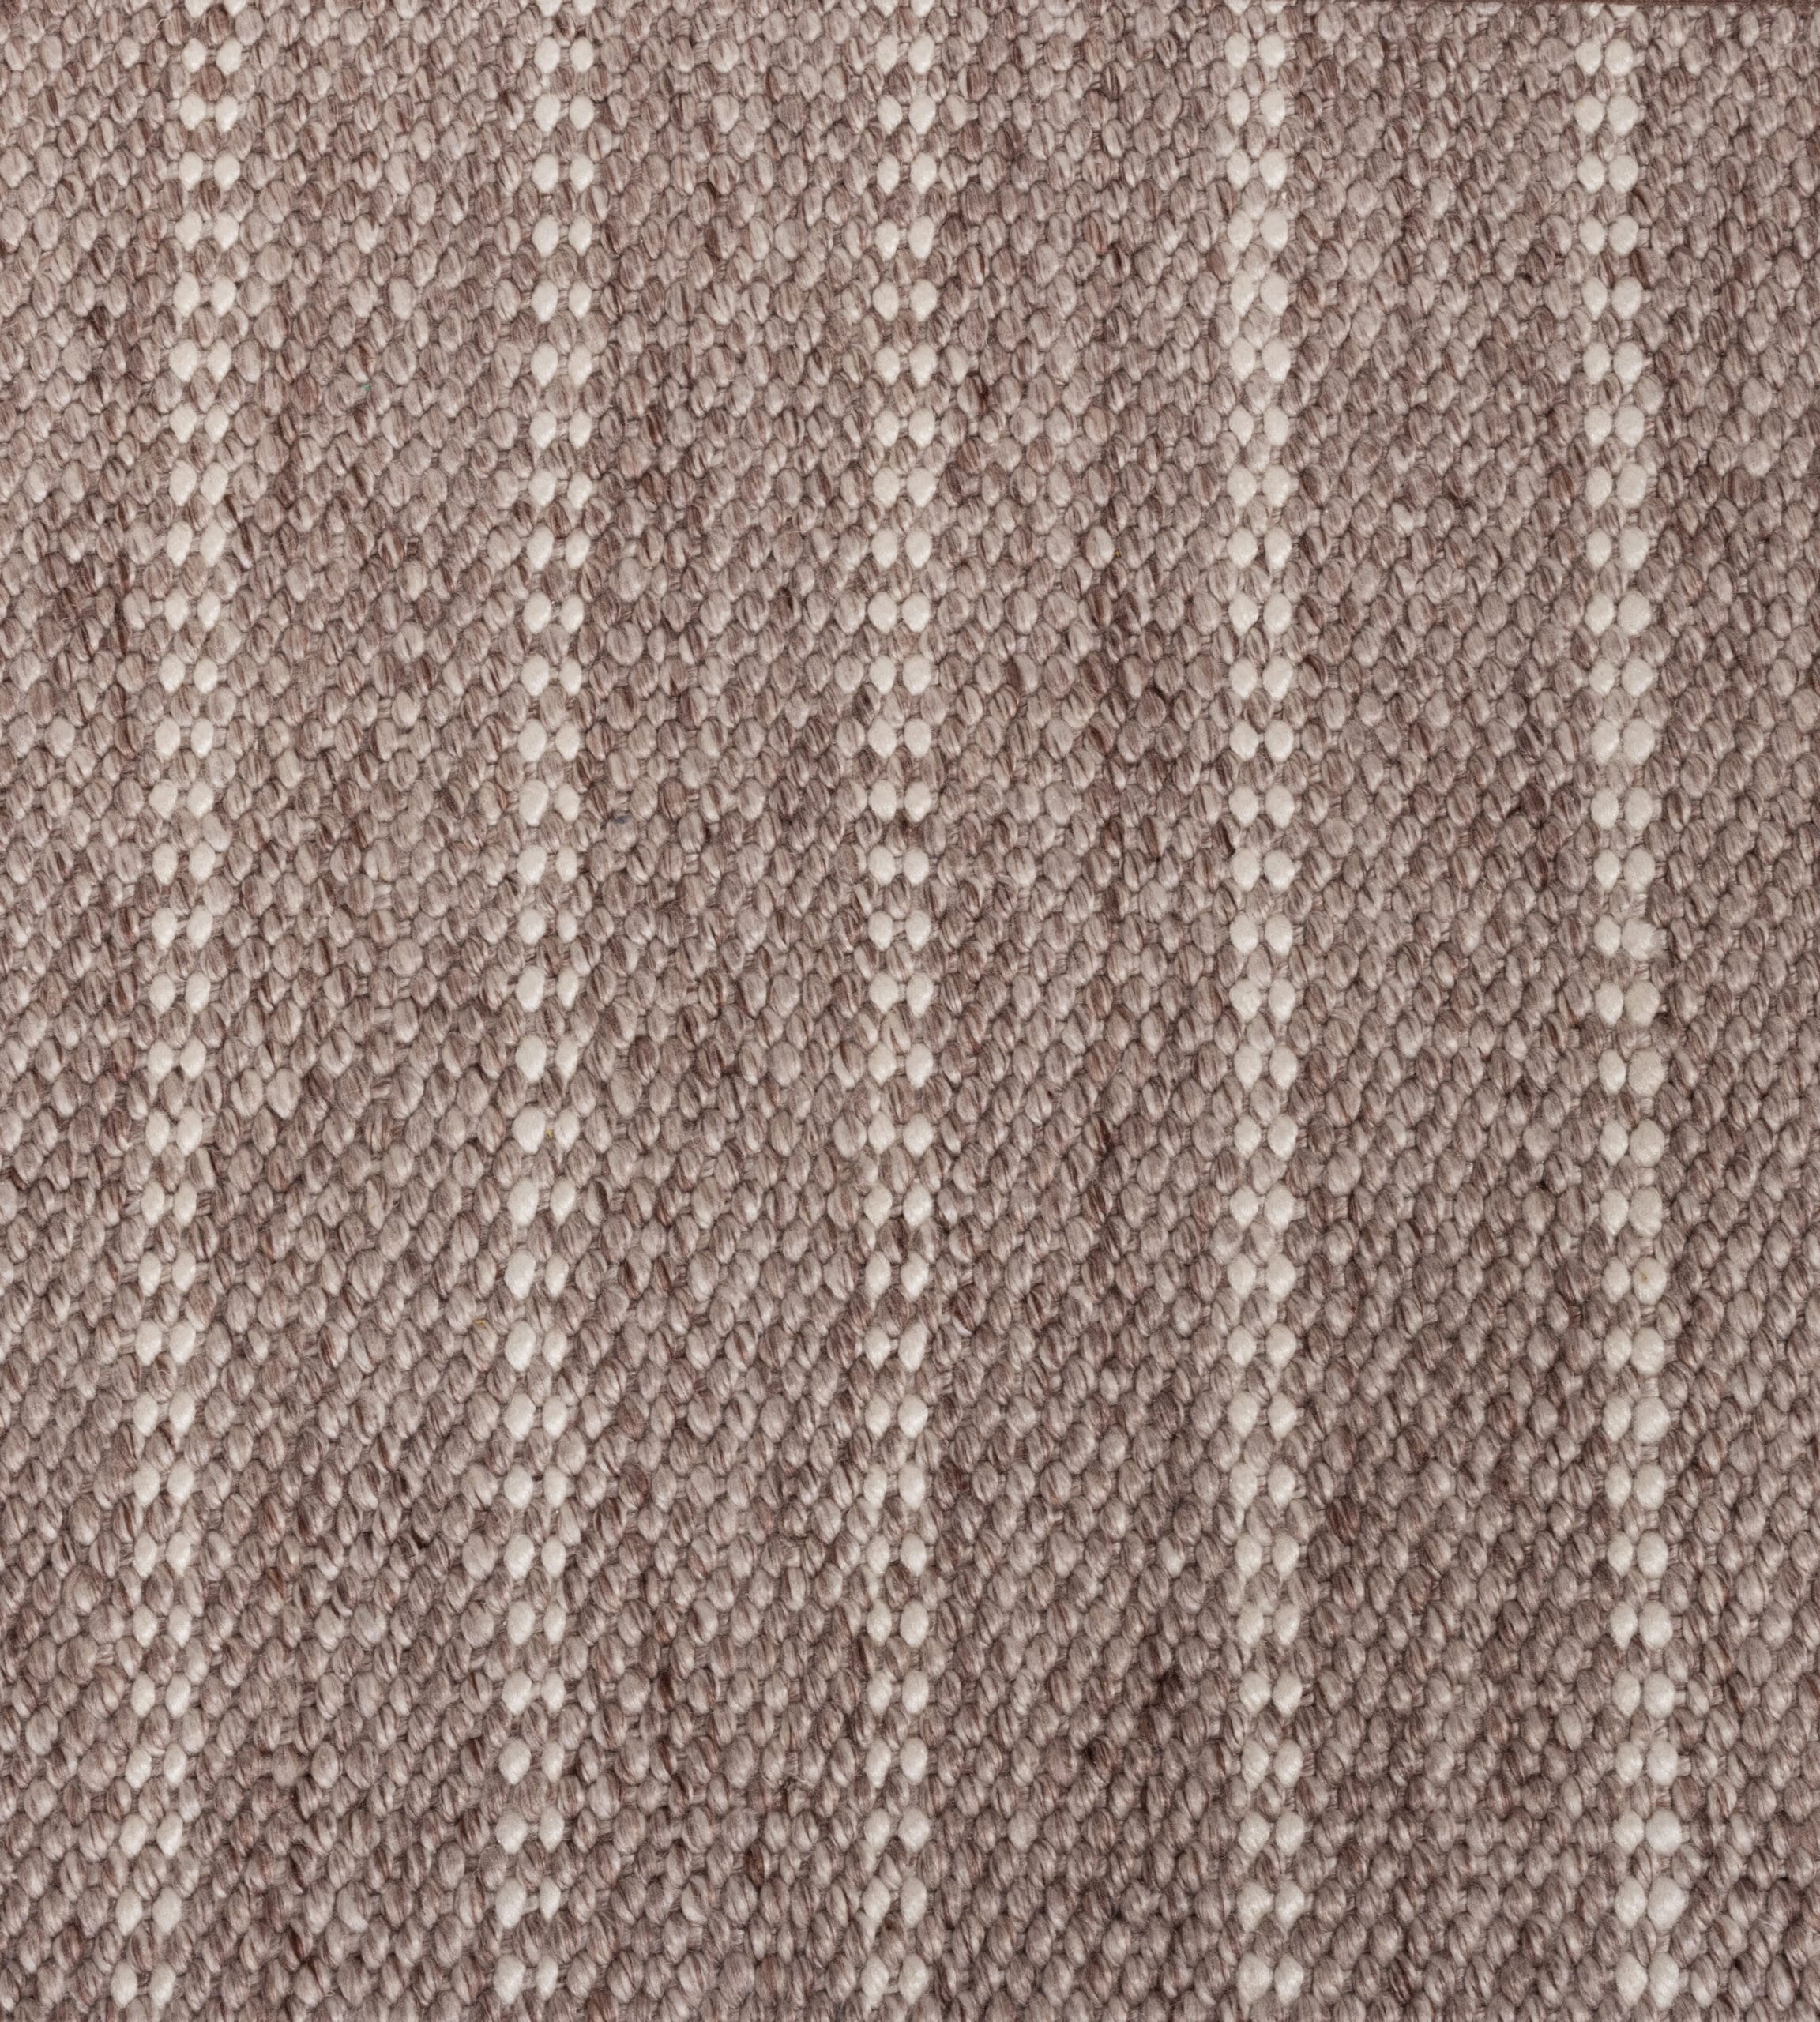
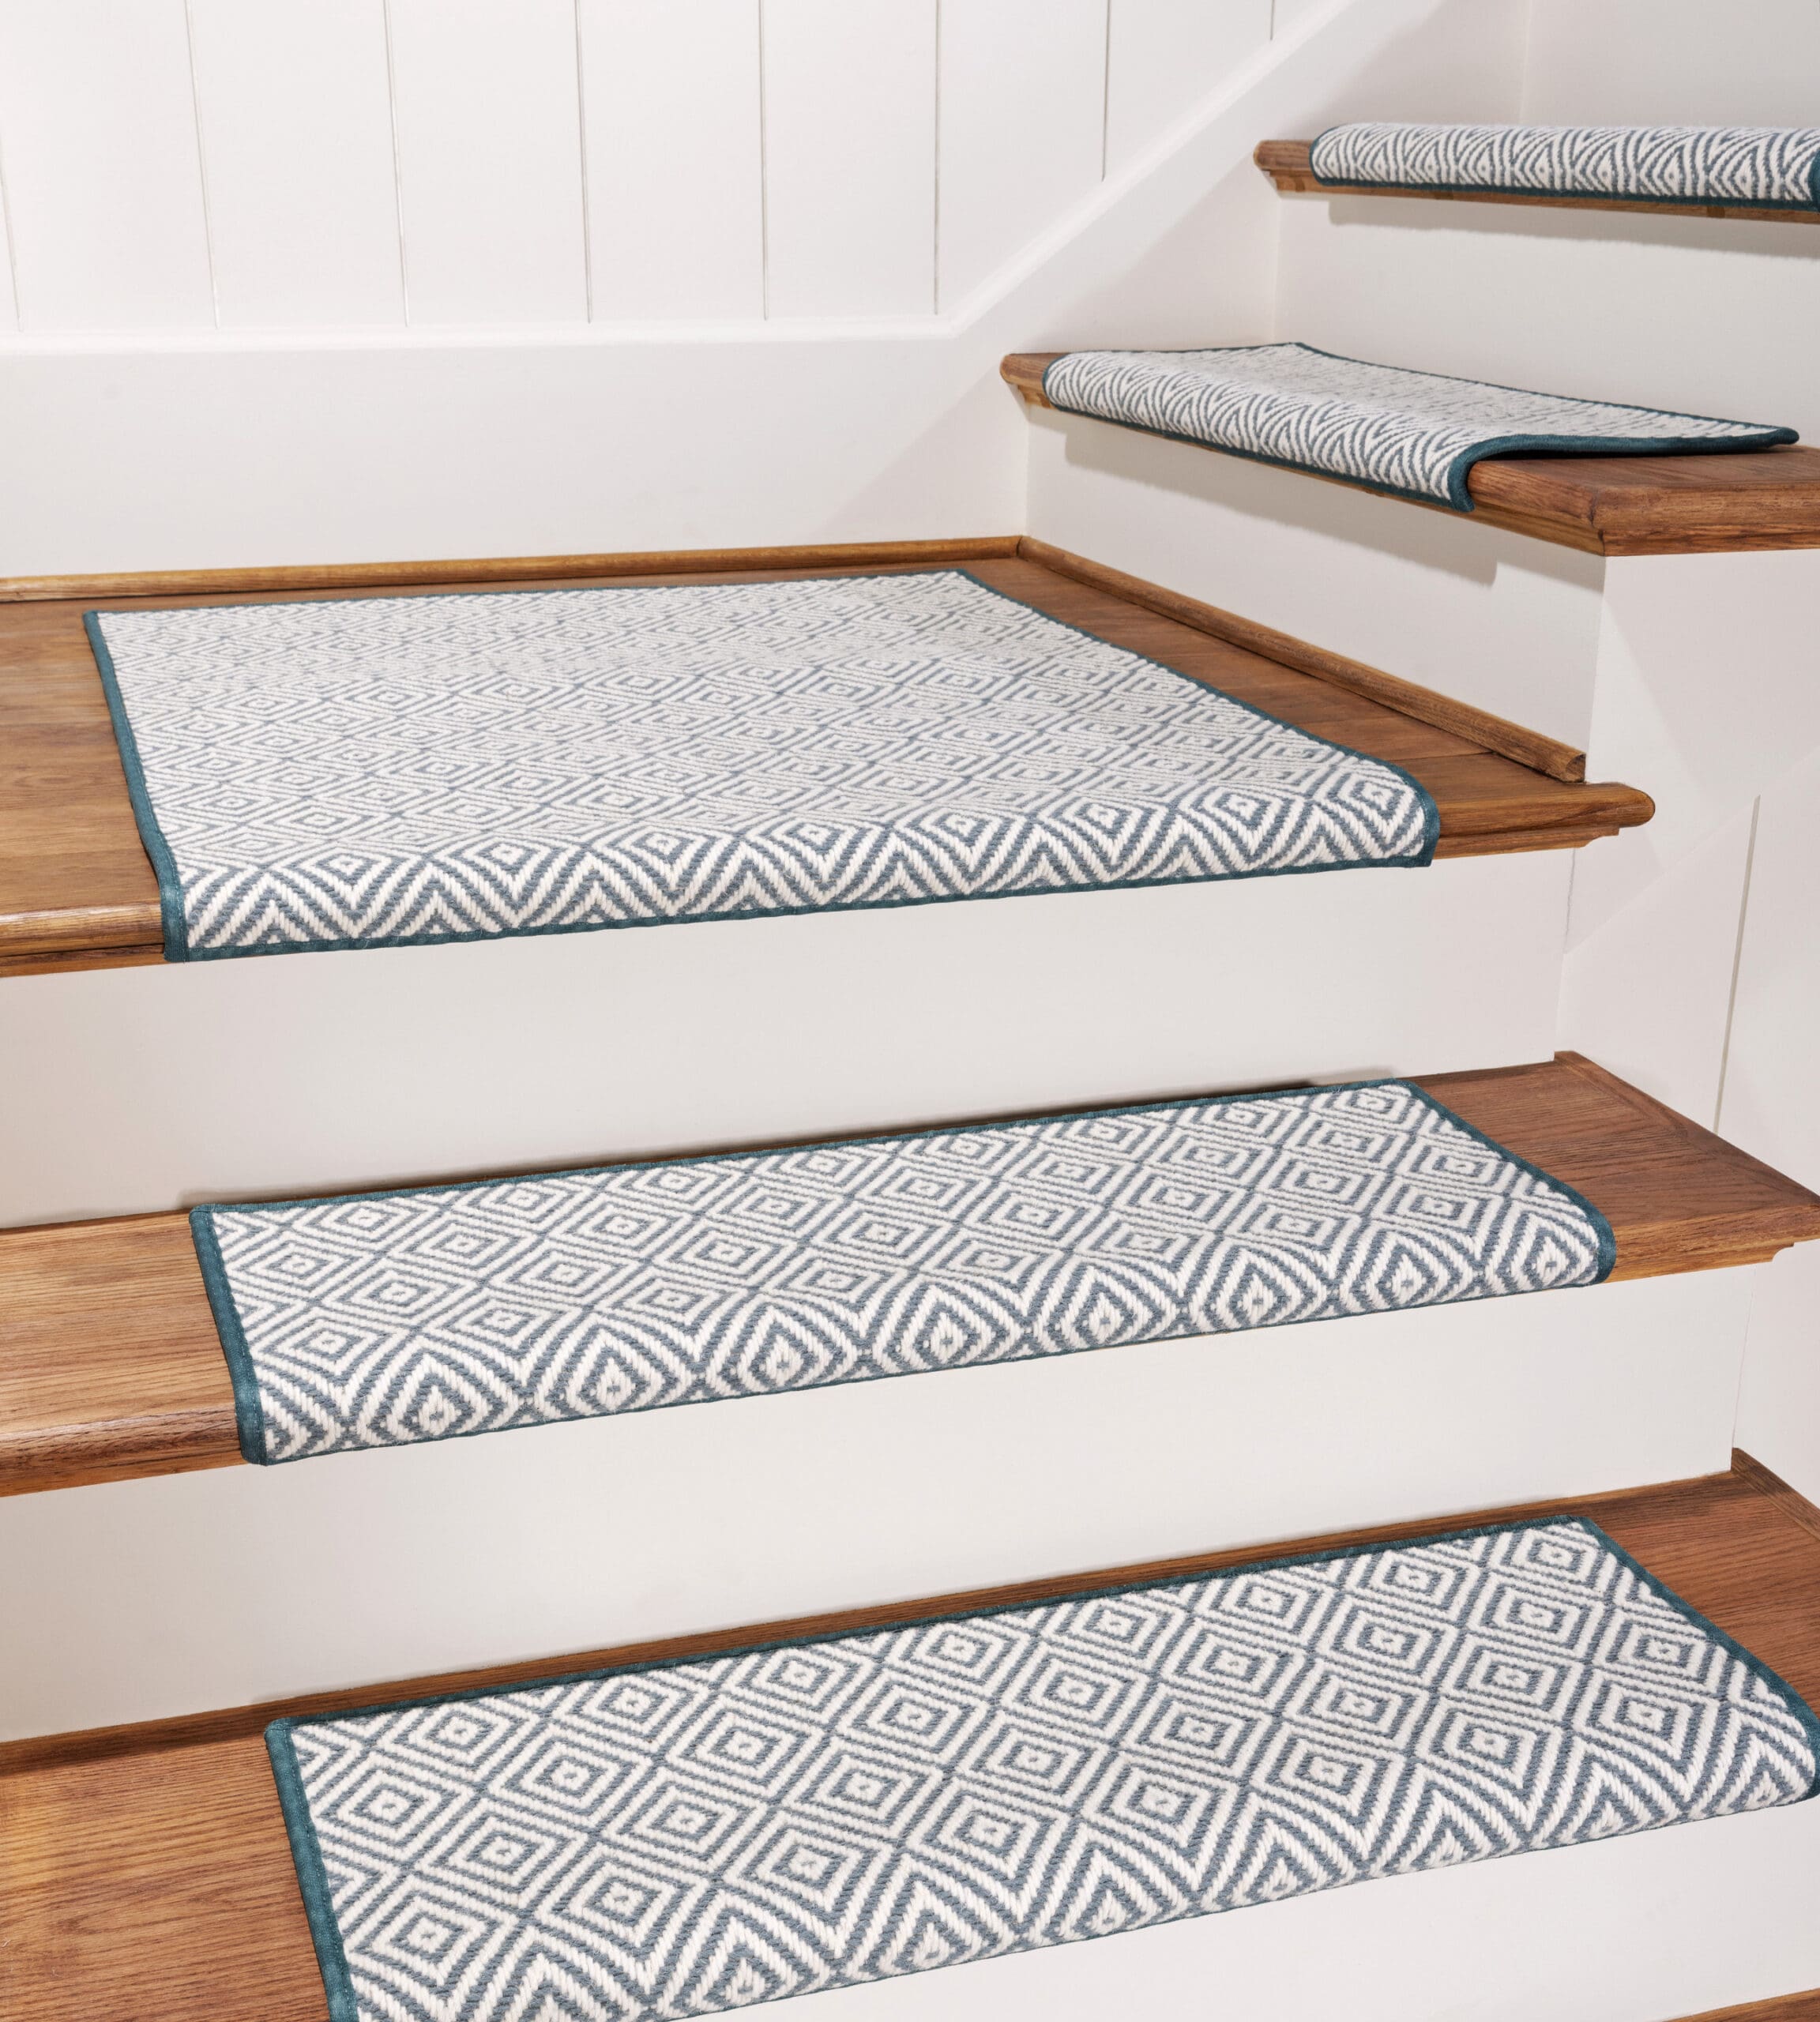
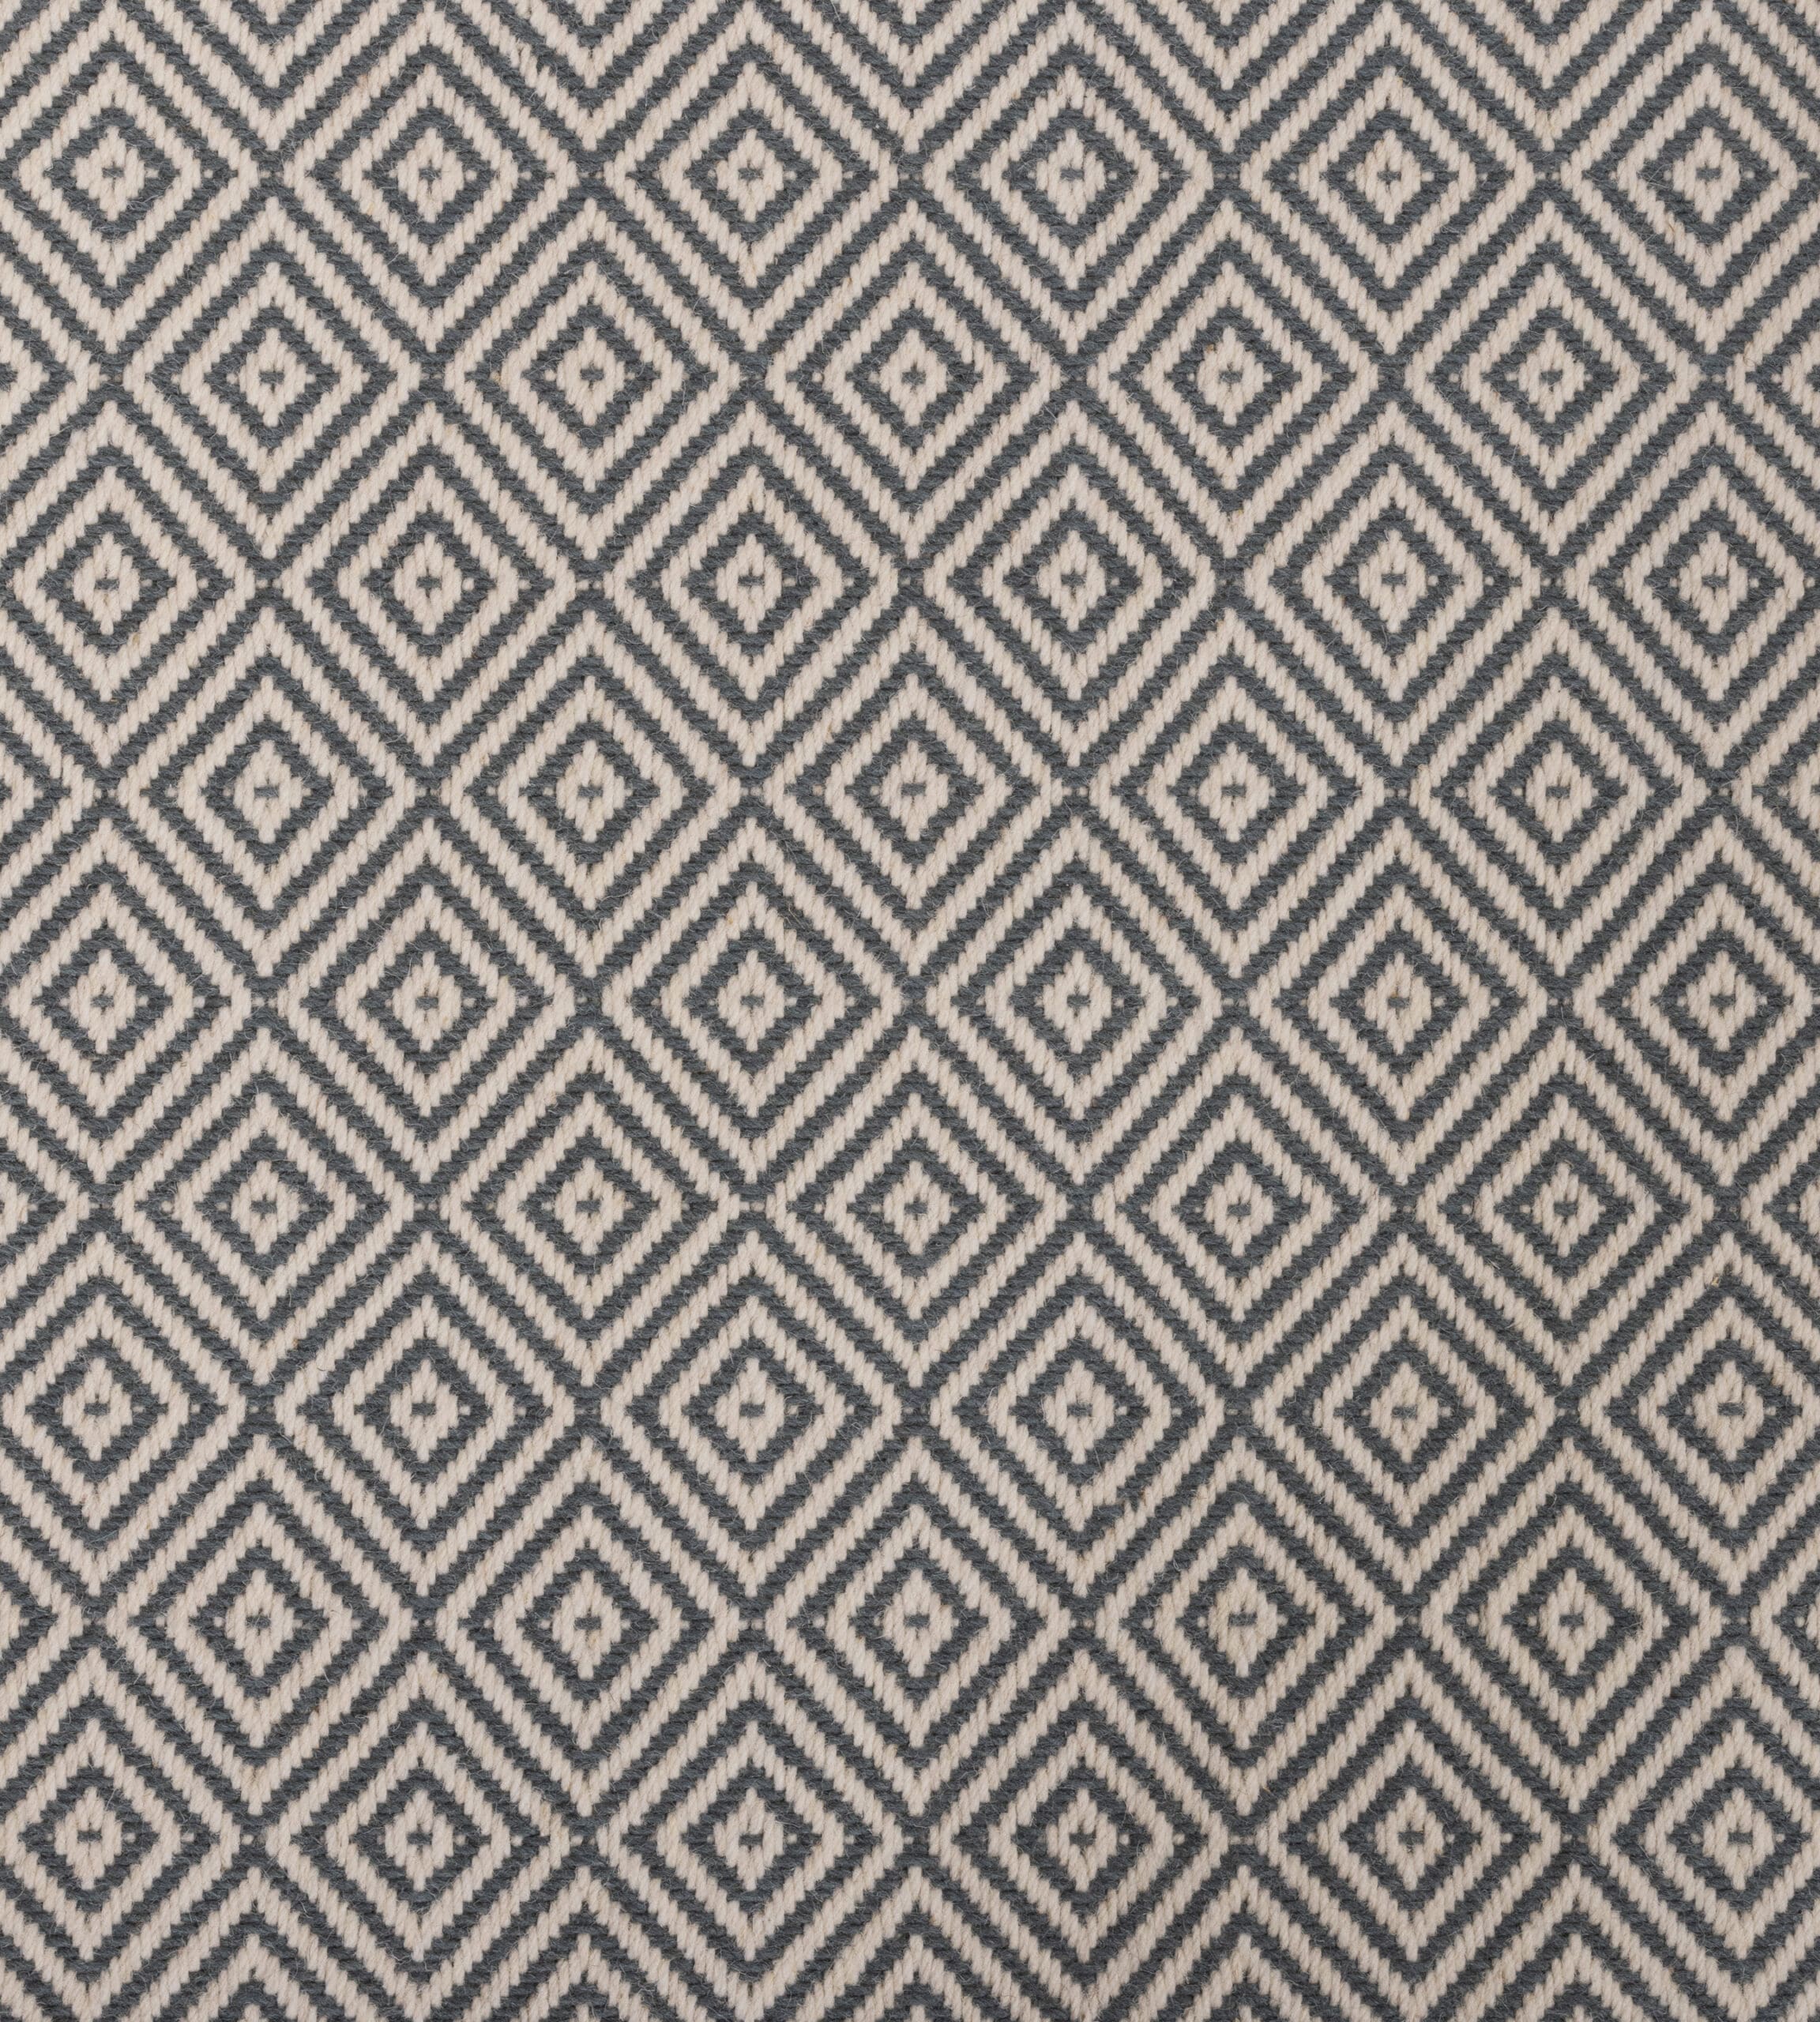
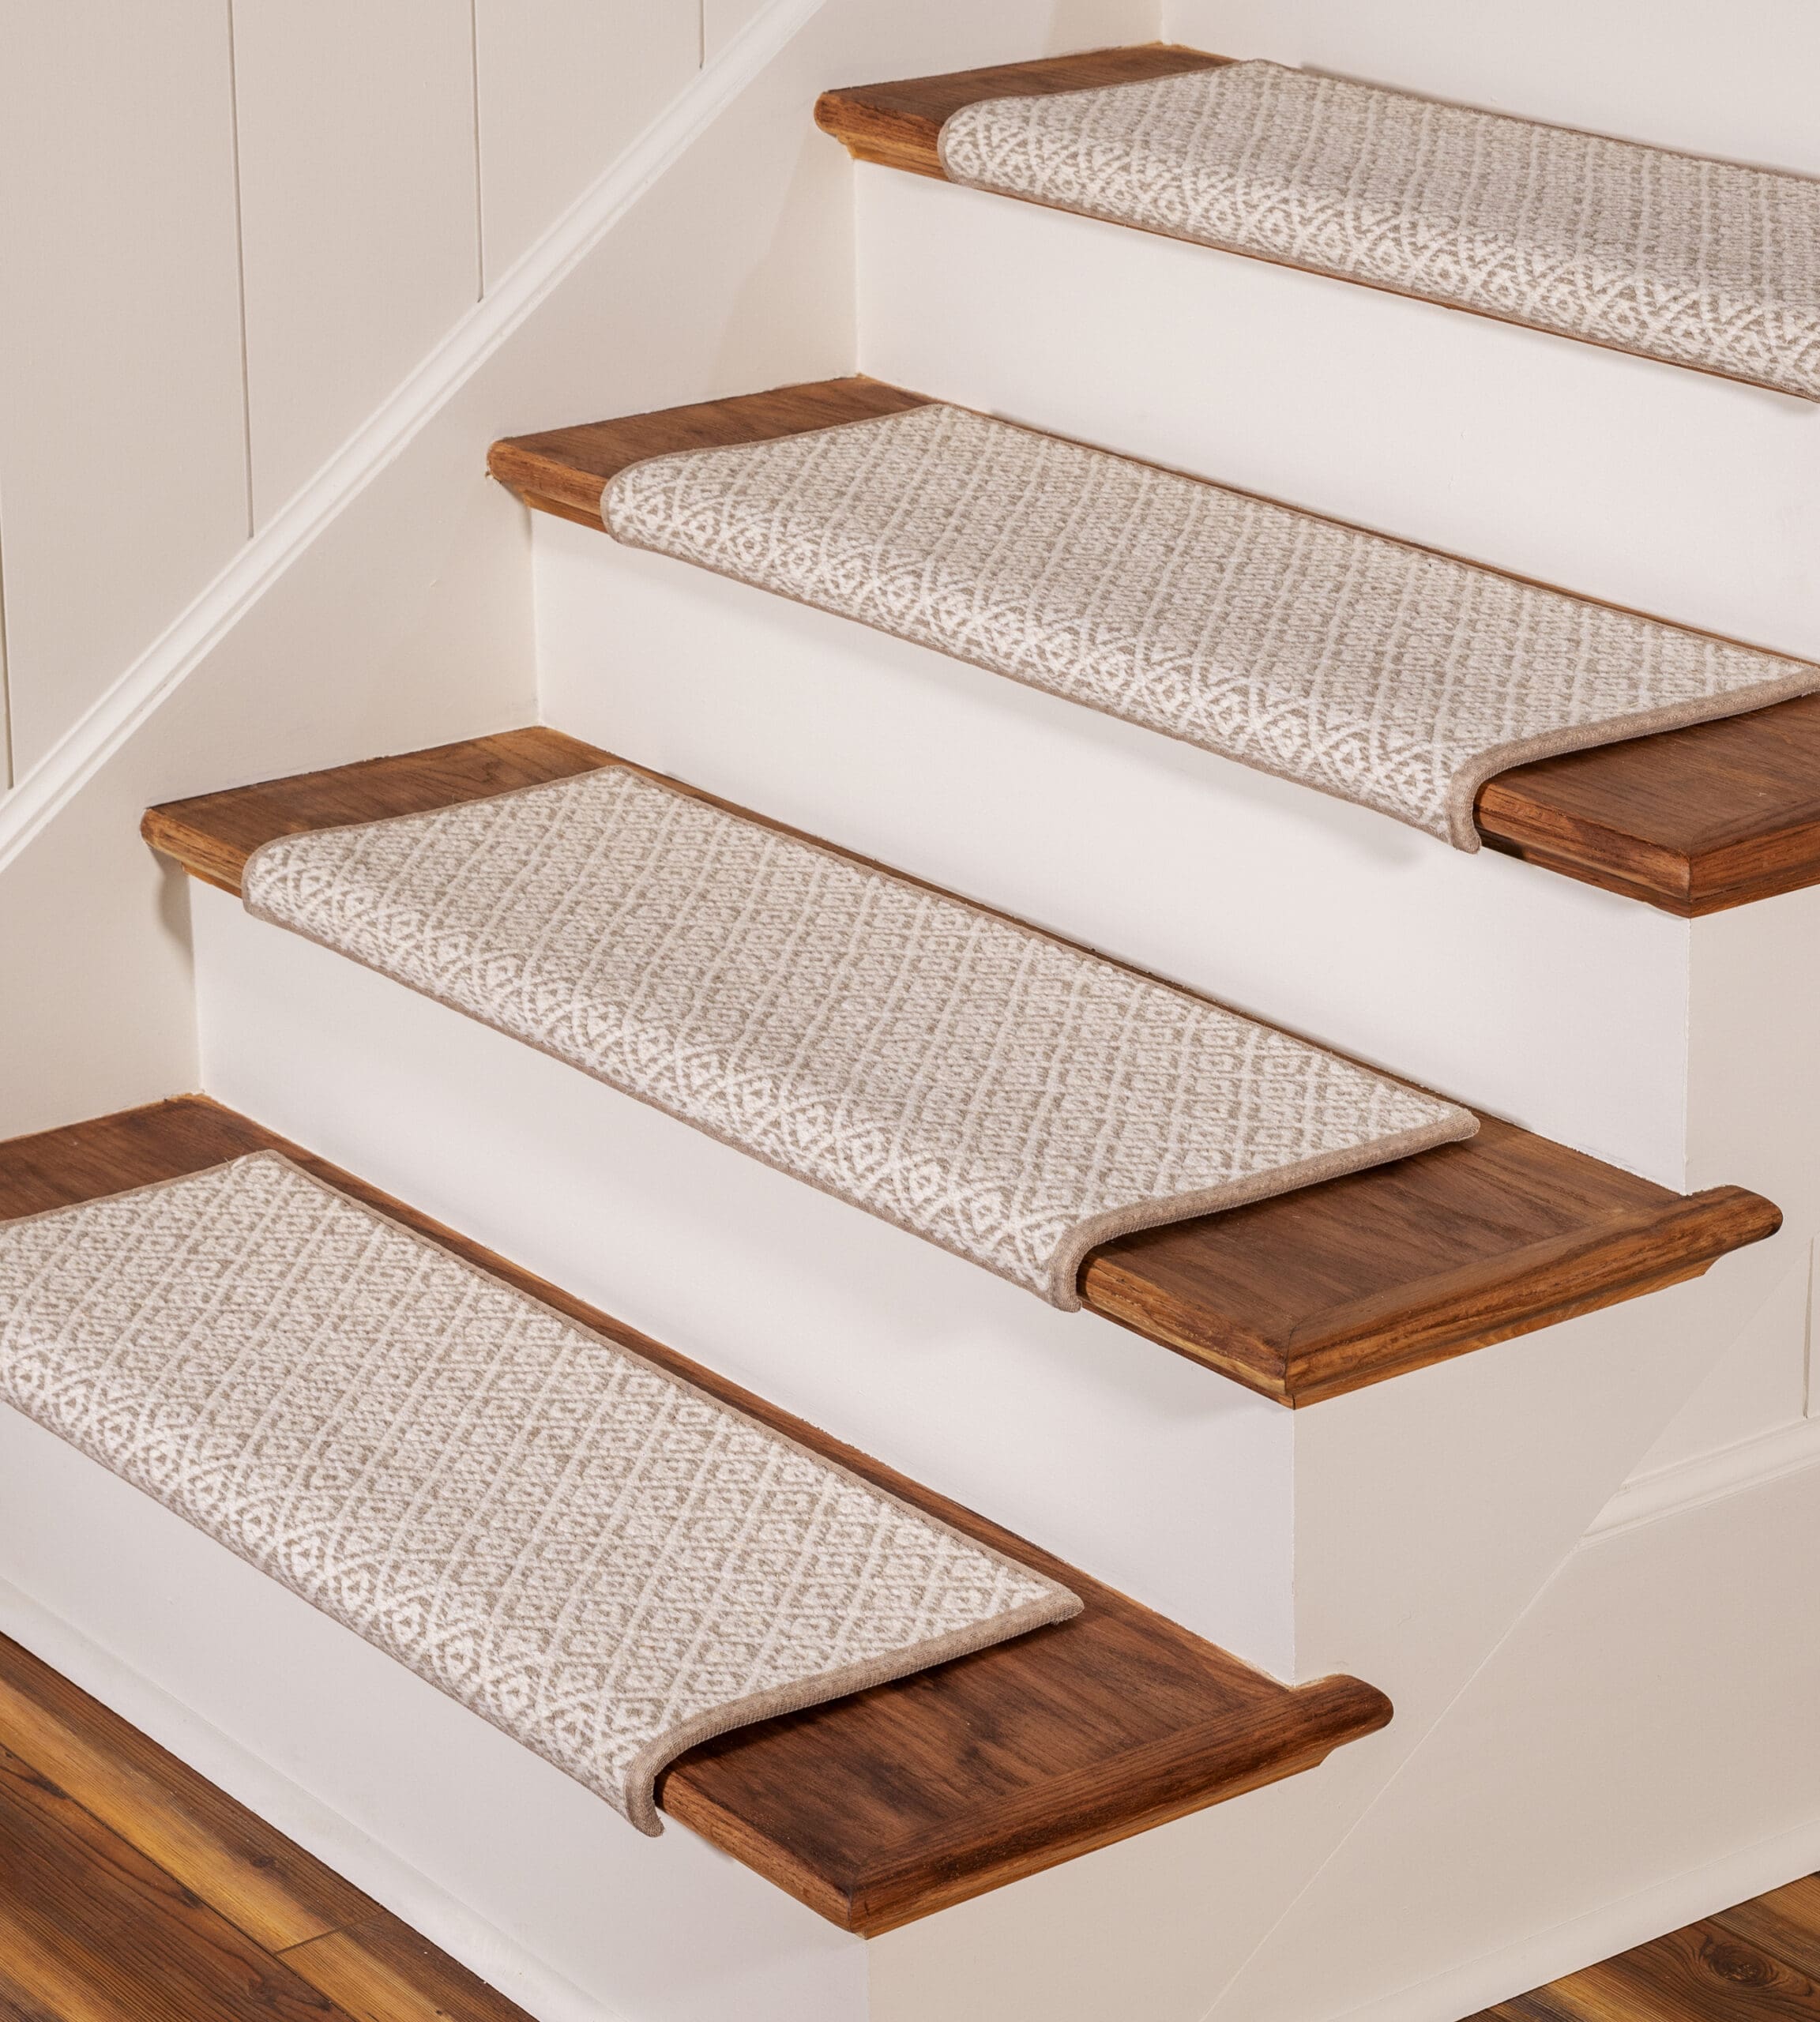
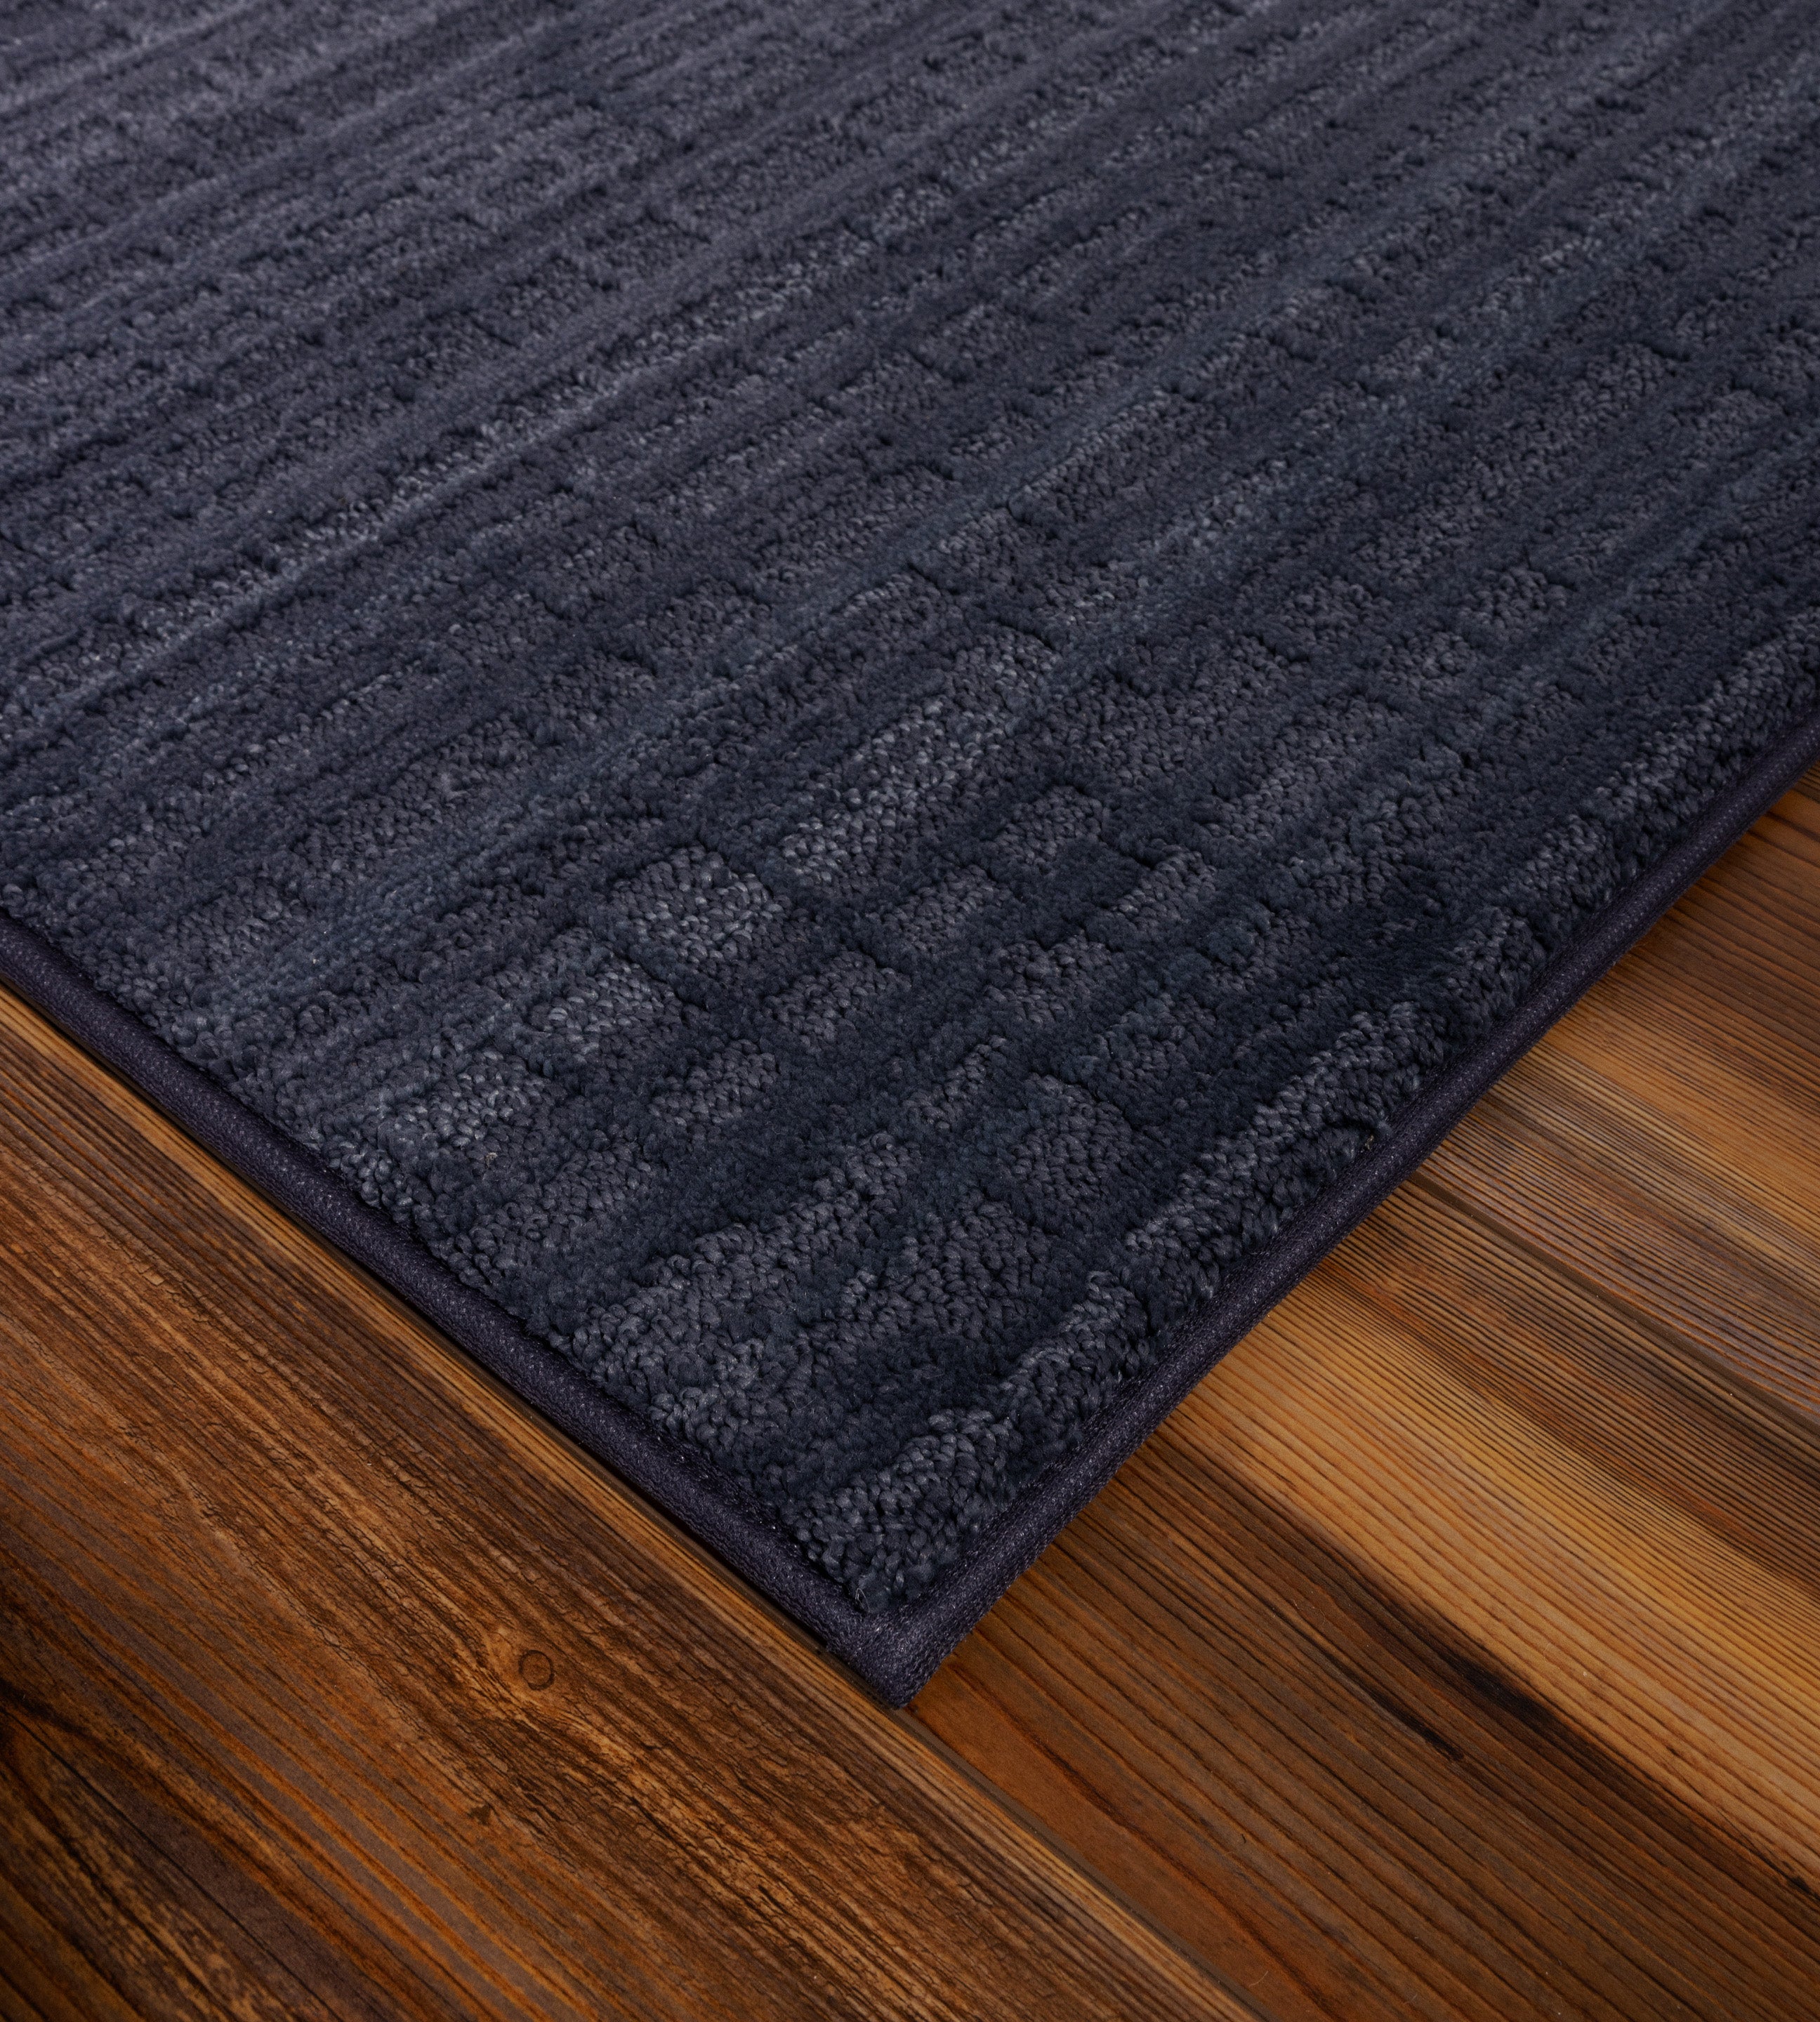
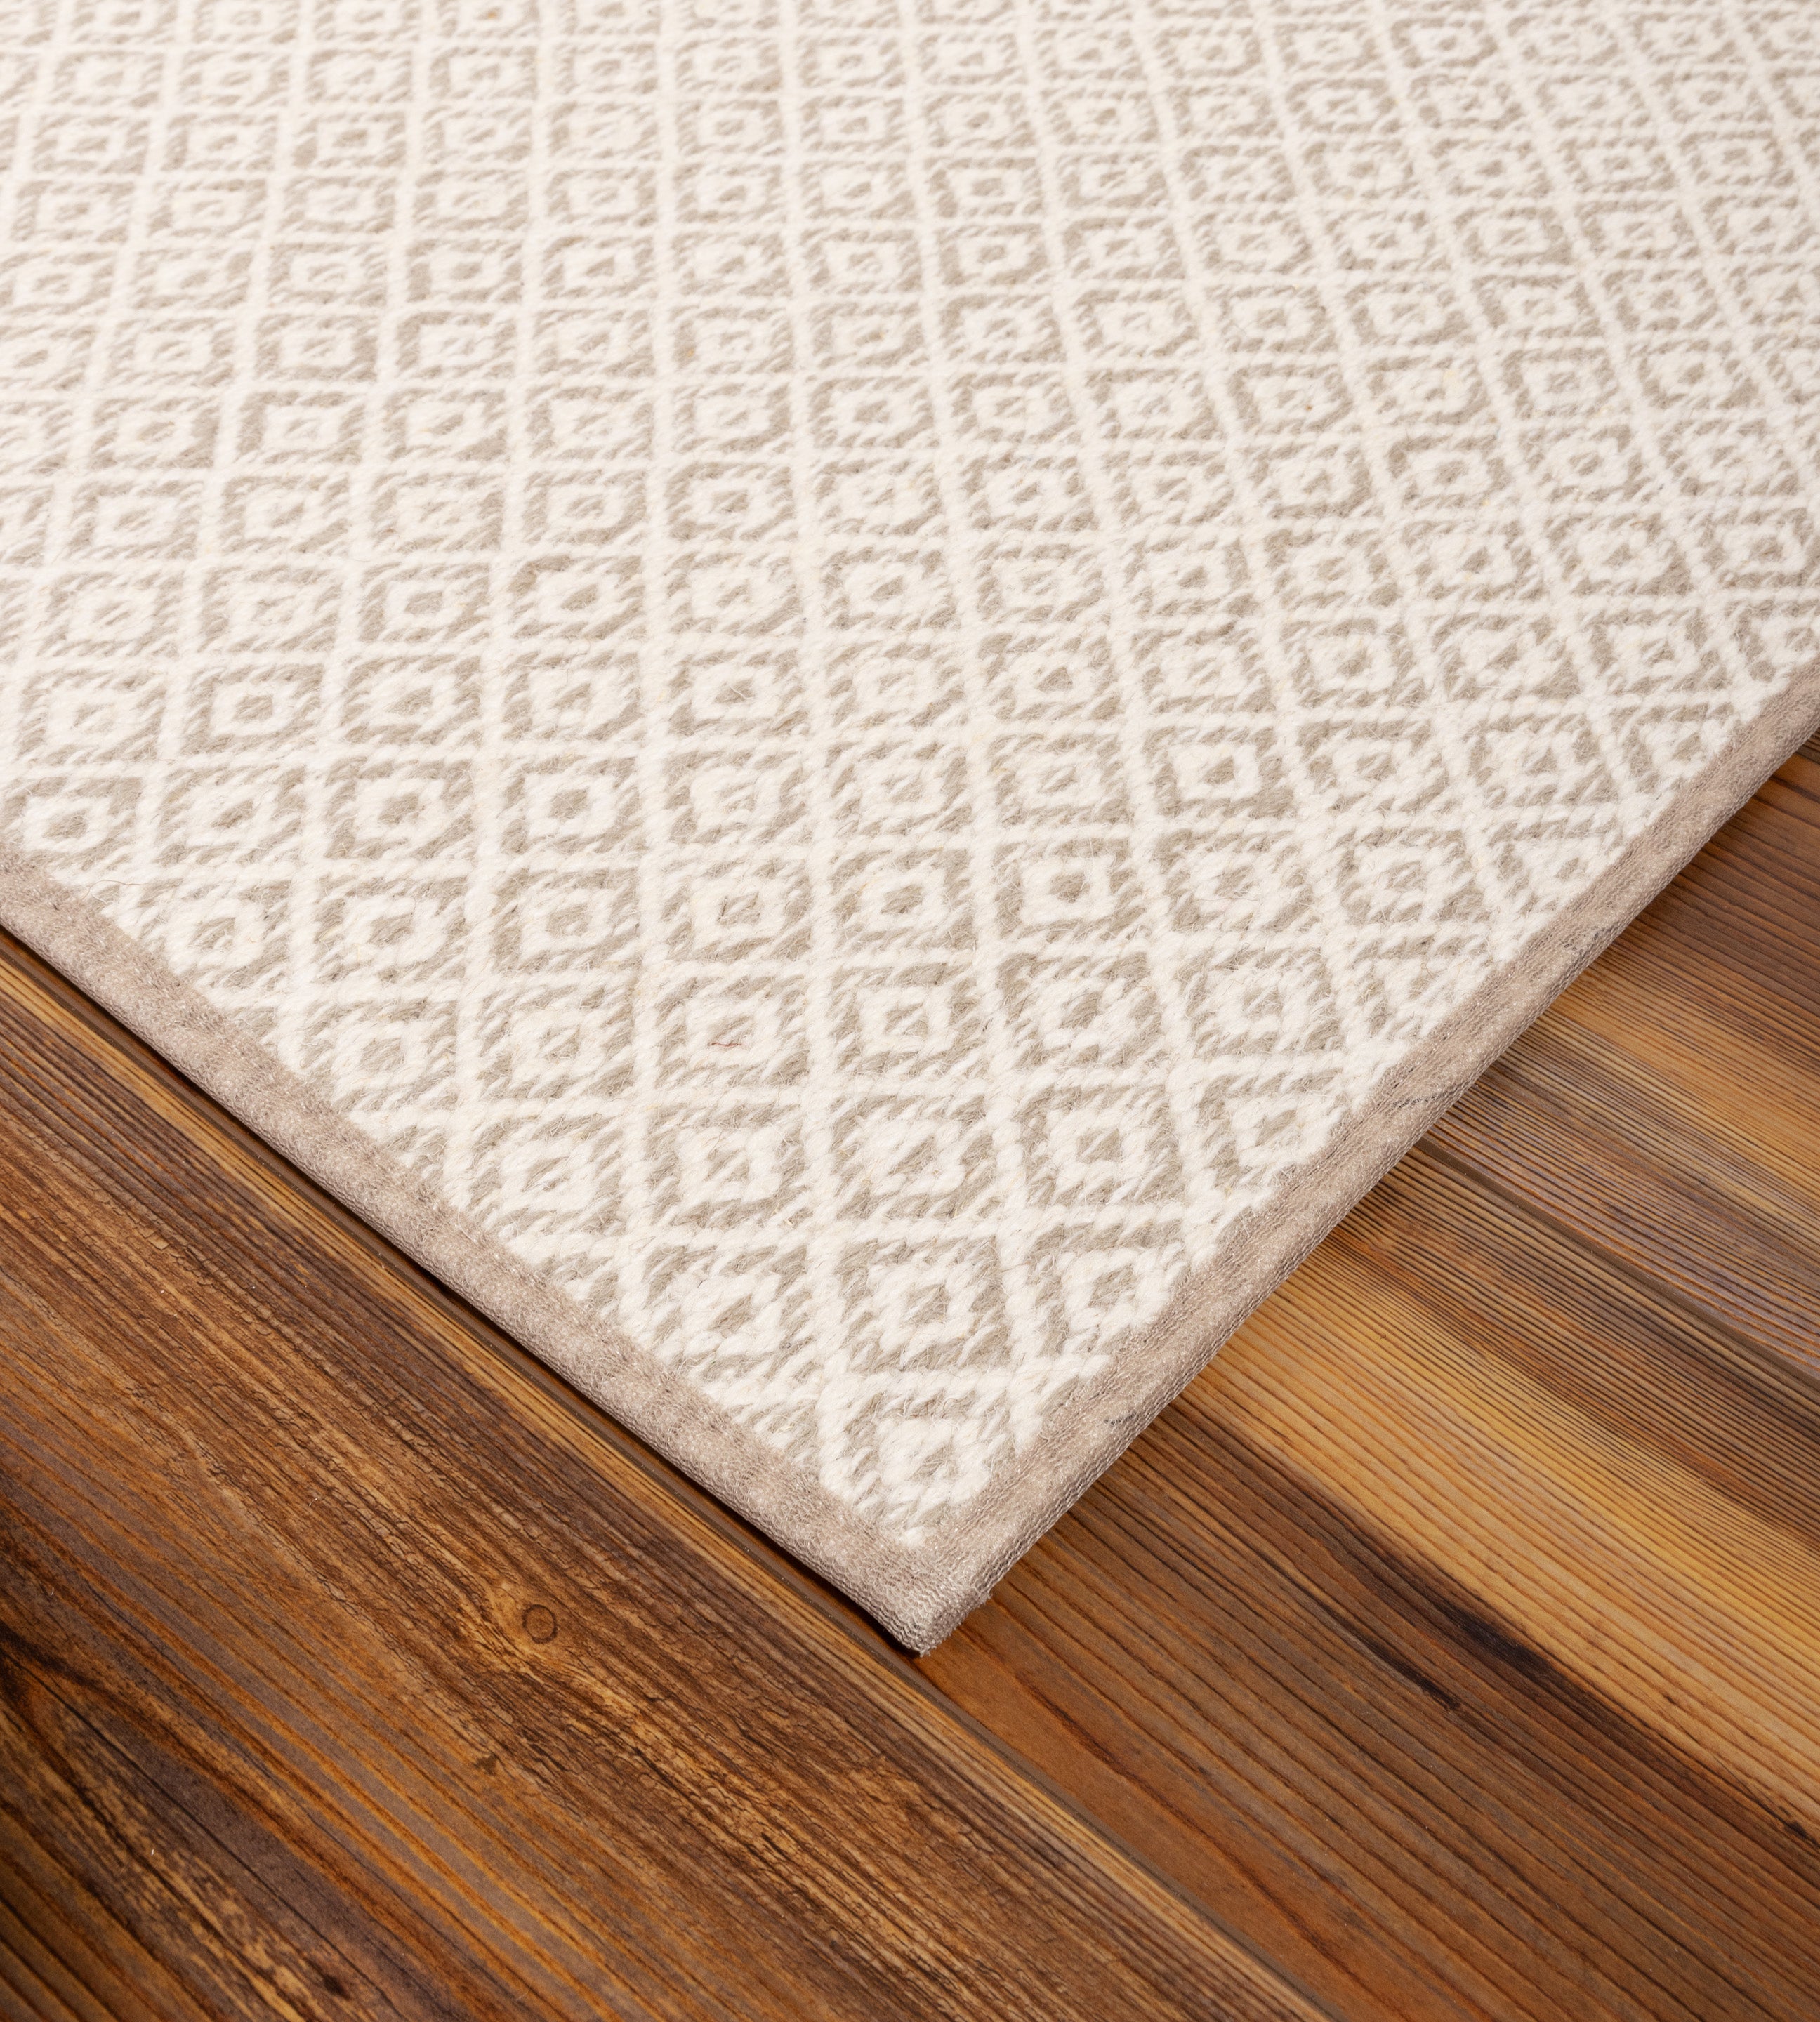
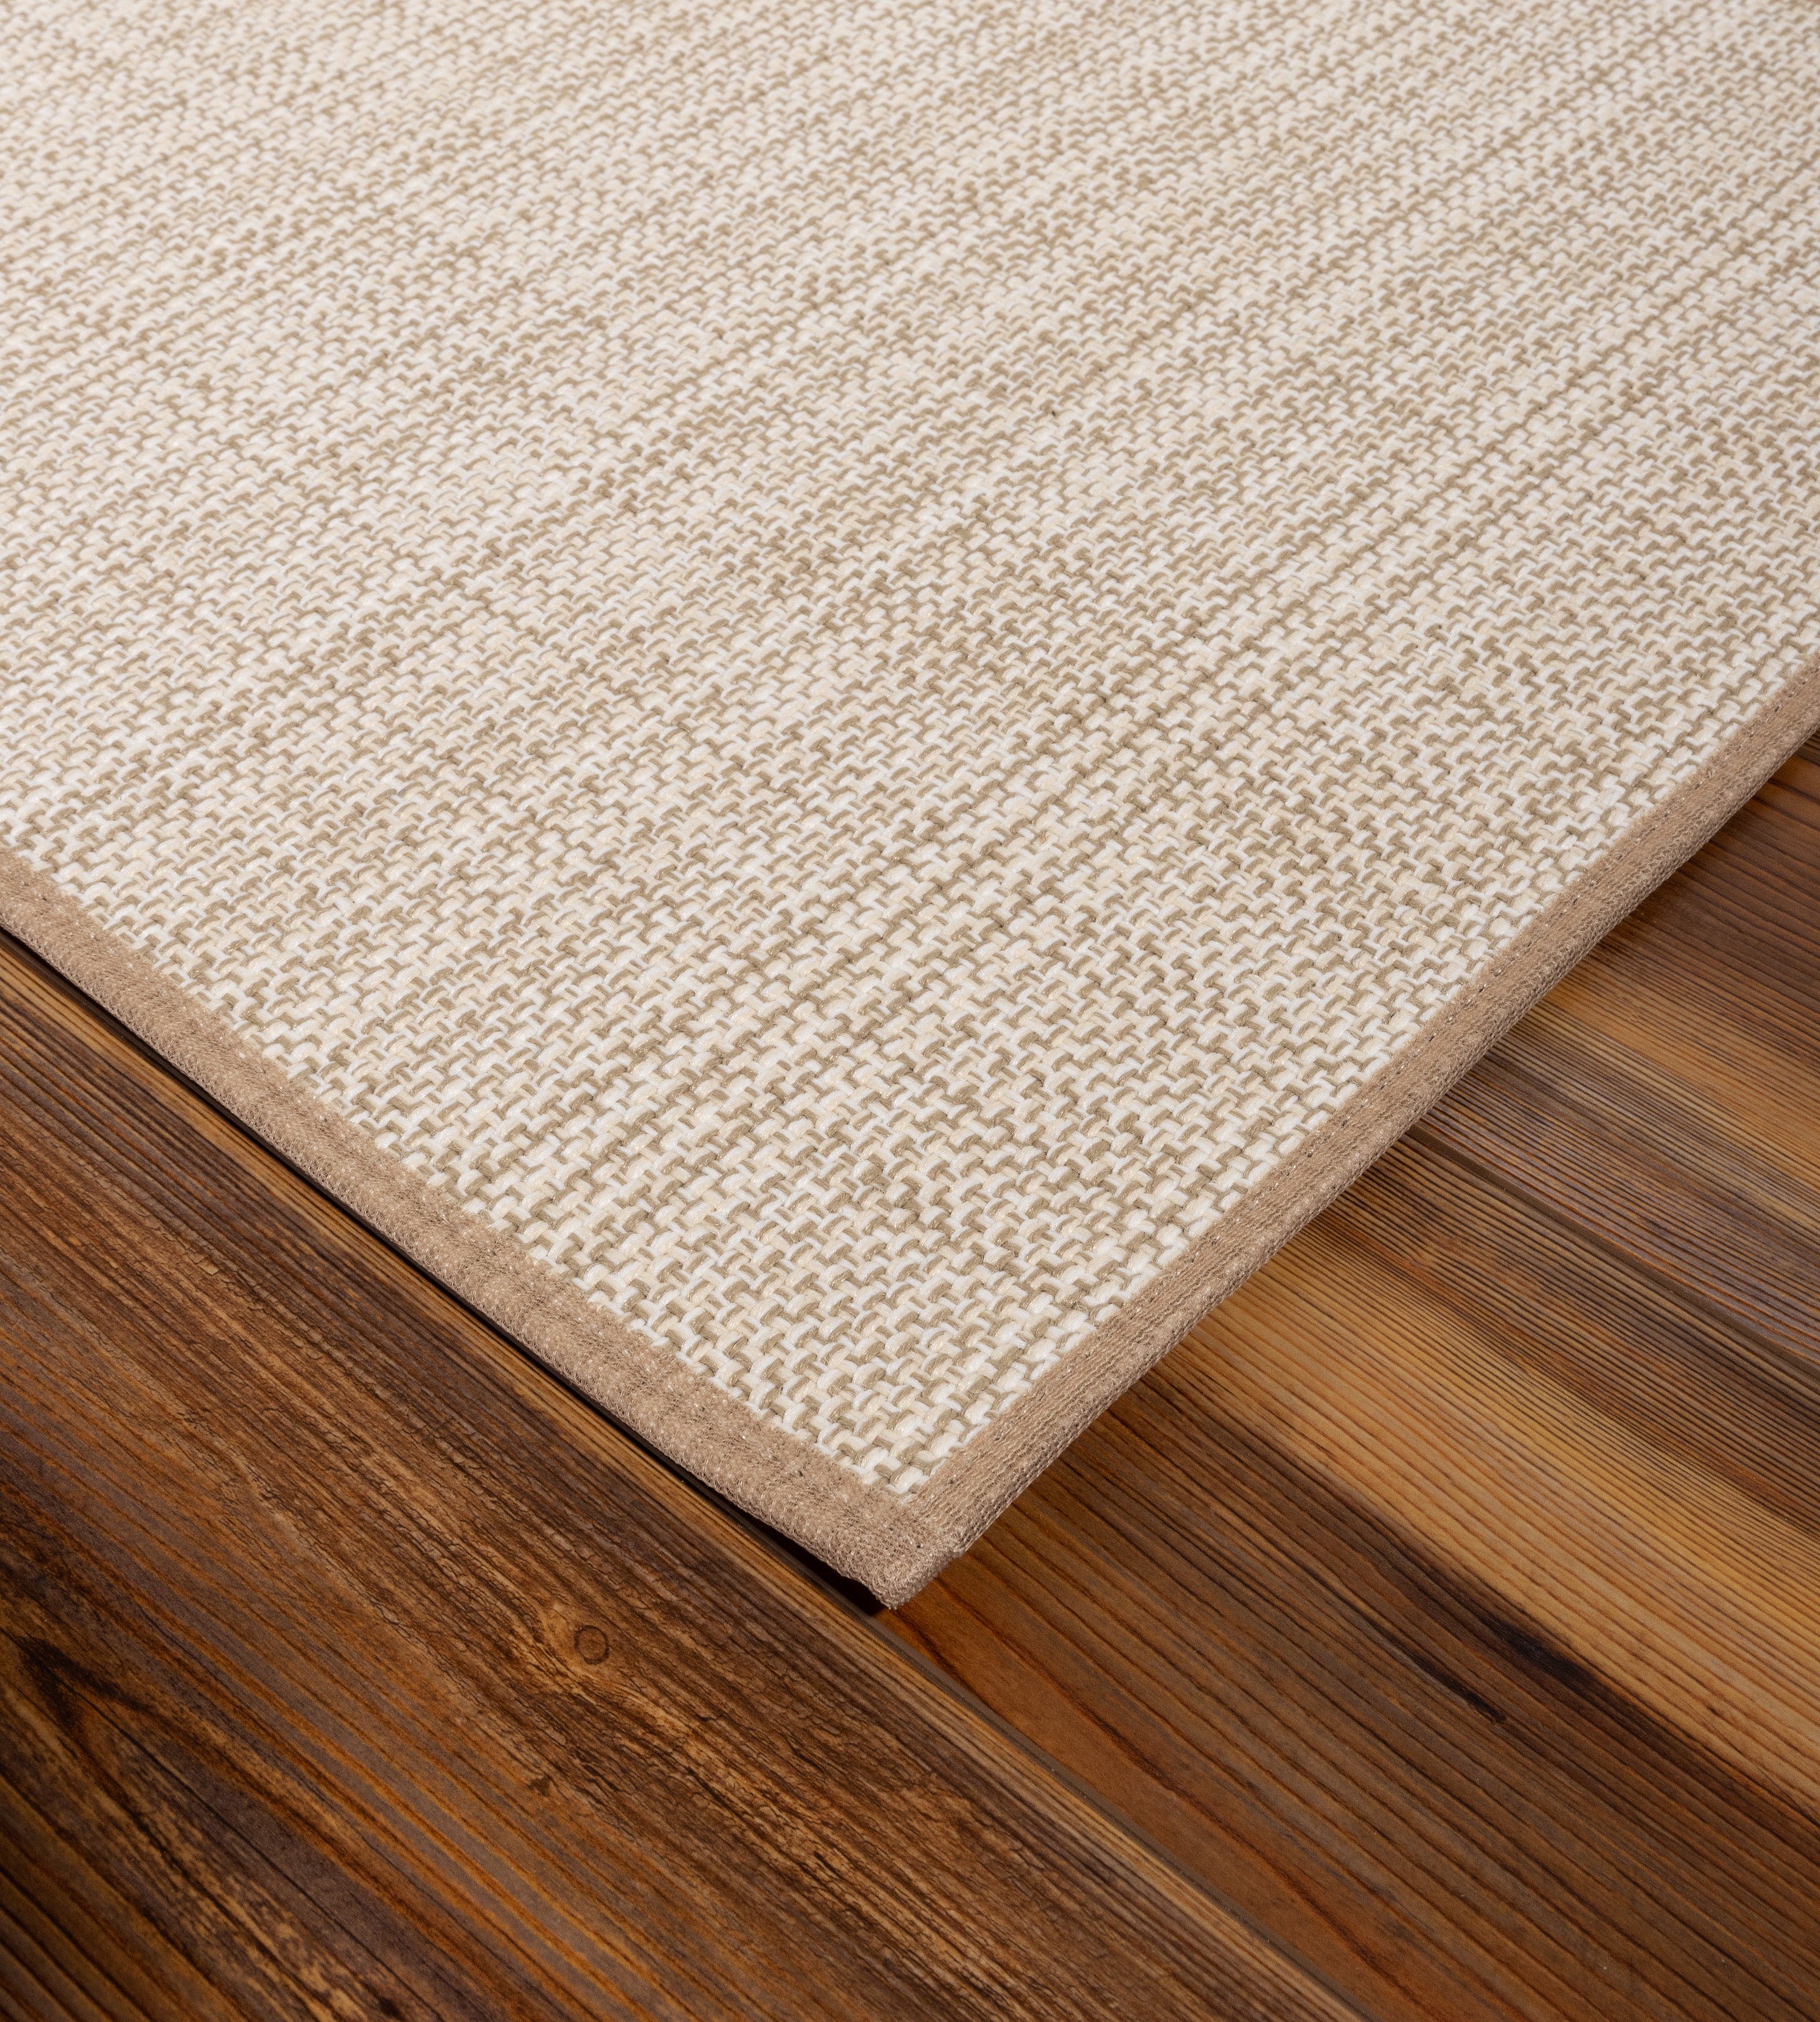
Selecting the Right Style and Color
Consider the overall design aesthetic of your home when choosing the style and color of the carpet stair treads. Whether you prefer a classic, neutral look or a bold, modern statement, there are options to suit every taste.
Installing Carpet Stair Treads
With the carpet stair treads selected, it’s time to move on to the installation process.
Tools and Materials Needed
Gather the necessary tools and materials for installing the carpet stair treads, including a brad nailer, staple gun, and the treads themselves.
Step-by-step Installation Process
Start by securing the treads to the stairs using a brad nailer or staple gun. Work your way from the bottom of the staircase to the top, ensuring that each tread is securely fastened.
Securing the Treads for Safety
Once the treads are installed, double-check that they are firmly attached to the stairs to prevent any movement or slippage. This step is crucial for ensuring the safety of anyone using the staircase.
Finishing Touches and Maintenance
After completing the installation of the carpet stair treads, it’s time to add the finishing touches to complete the remodel.
Adding Finishing Touches for a Polished Look
Consider additional design elements such as a newel post or accent wall to complement your newly remodeled stairs. A fresh coat of paint on the stair risers or an accent wall in a bold color can elevate the overall look of the staircase.
Tips for Maintaining the Newly Remodeled Stairs
To keep your newly remodeled stairs looking their best, implement a regular cleaning and maintenance routine. Vacuum the carpet stair treads regularly and address any spills or stains promptly to preserve their appearance.
Conclusion
In conclusion, a DIY stair remodel is a fantastic way to breathe new life into your home and create a stunning focal point. By following the step-by-step process of sanding, refurbishing, and installing carpet stair treads, you can achieve a stylish and functional upgrade that enhances the overall aesthetic of your living space. We encourage you to tackle your own stair remodel project and enjoy the sense of accomplishment that comes with transforming your old wooden stairs into a beautiful feature in your home.