Discover how to transform your old, carpeted stairs into a stunning focal point in your home with this step-by-step DIY stair remodel guide.
DIY Stair Remodel
Discover how to transform your old, carpeted stairs into a stunning focal point in your home with this step-by-step DIY stair remodel guide. From removing the old carpet to refurbishing hardwood floors, installing carpet stair treads, and adding a new railing, this article has everything you need to give your stairs a stylish makeover.
Introduction to DIY Stair Remodel
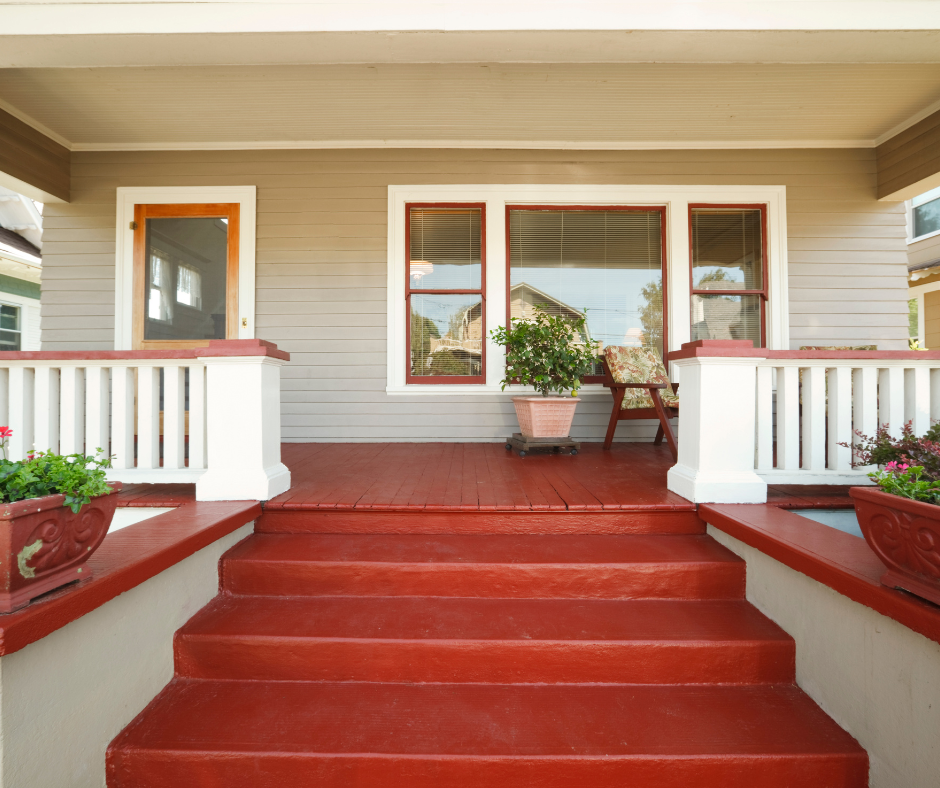
Are you tired of the old, worn-out carpet on your staircase? Do you want to give your home a fresh, stylish look? A DIY stair remodel could be the perfect solution for you. Upgrading your staircase can have a significant impact on the overall aesthetic of your home. It not only adds value to your property but also creates a stunning focal point that enhances the visual appeal of your interior space.
Importance of Upgrading Your Staircase
The staircase is often a prominent feature in a home, and its appearance can greatly influence the overall impression of the interior. A well-designed and well-maintained staircase can elevate the look and feel of your home, making it more inviting and visually appealing. By taking on a DIY stair remodel, you have the opportunity to transform a functional element of your home into a beautiful design feature.
Benefits of DIY Stair Remodel
Opting for a DIY approach to staircase remodeling offers several benefits. Not only does it allow you to customize the design according to your preferences, but it also presents a cost-effective alternative to hiring professionals. Additionally, taking on a DIY project can be a rewarding experience, providing a sense of accomplishment and pride in the finished result.
Overview of the Step-by-Step Process
In this comprehensive guide, we will take you through the entire process of transforming your old, carpeted stairs into a stunning focal point in your home. From removing the old carpet to refurbishing hardwood floors, installing carpet stair treads, and adding a new railing, this article has everything you need to give your stairs a stylish makeover. Whether you’re a seasoned DIY enthusiast or a first-time renovator, this informative guide is perfect for anyone looking to upgrade their staircase.
Step 1
Tools and Materials Needed
Before you begin your first day stair remodel, gather the necessary tools and materials. You will need a utility knife, pliers, pry bar, hammer, nails, screws, screwdriver, measuring tape, sandpaper, wood filler, paint or stain, paintbrushes, and protective finish. Additionally, consider investing in an air compressor tool for efficient sanding and cleaning.
Preparing the Staircase for Carpet Removal
Start by removing any obstructions such as furniture or decor near the staircase. Clearing the area will provide you with ample space to work and maneuver during the remodel process.
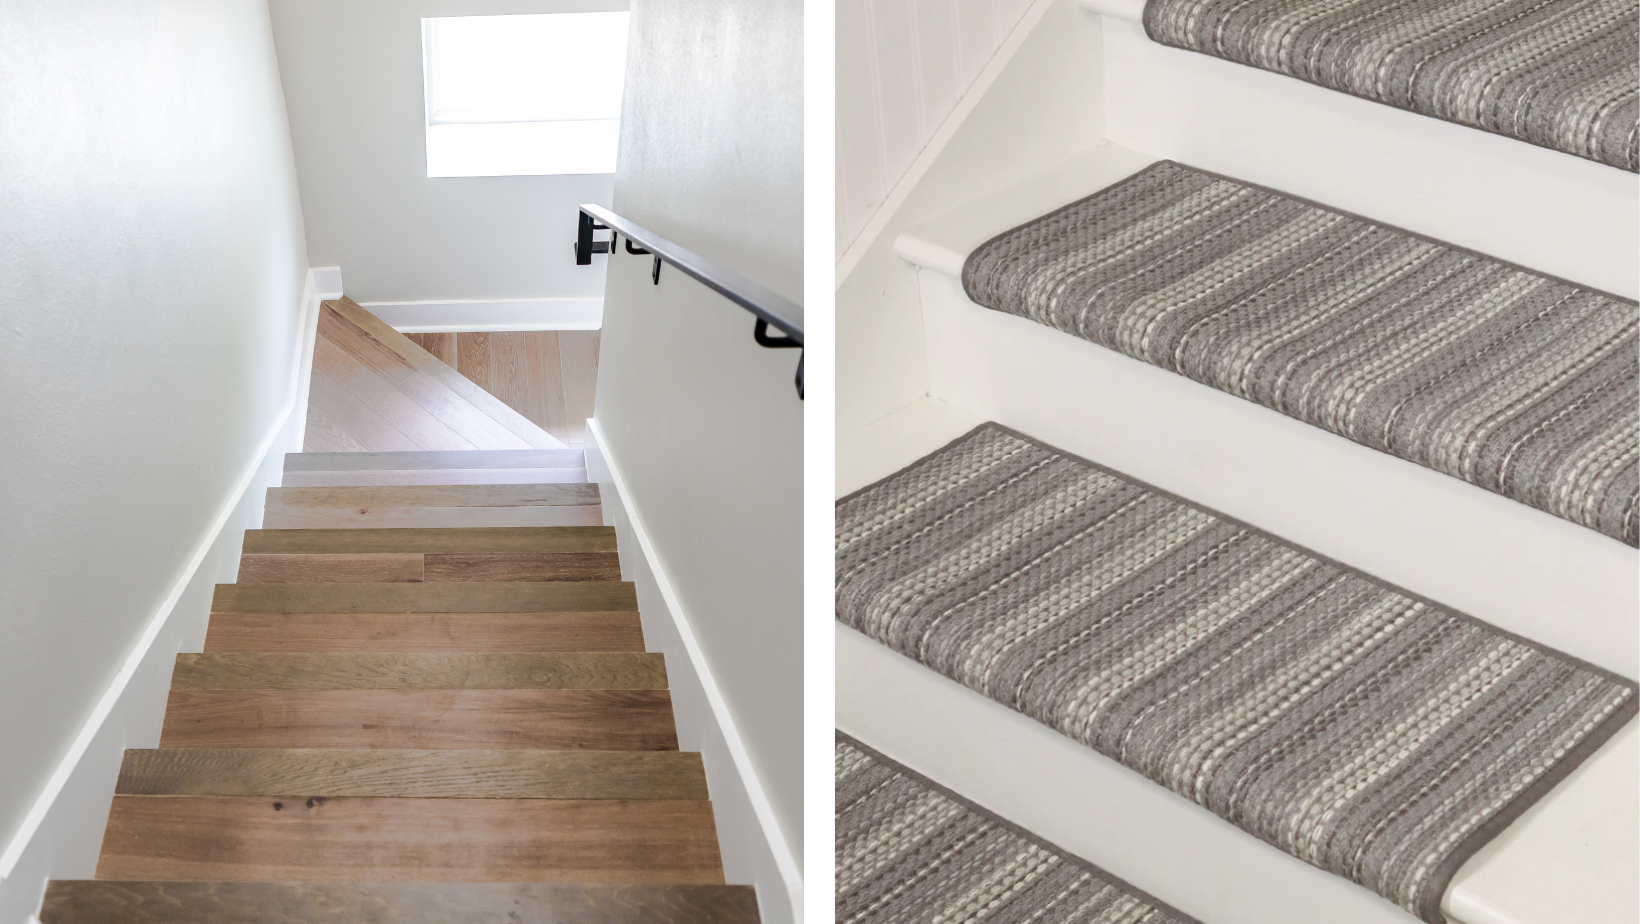
Step-by-Step Instructions for Removing the Old Carpet
Using a utility knife, carefully cut and remove the carpet along the edge of each stair tread. Once the carpet is detached, use pliers to pull up any remaining staples or tacks. With a pry bar and hammer, gently lift and remove the tack strips and padding from the stairs.
Step 2
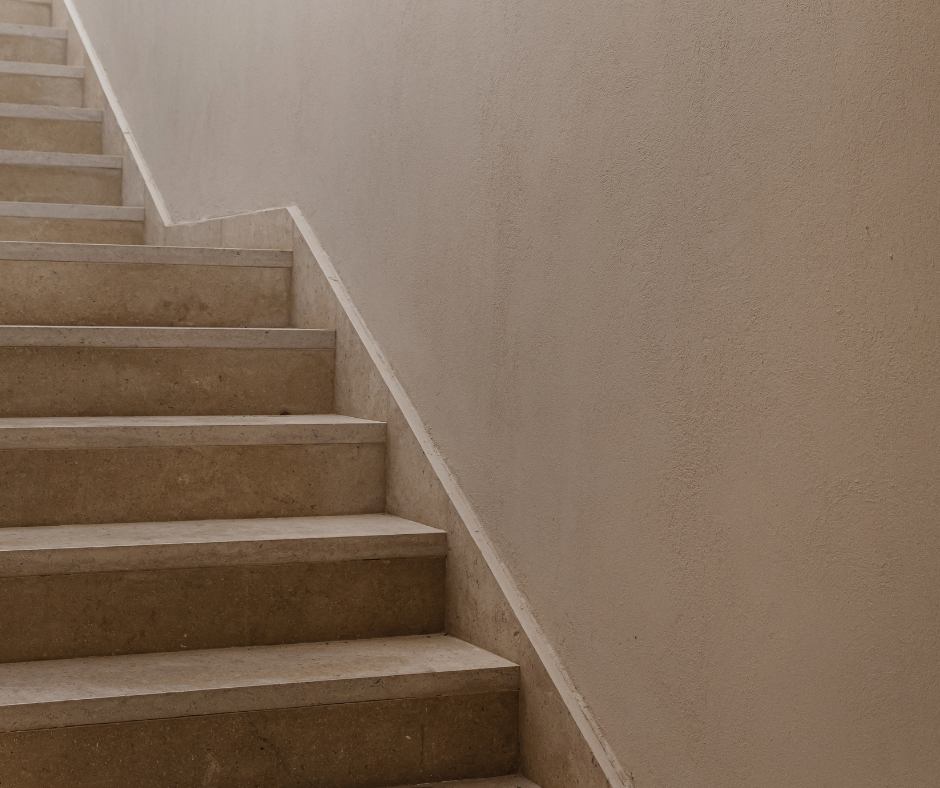
Inspecting the Condition of the Stairs
After removing the old carpet, inspect the condition of the stairs. Look for any damaged or uneven areas that may require repair or adjustment before proceeding with the remodel.
Repairing Any Damaged or Uneven Areas
If you notice any damaged or uneven areas, use wood filler to fill in gaps or cracks. For any structural issues, consider consulting a professional for necessary repairs to ensure the safety and stability of the staircase.
Sanding and Cleaning the Surface for the Next Steps
Once the repairs are complete, sand the surface of the stairs to create a smooth and even texture. Thoroughly clean the stairs to remove any dust, debris, or residue from the sanding process.
Step 3
Assessing the Condition of the Hardwood
If your staircase features hardwood underneath the carpet, assess its condition. Look for signs of wear, scratches, or discoloration that may require attention before proceeding with the remodel.
Sanding and Refinishing the Hardwood
Using a fine-grit sandpaper, sand the hardwood surface to remove any imperfections and create a smooth finish. Take care to sand in the direction of the wood grain for optimal results.
Applying Protective Finish for Durability
Once the sanding is complete, apply a protective finish to the hardwood to enhance its durability and longevity. Choose a finish that complements the overall aesthetic of your home and provides adequate protection against daily wear and tear.
Step 4
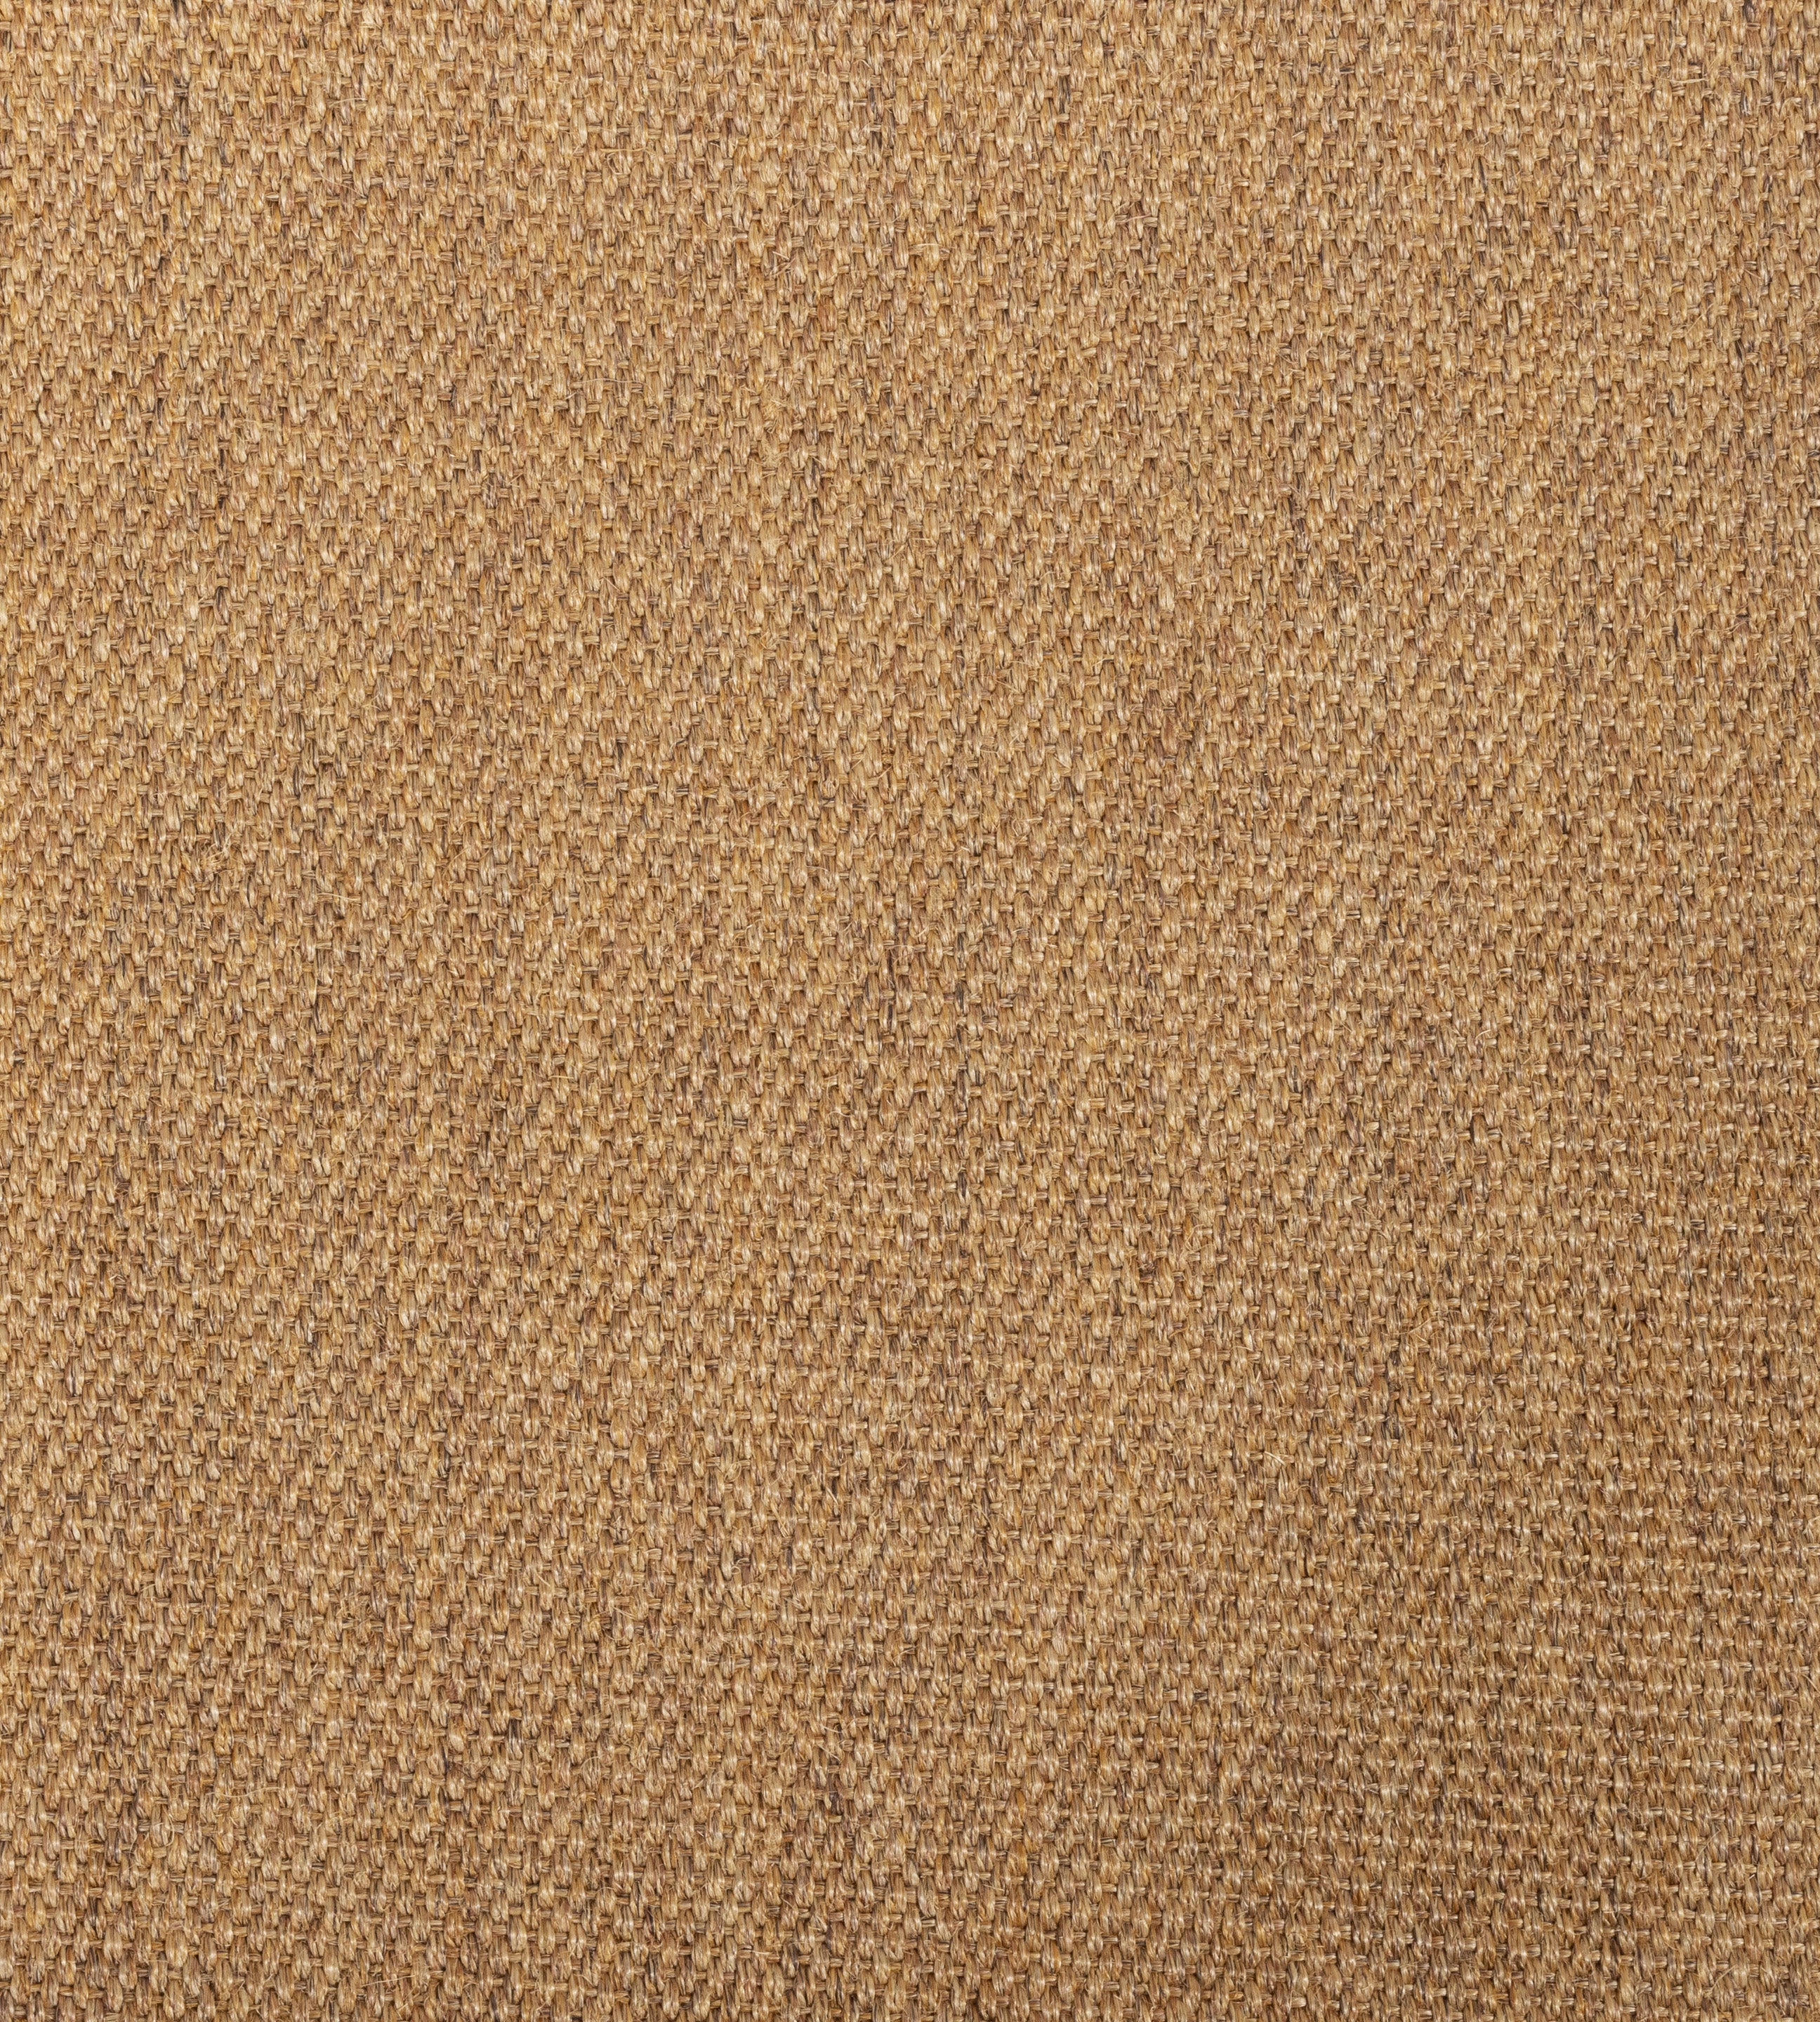
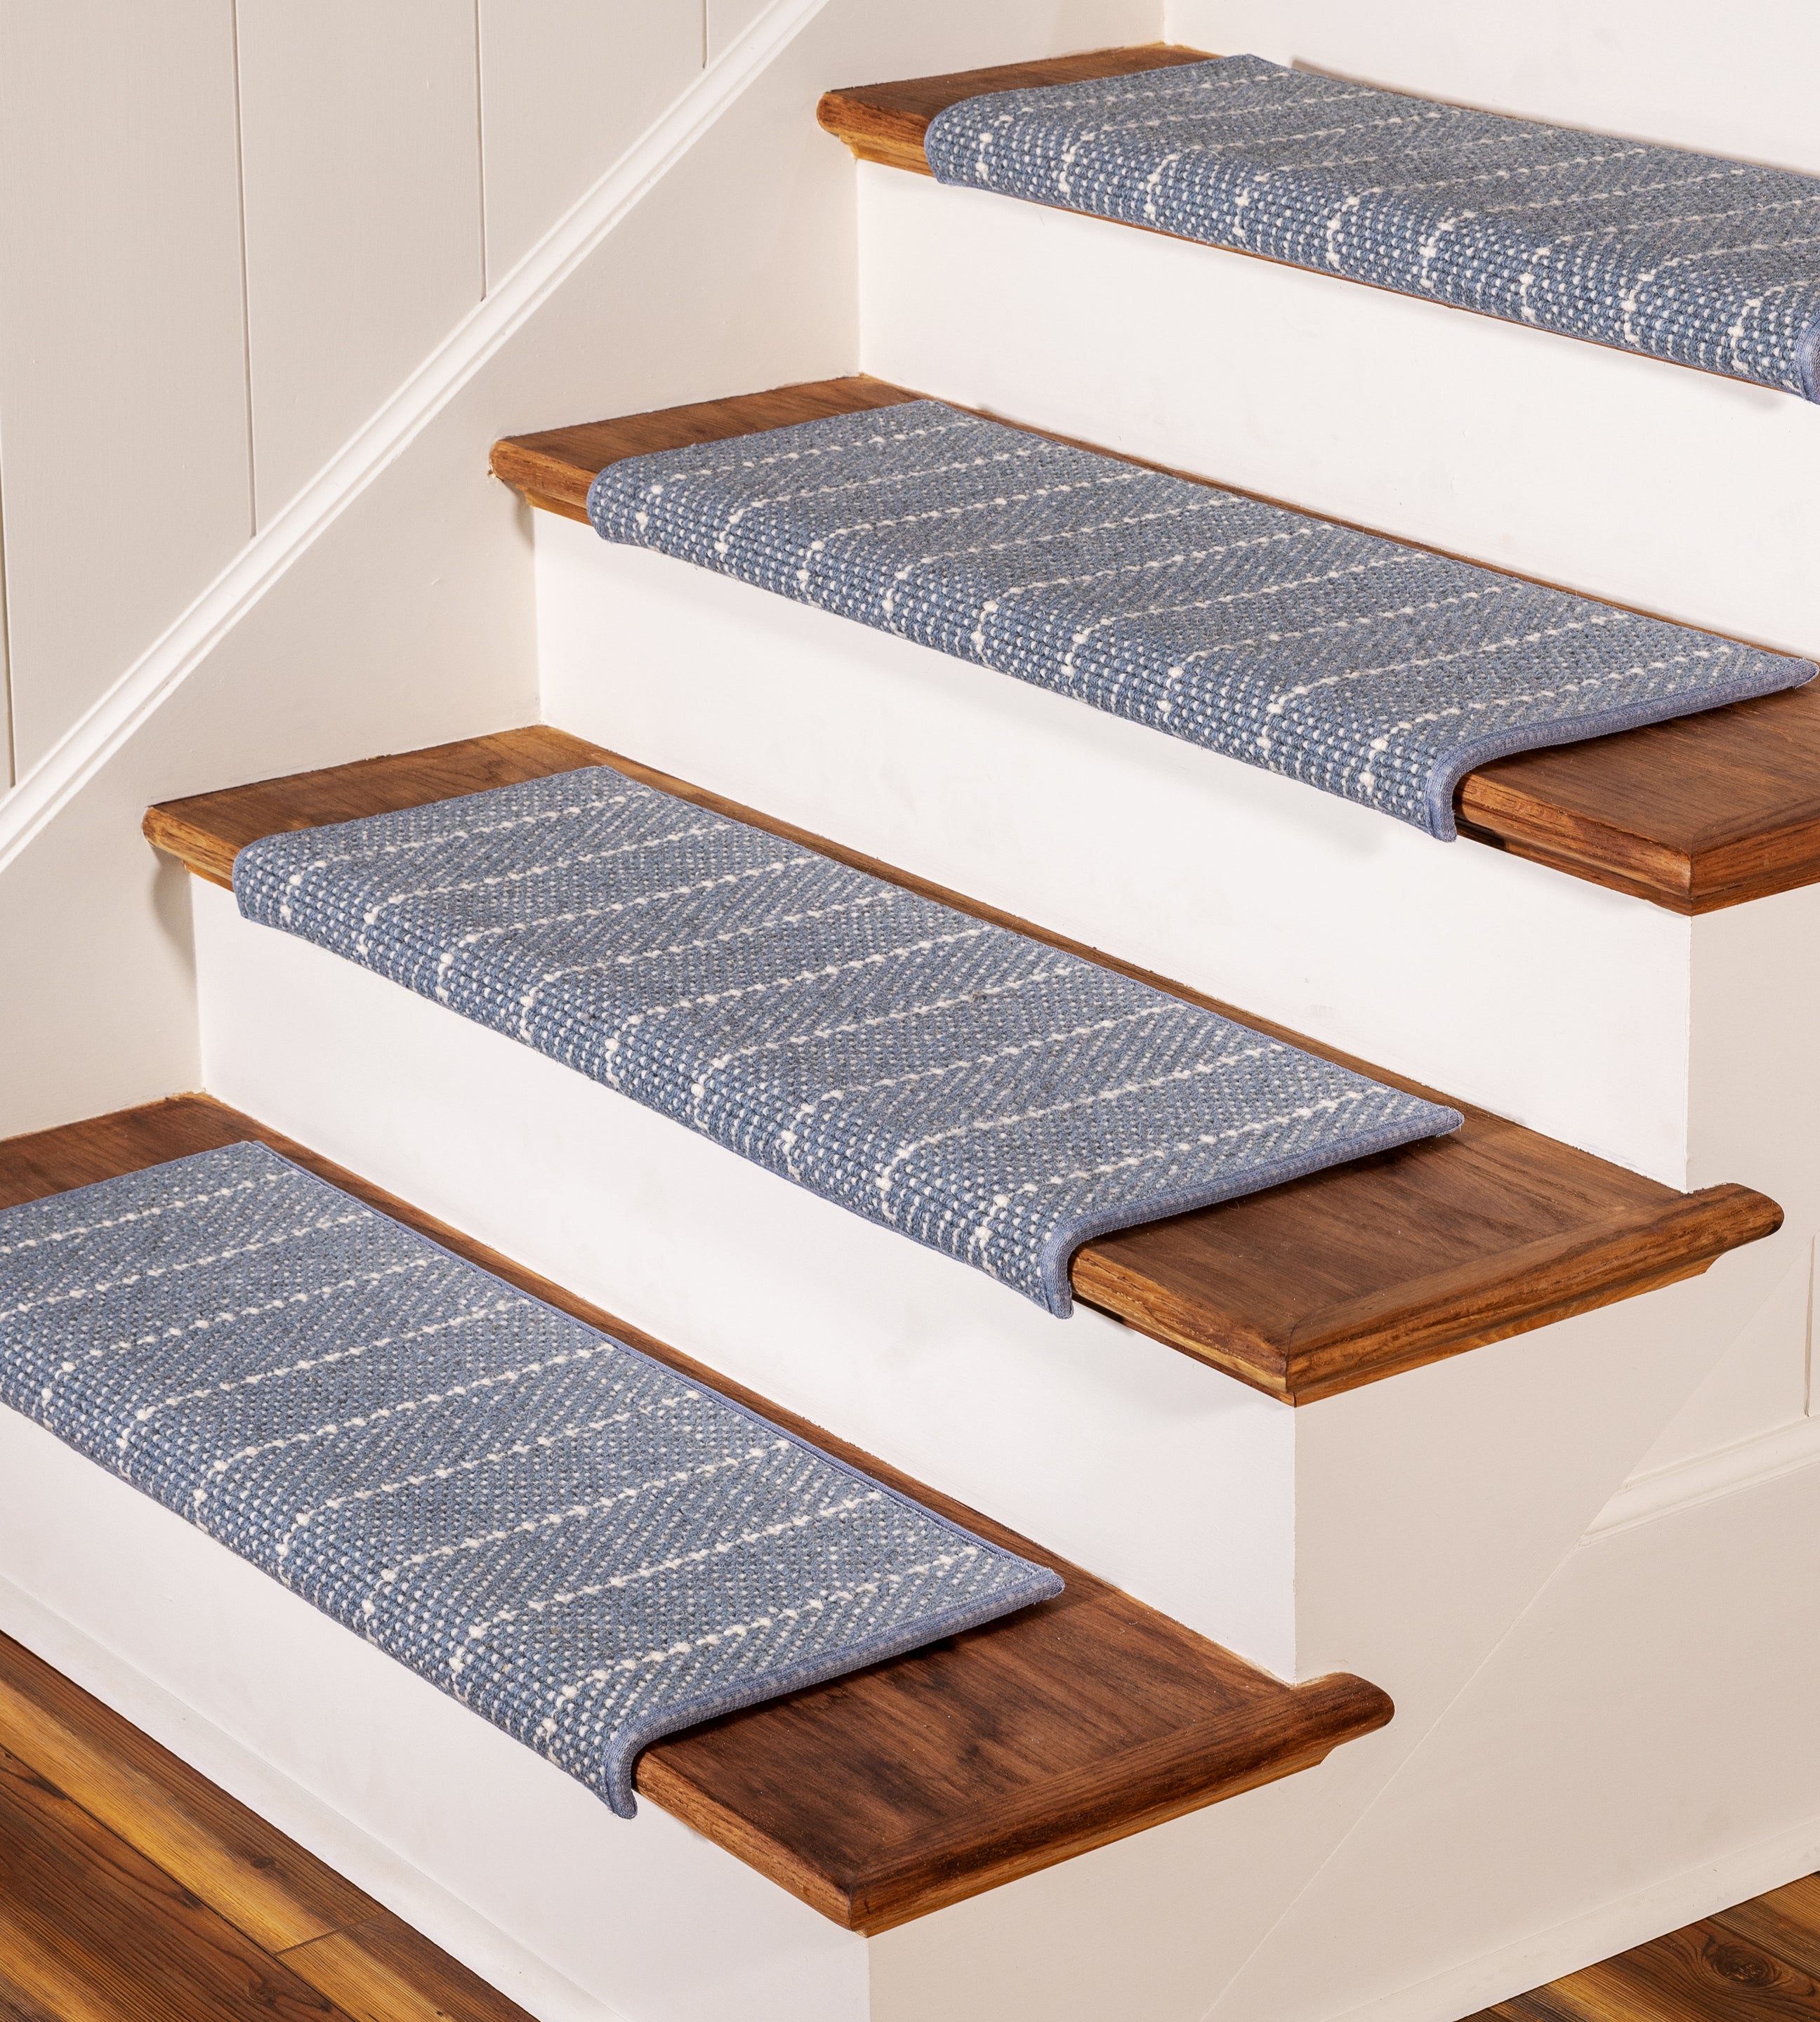
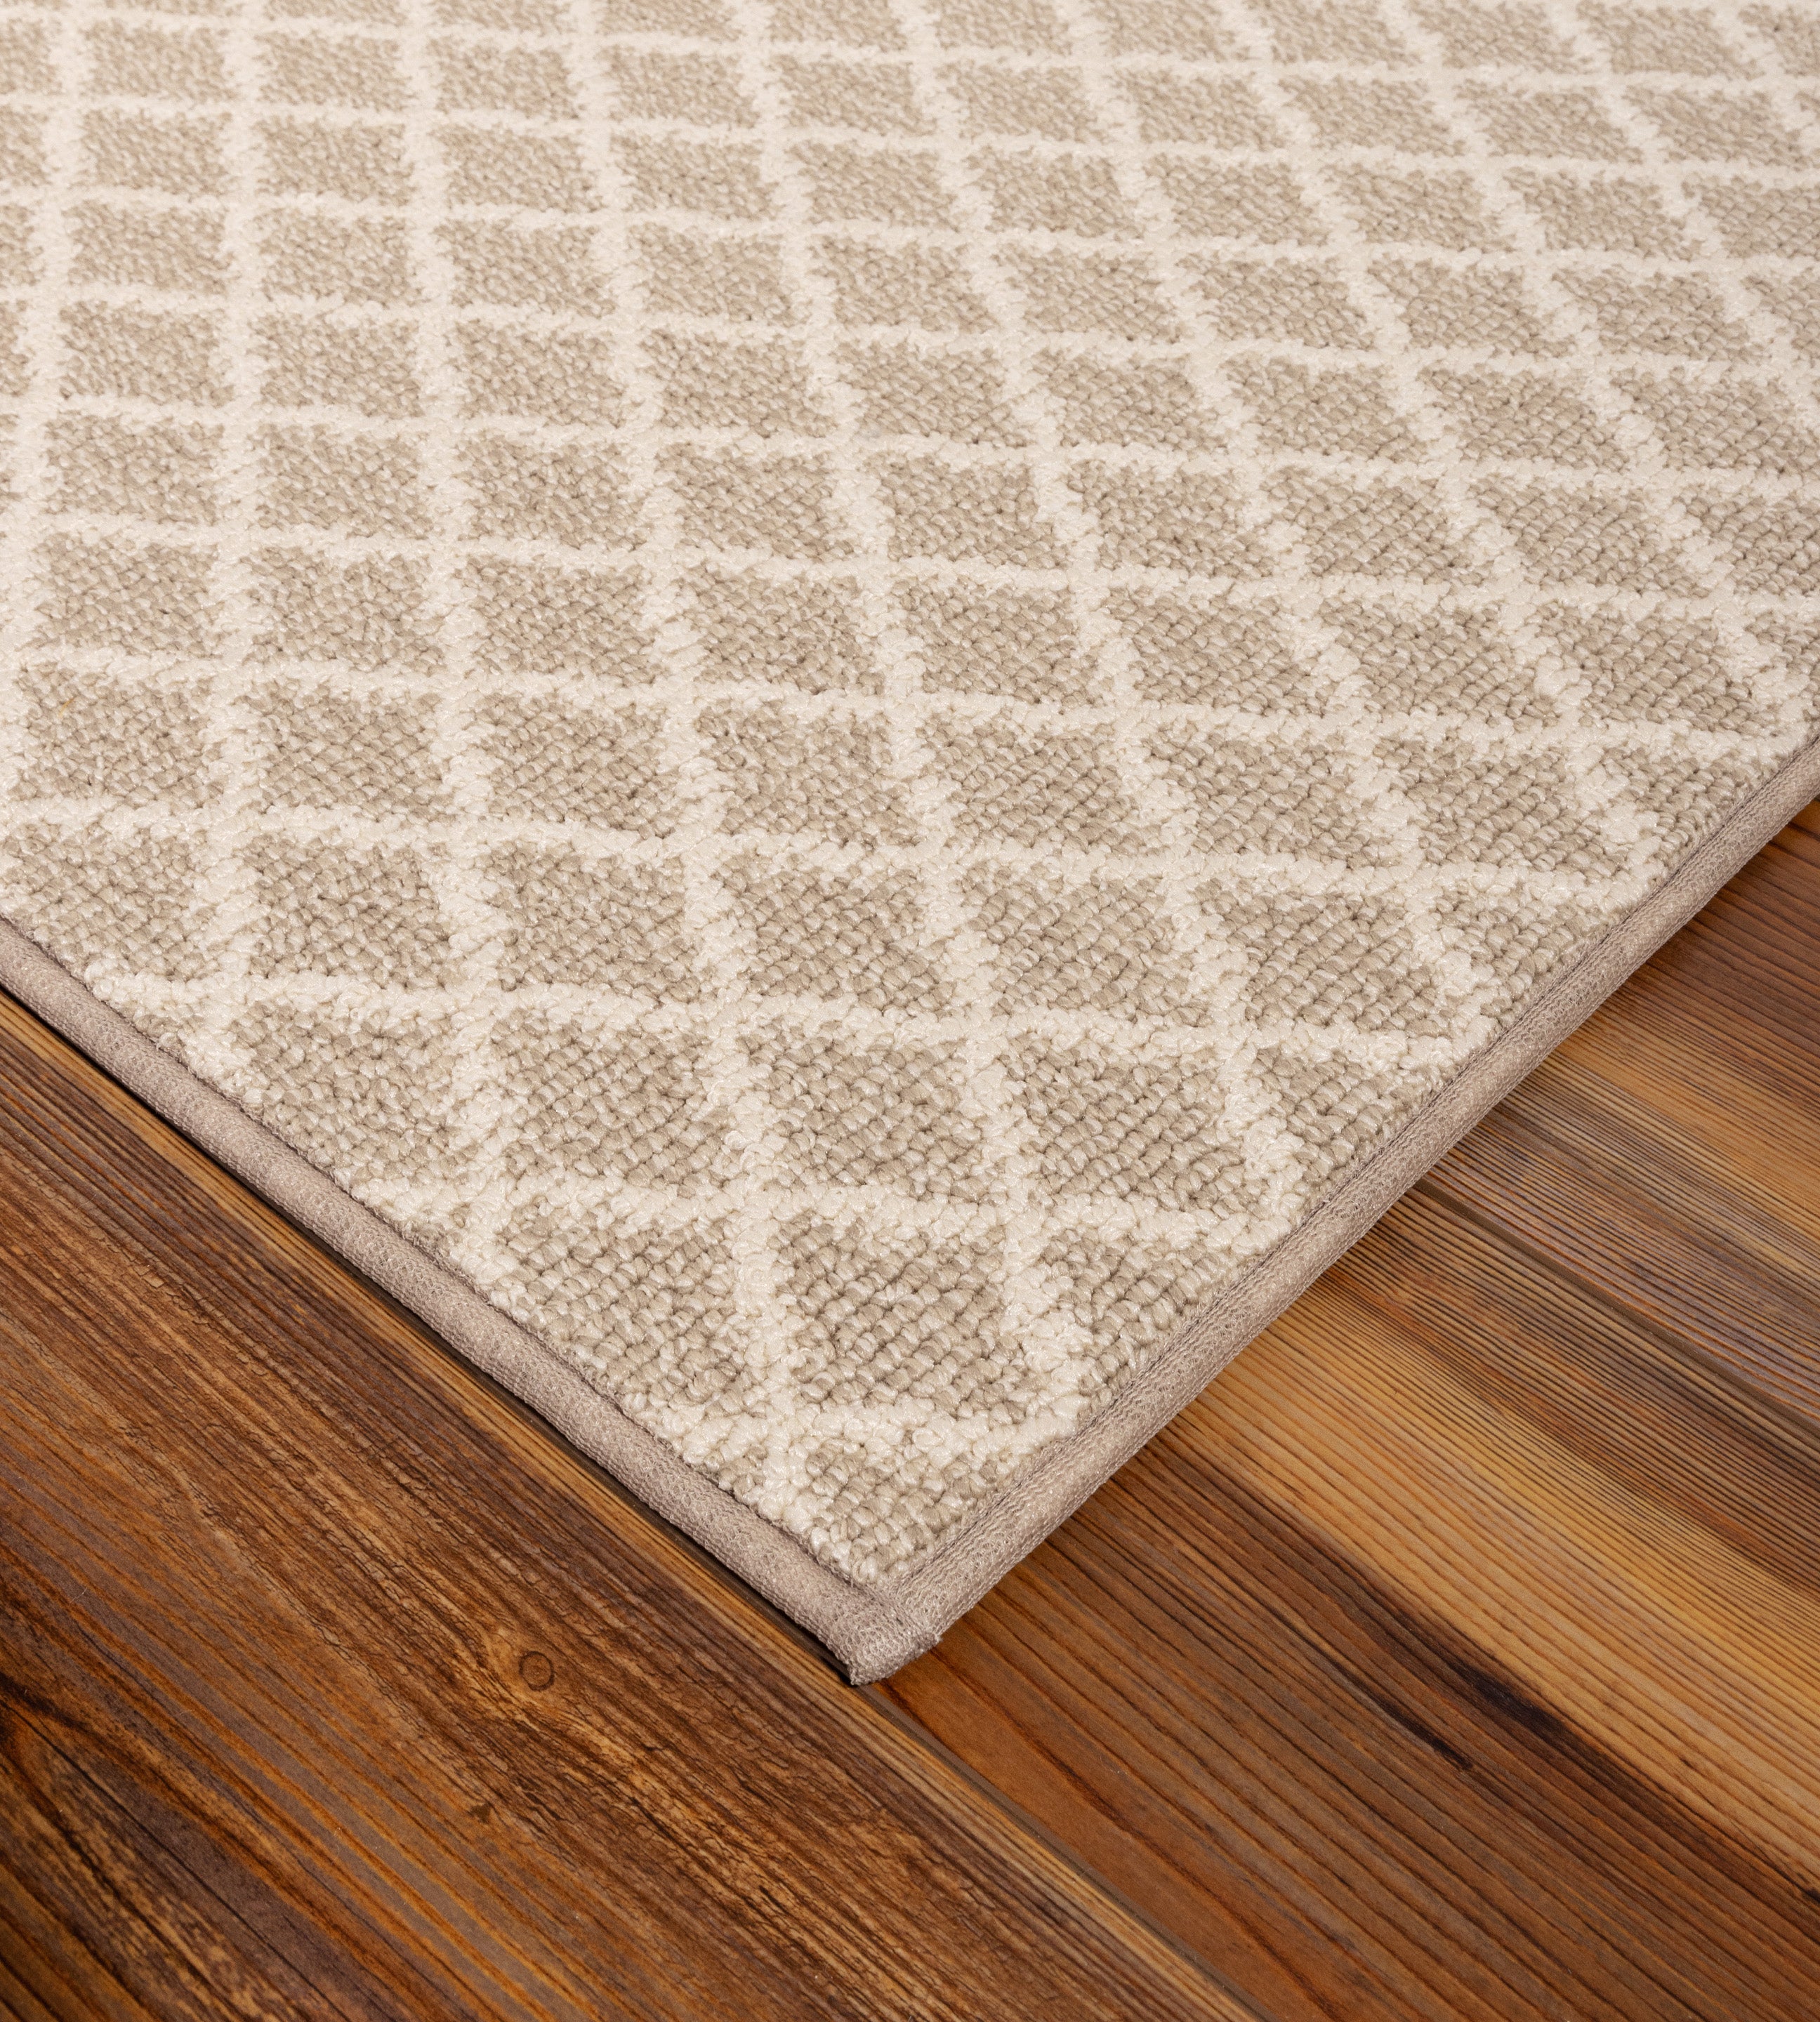
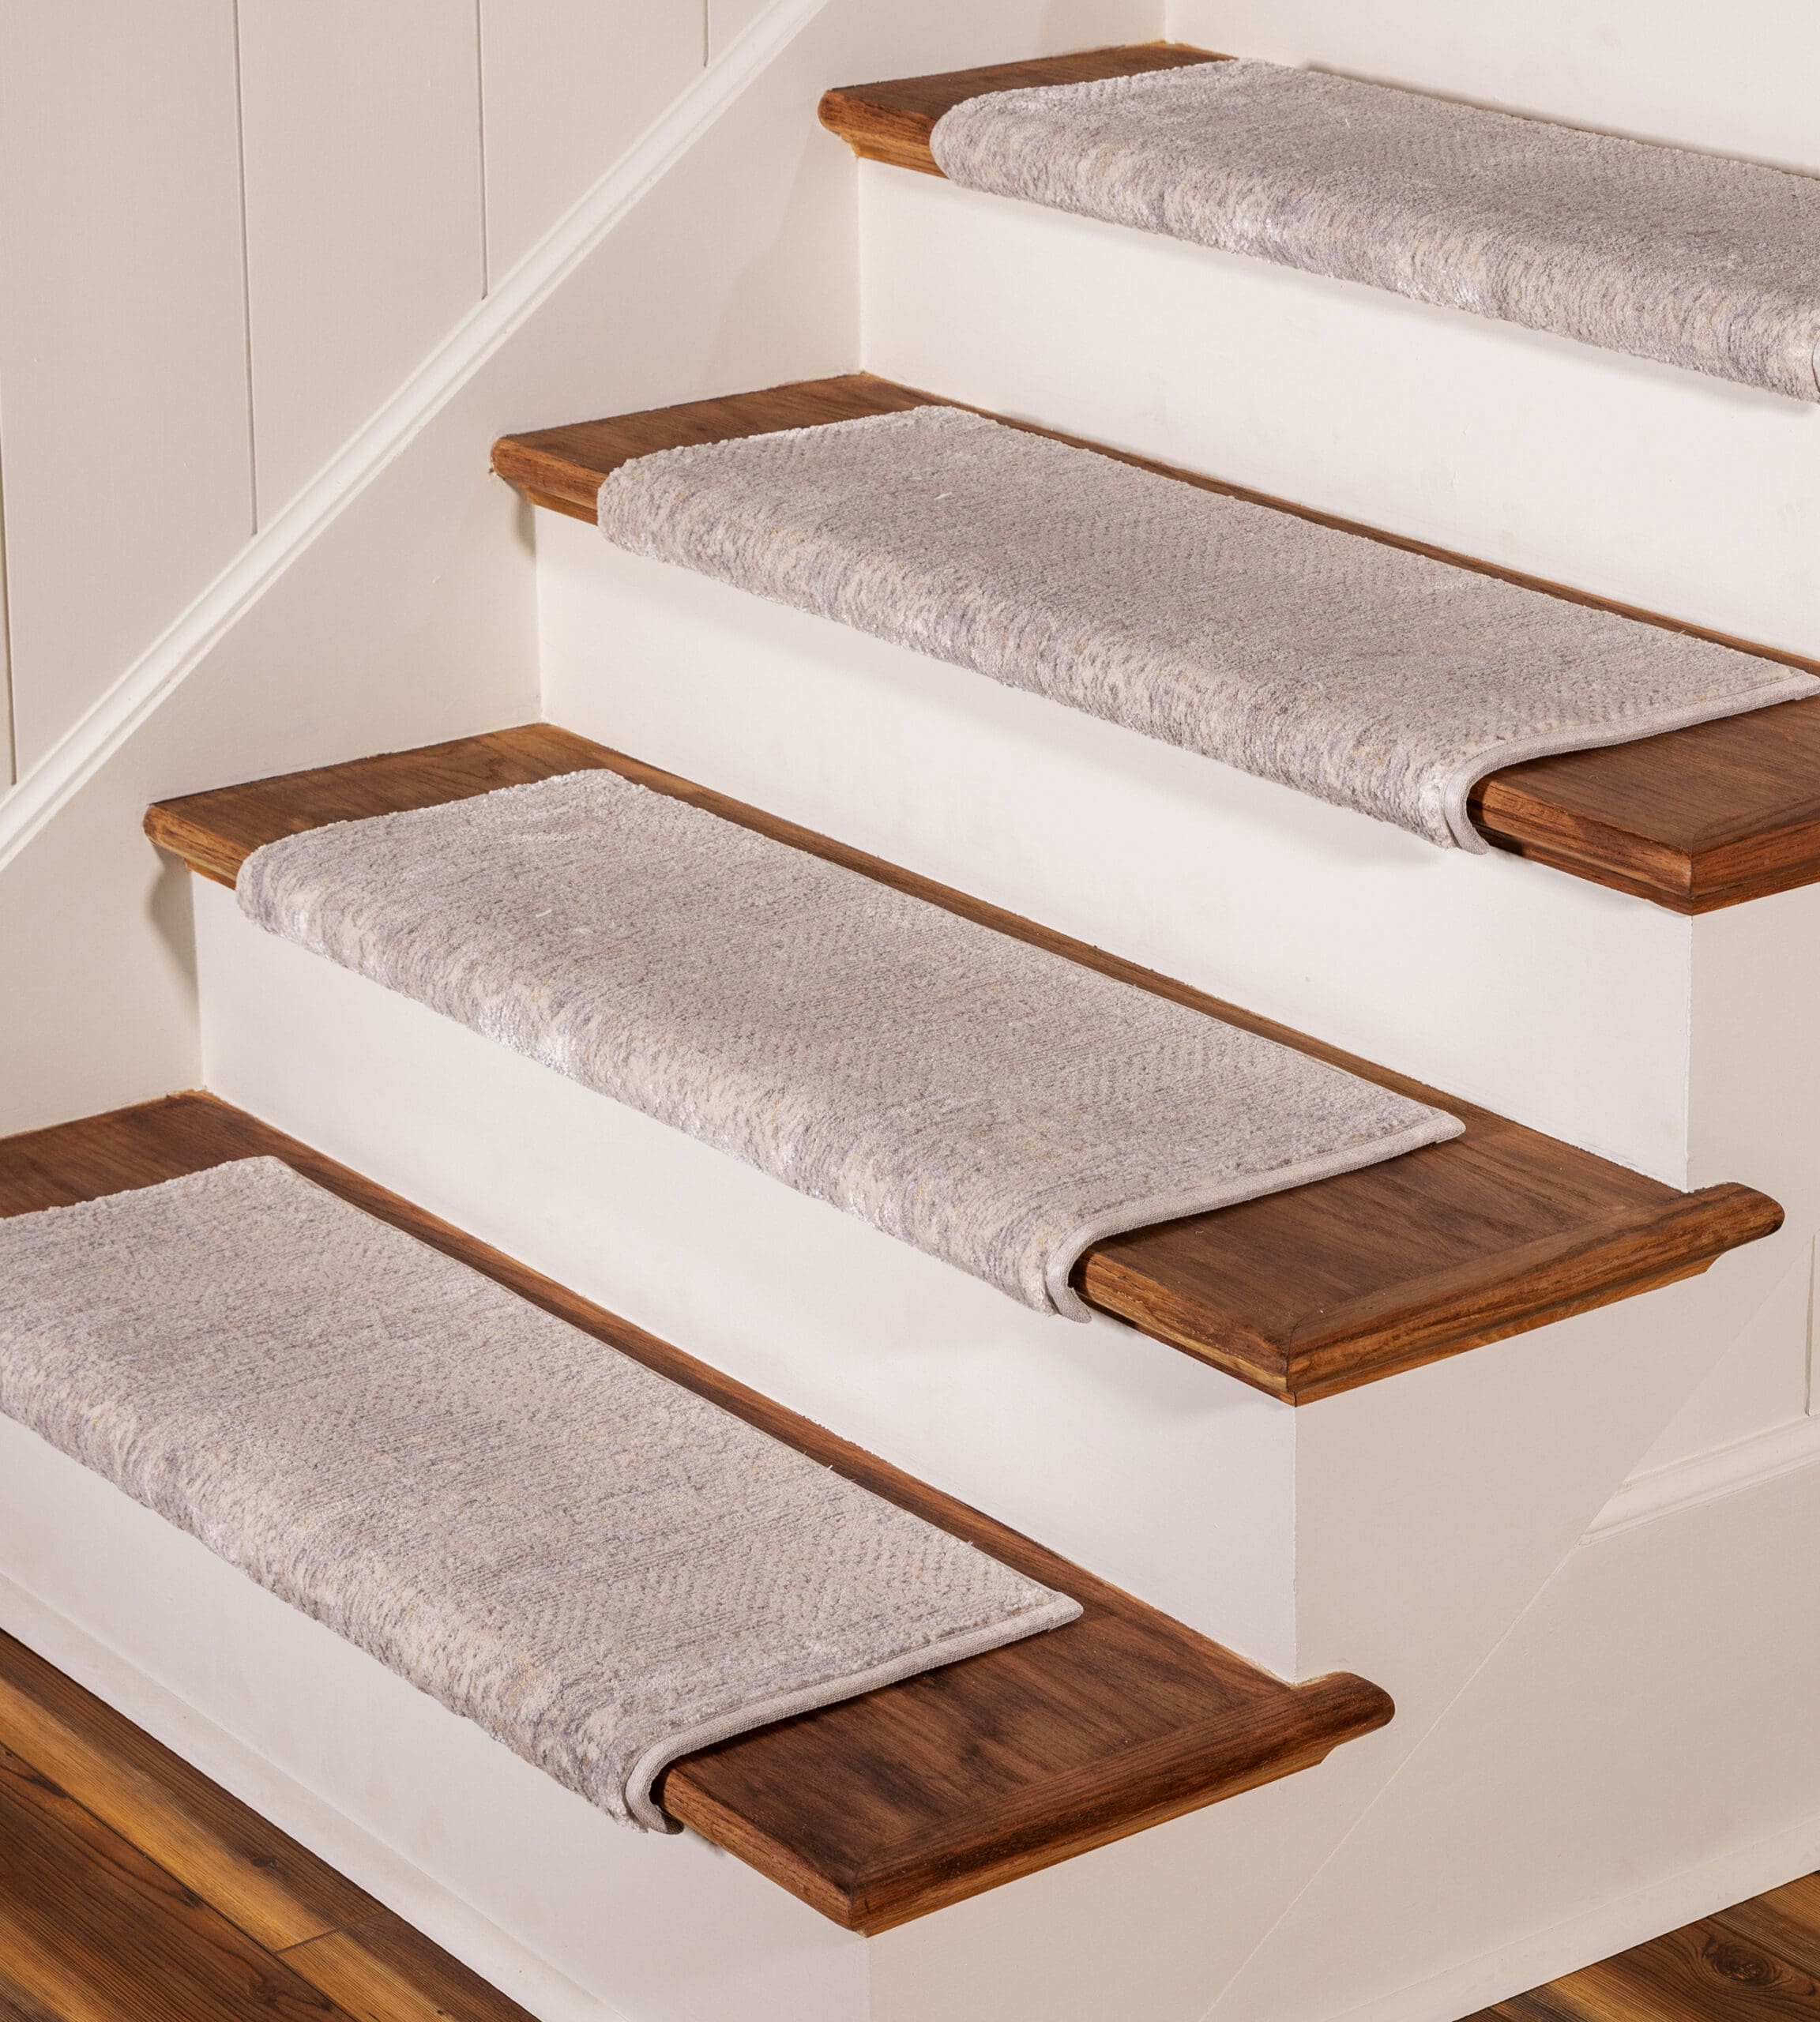
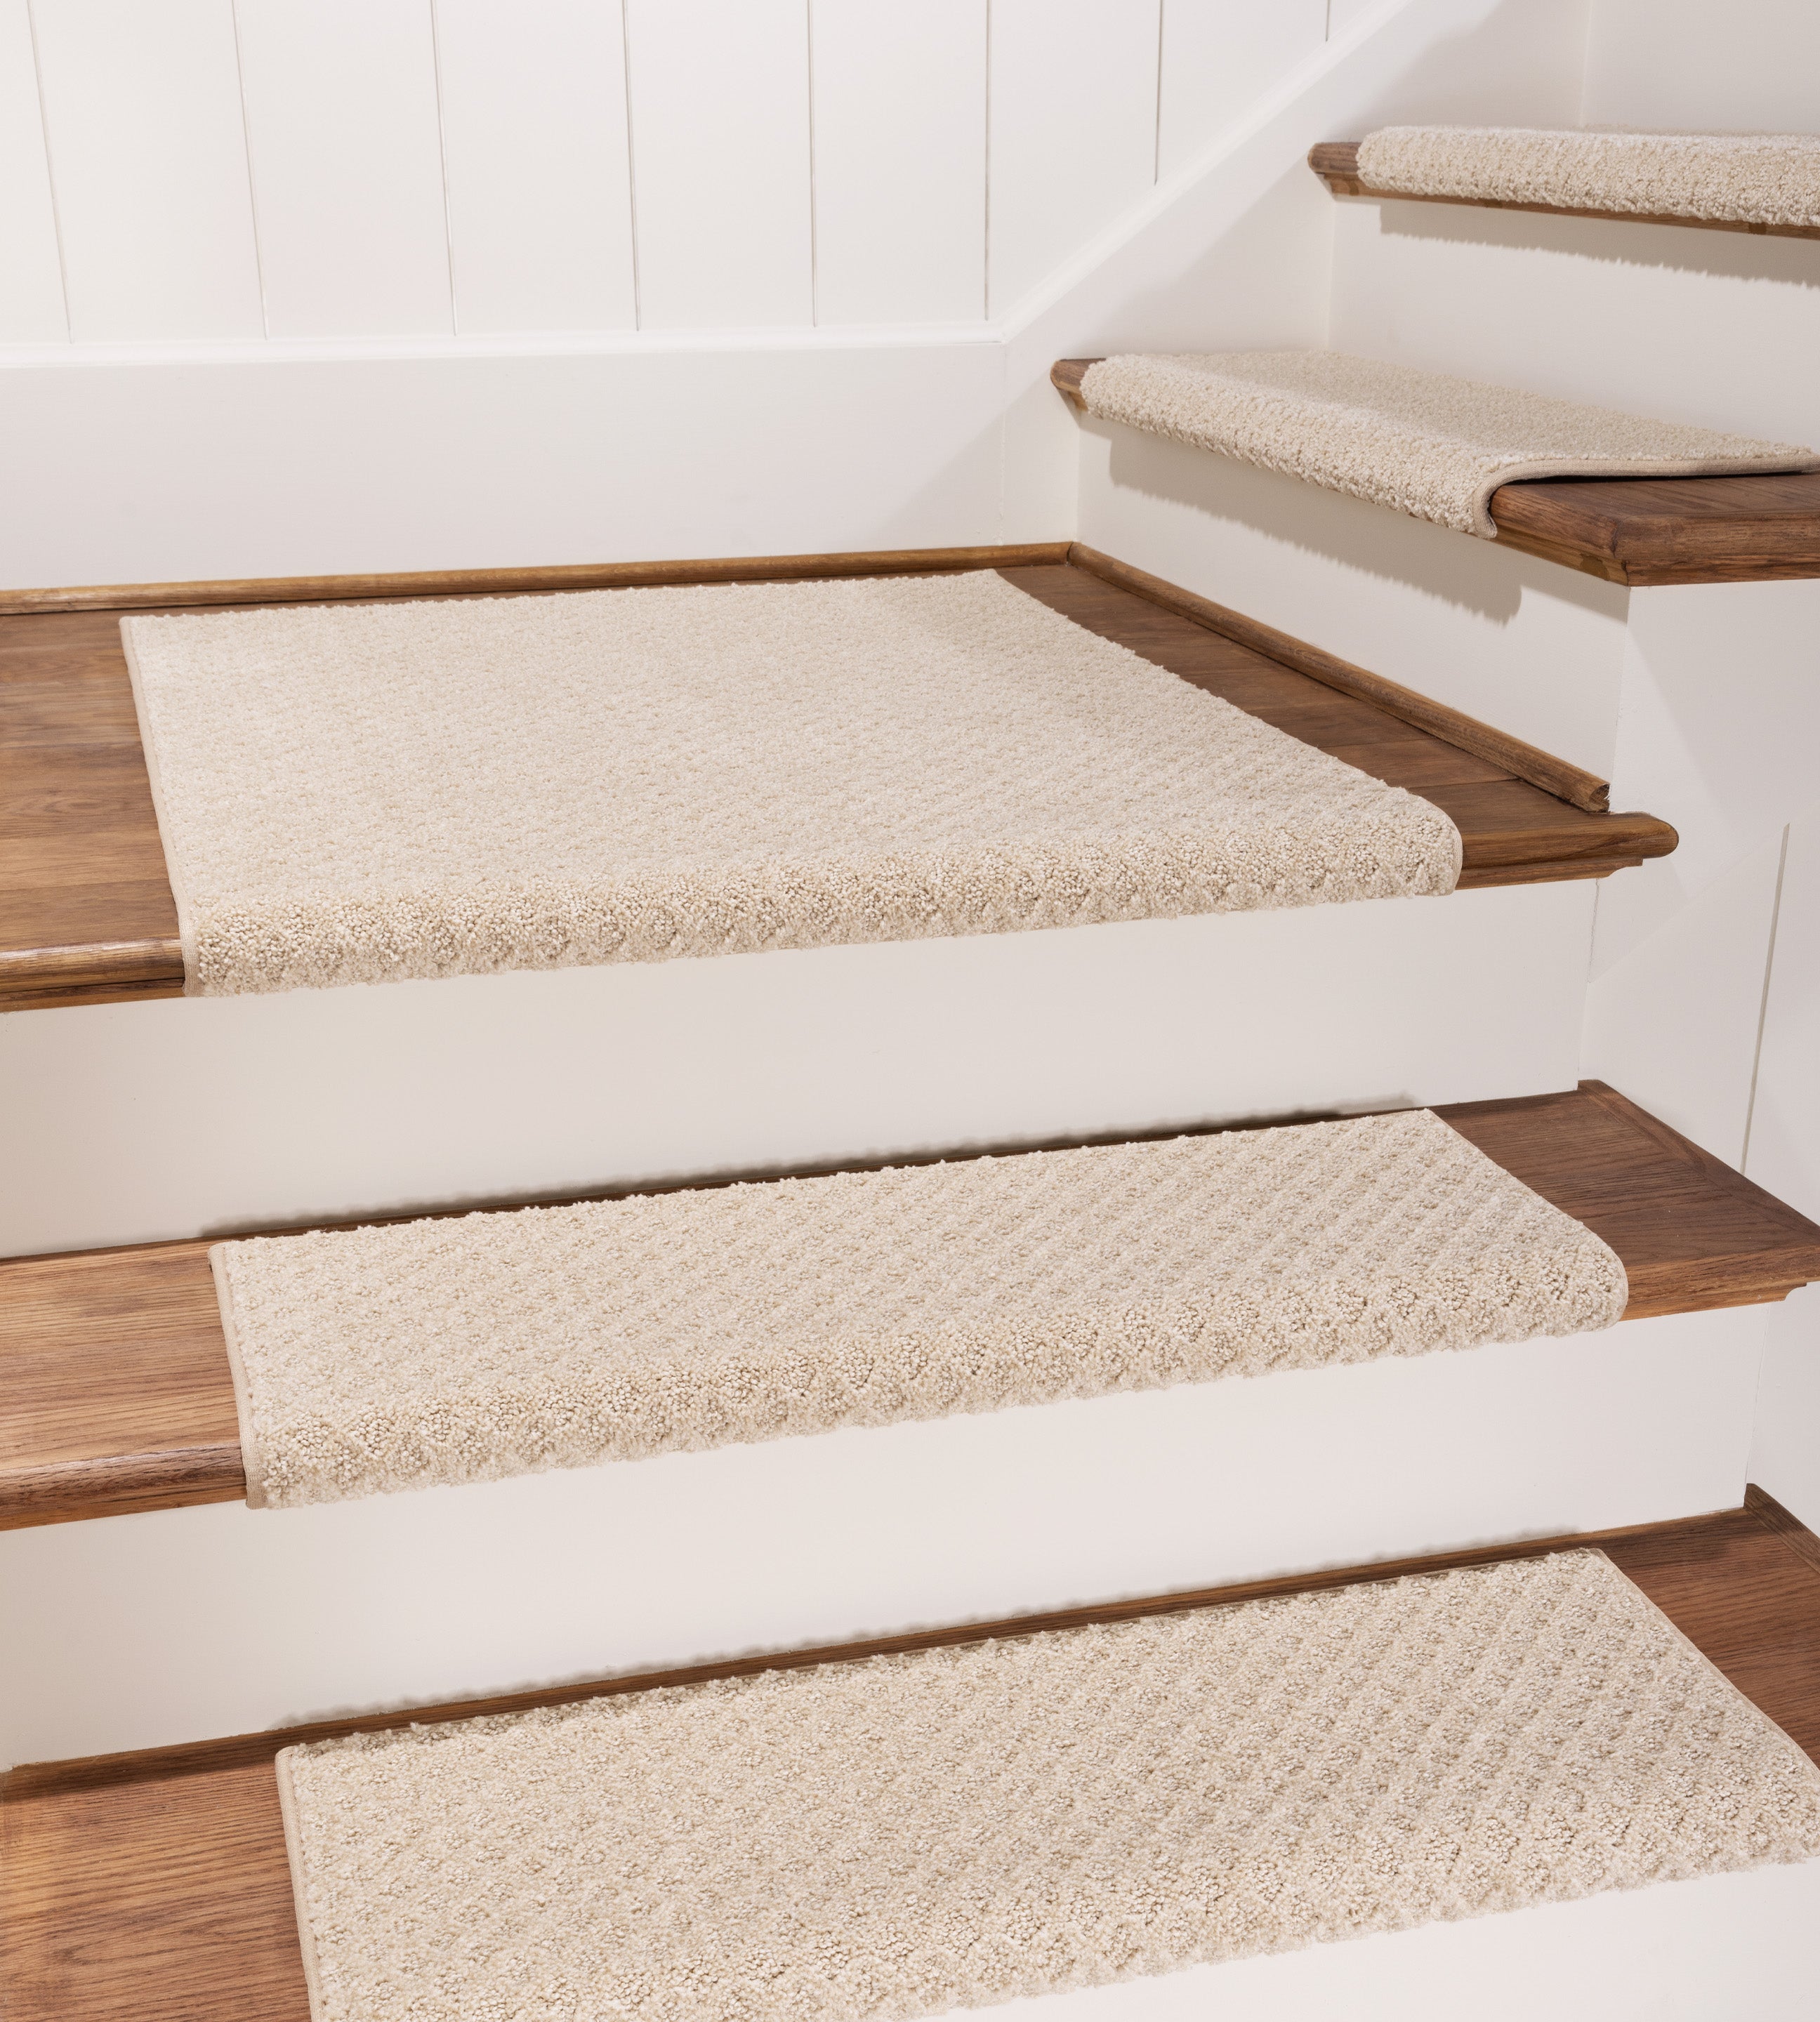
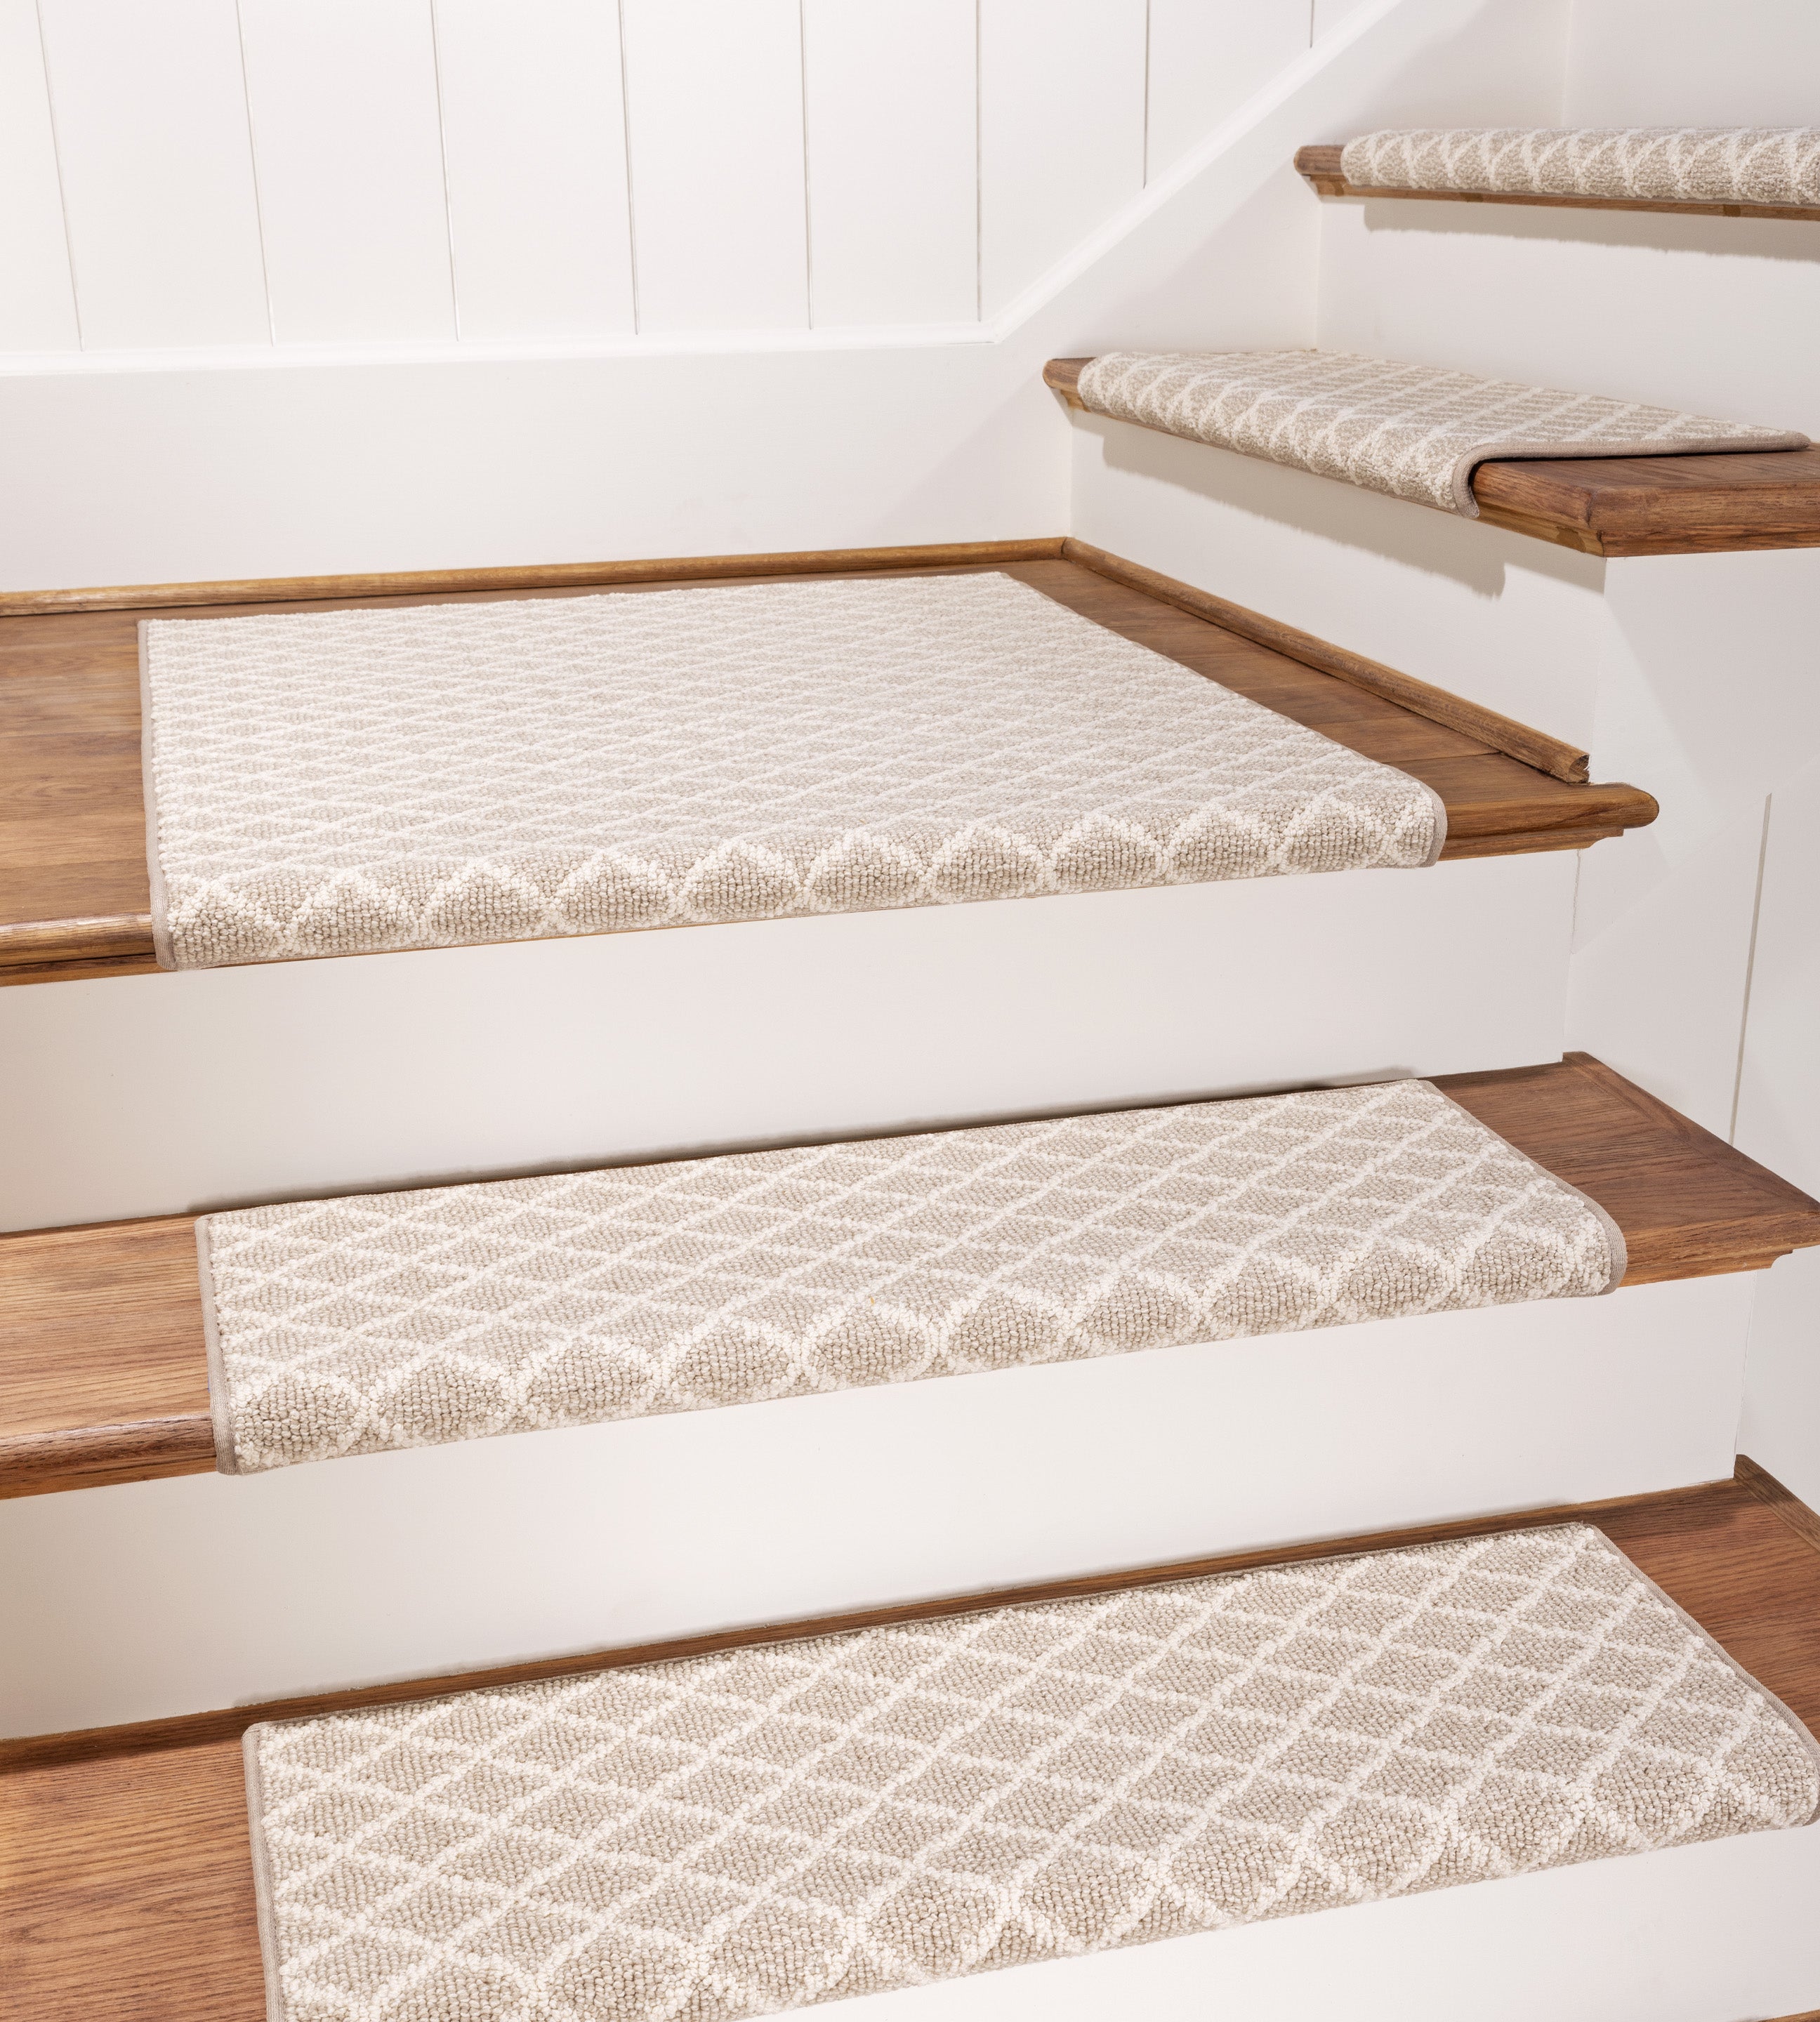
Choosing the Right Carpet Treads
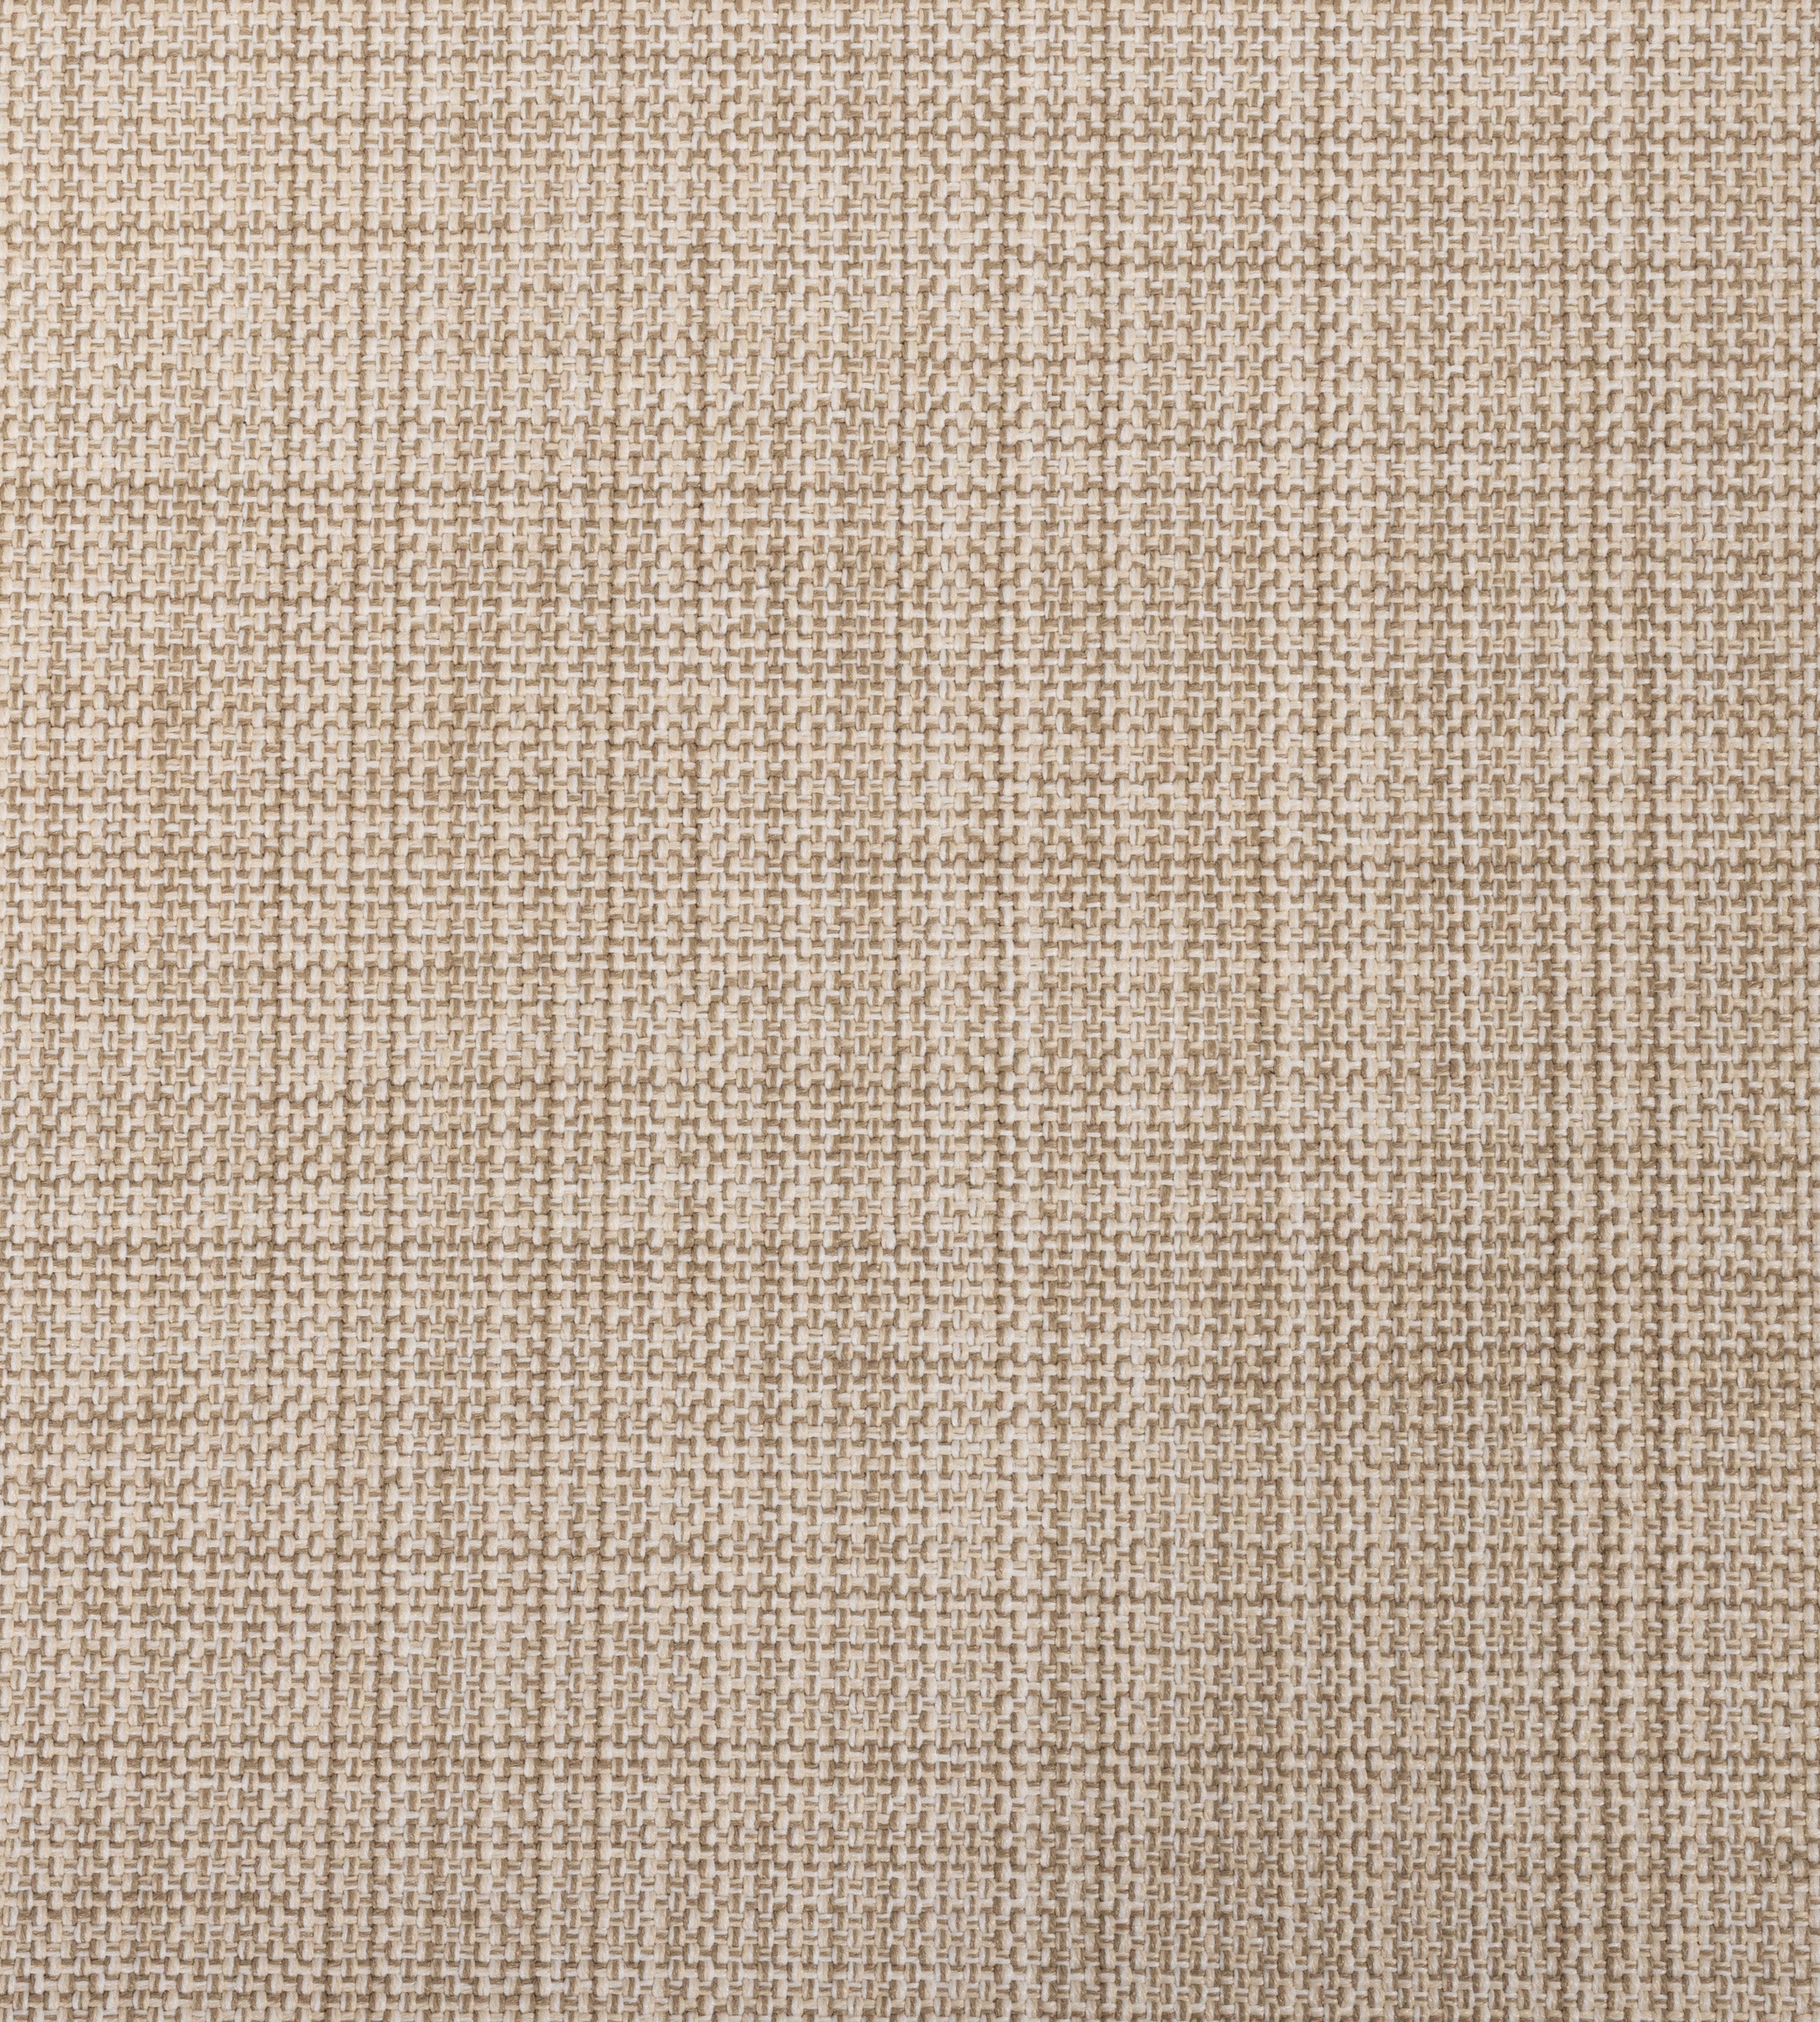
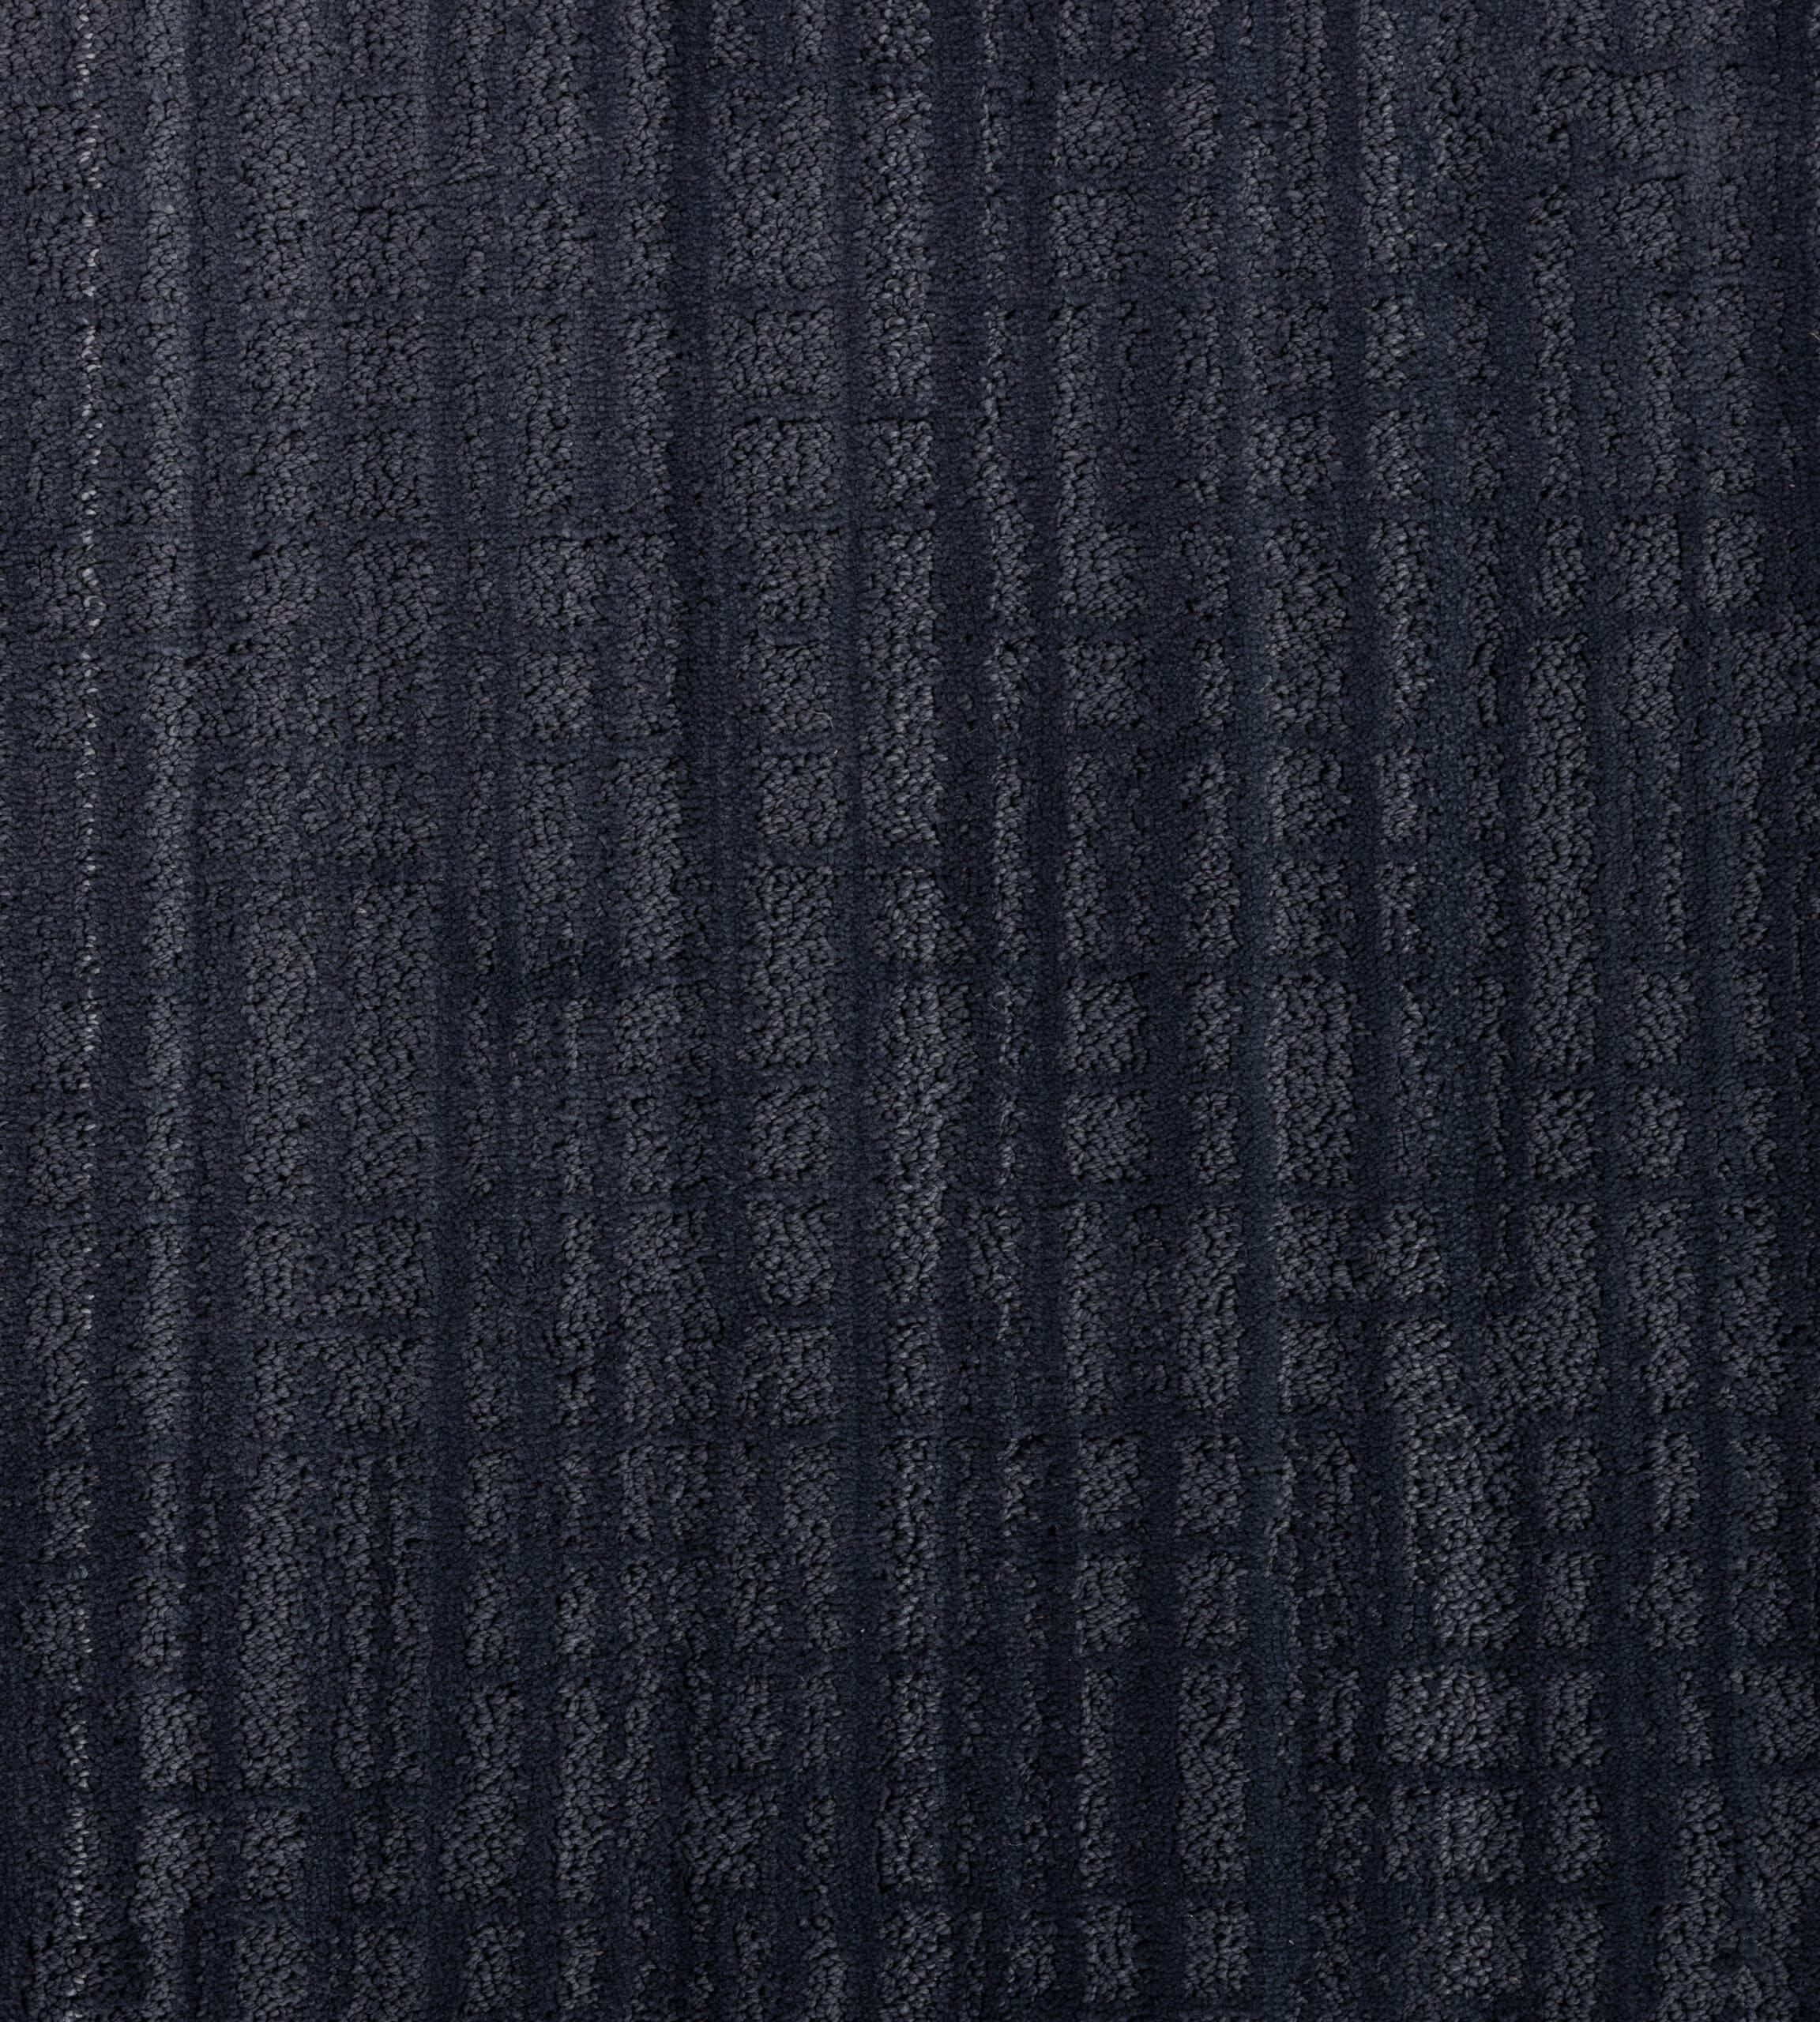
When selecting carpet treads for your stairs, consider factors such as material, color, and design. Opt for treads that not only complement your interior decor but also provide traction and comfort for safe use.
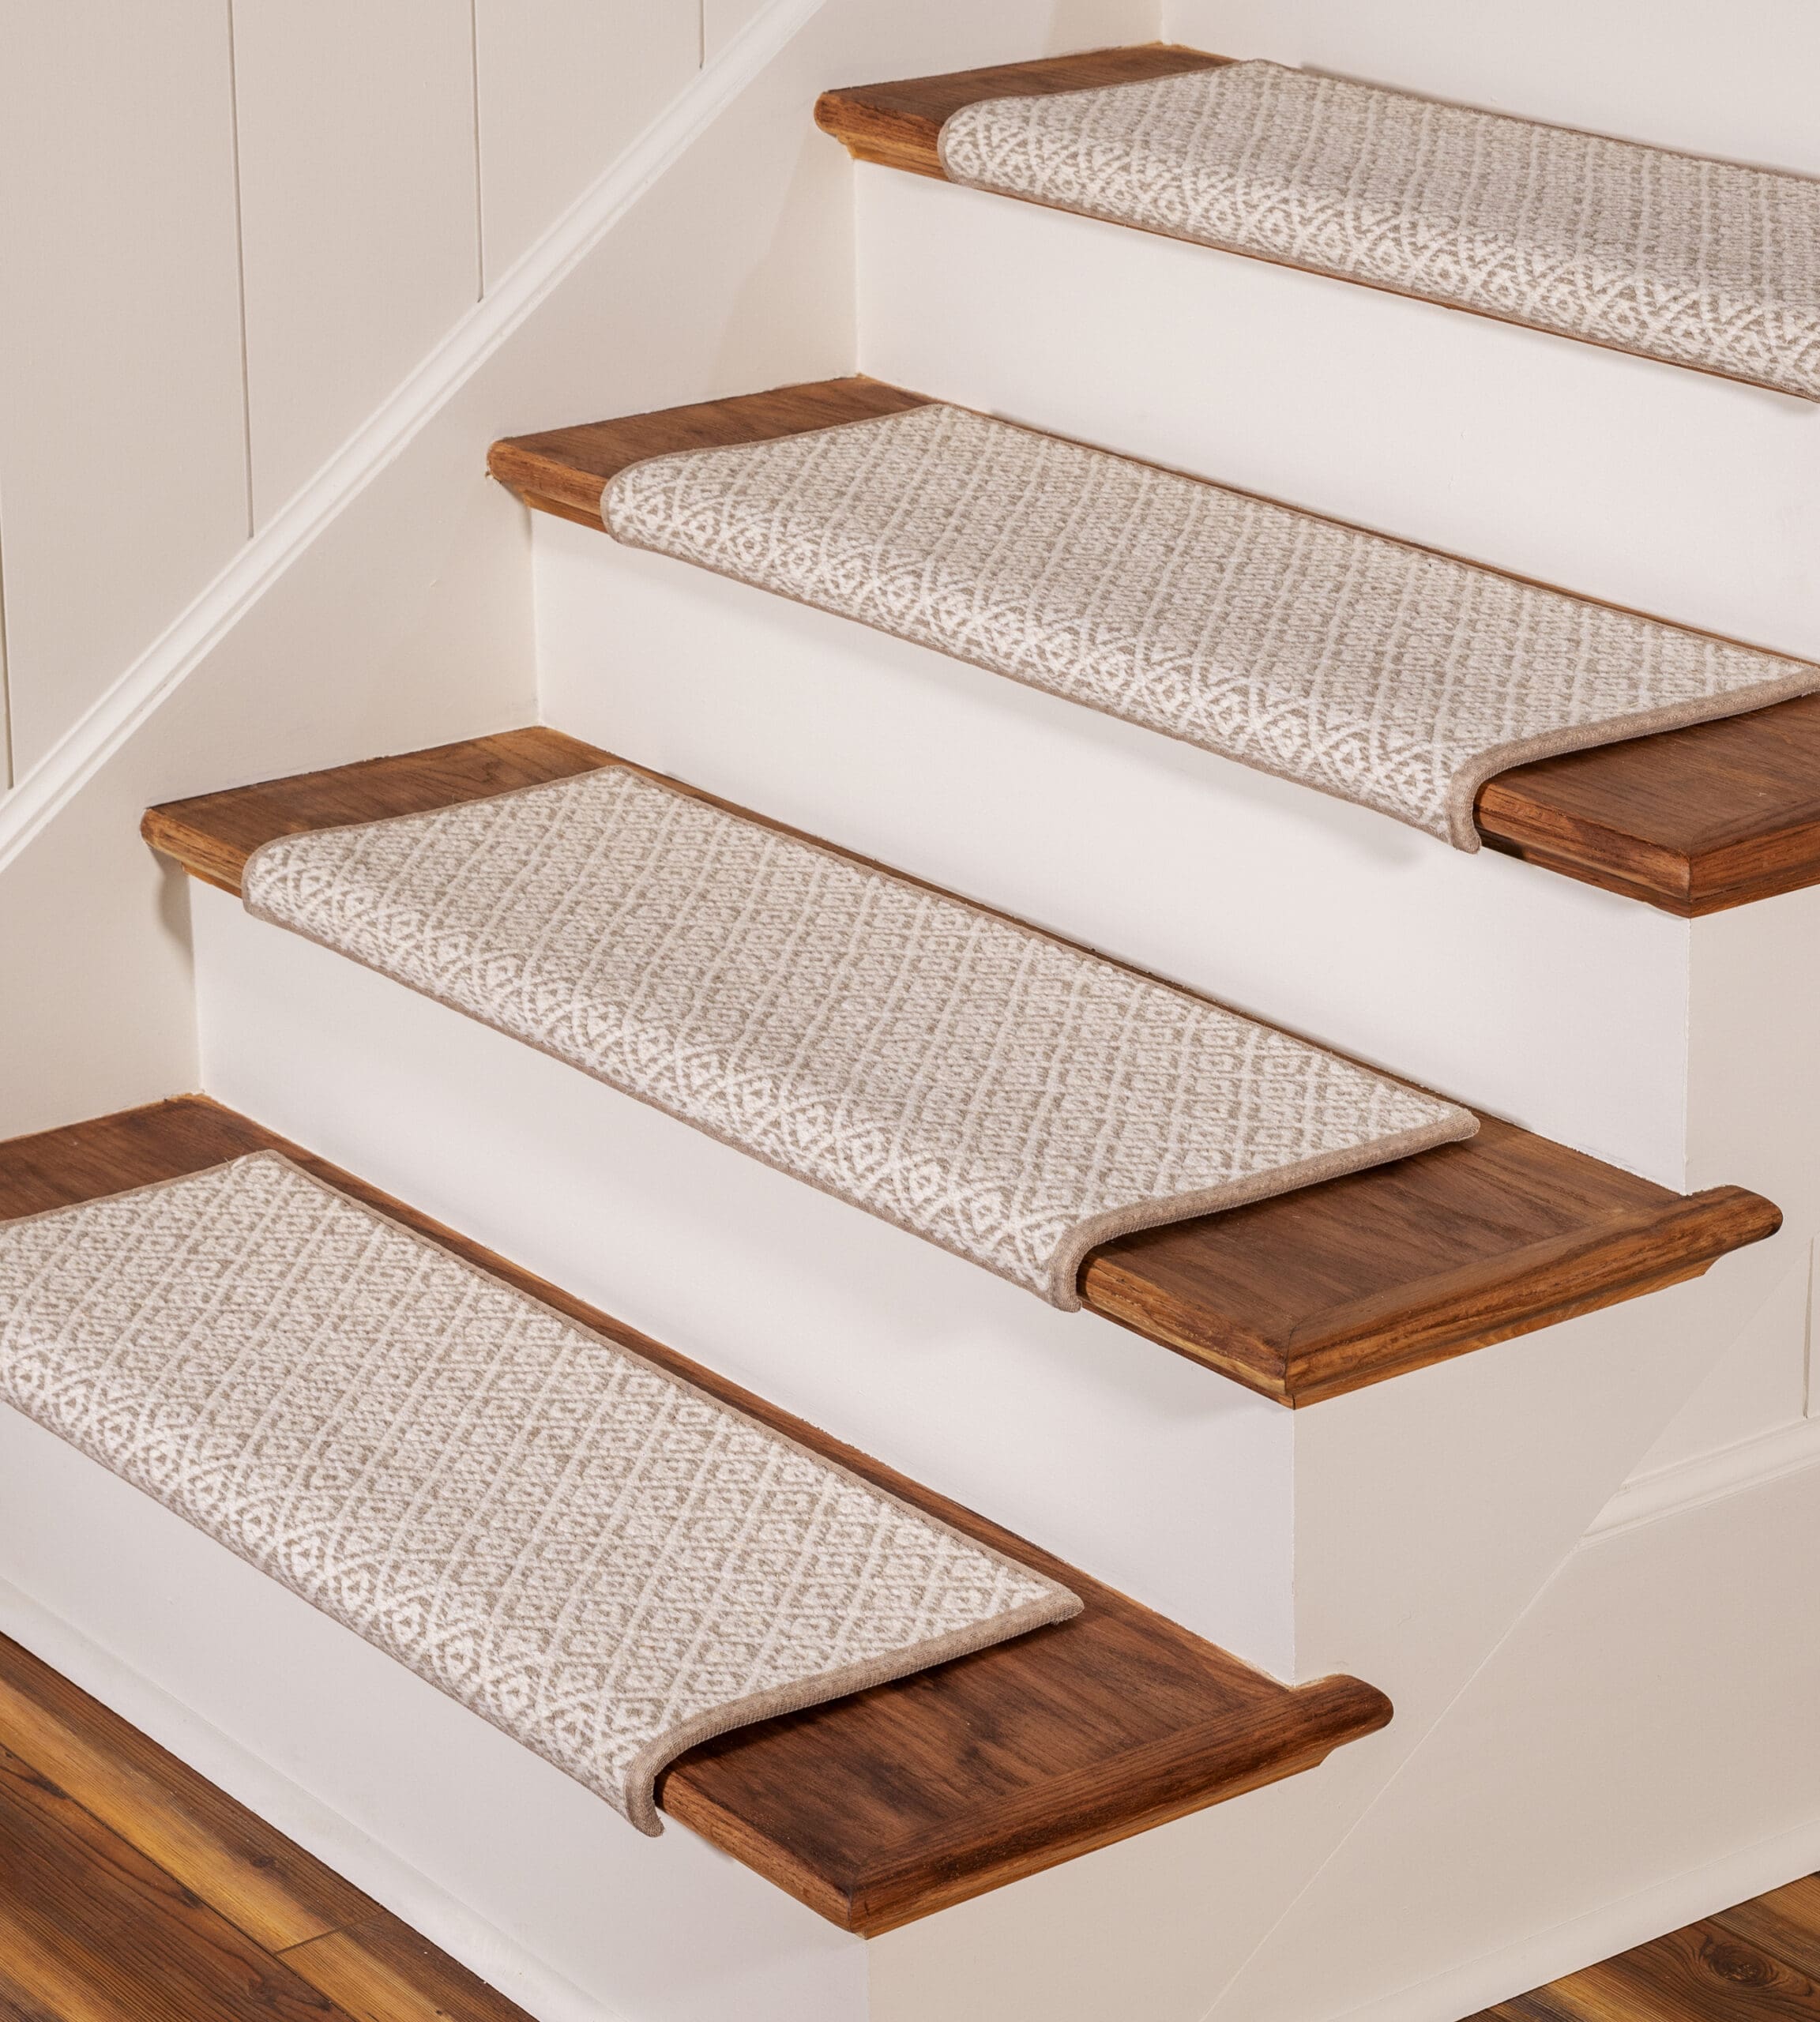
Measuring and Cutting the Treads to Fit
Carefully measure each stair tread and cut the carpet to fit using a sharp utility knife. Take precise measurements to ensure a snug and secure fit for each tread.
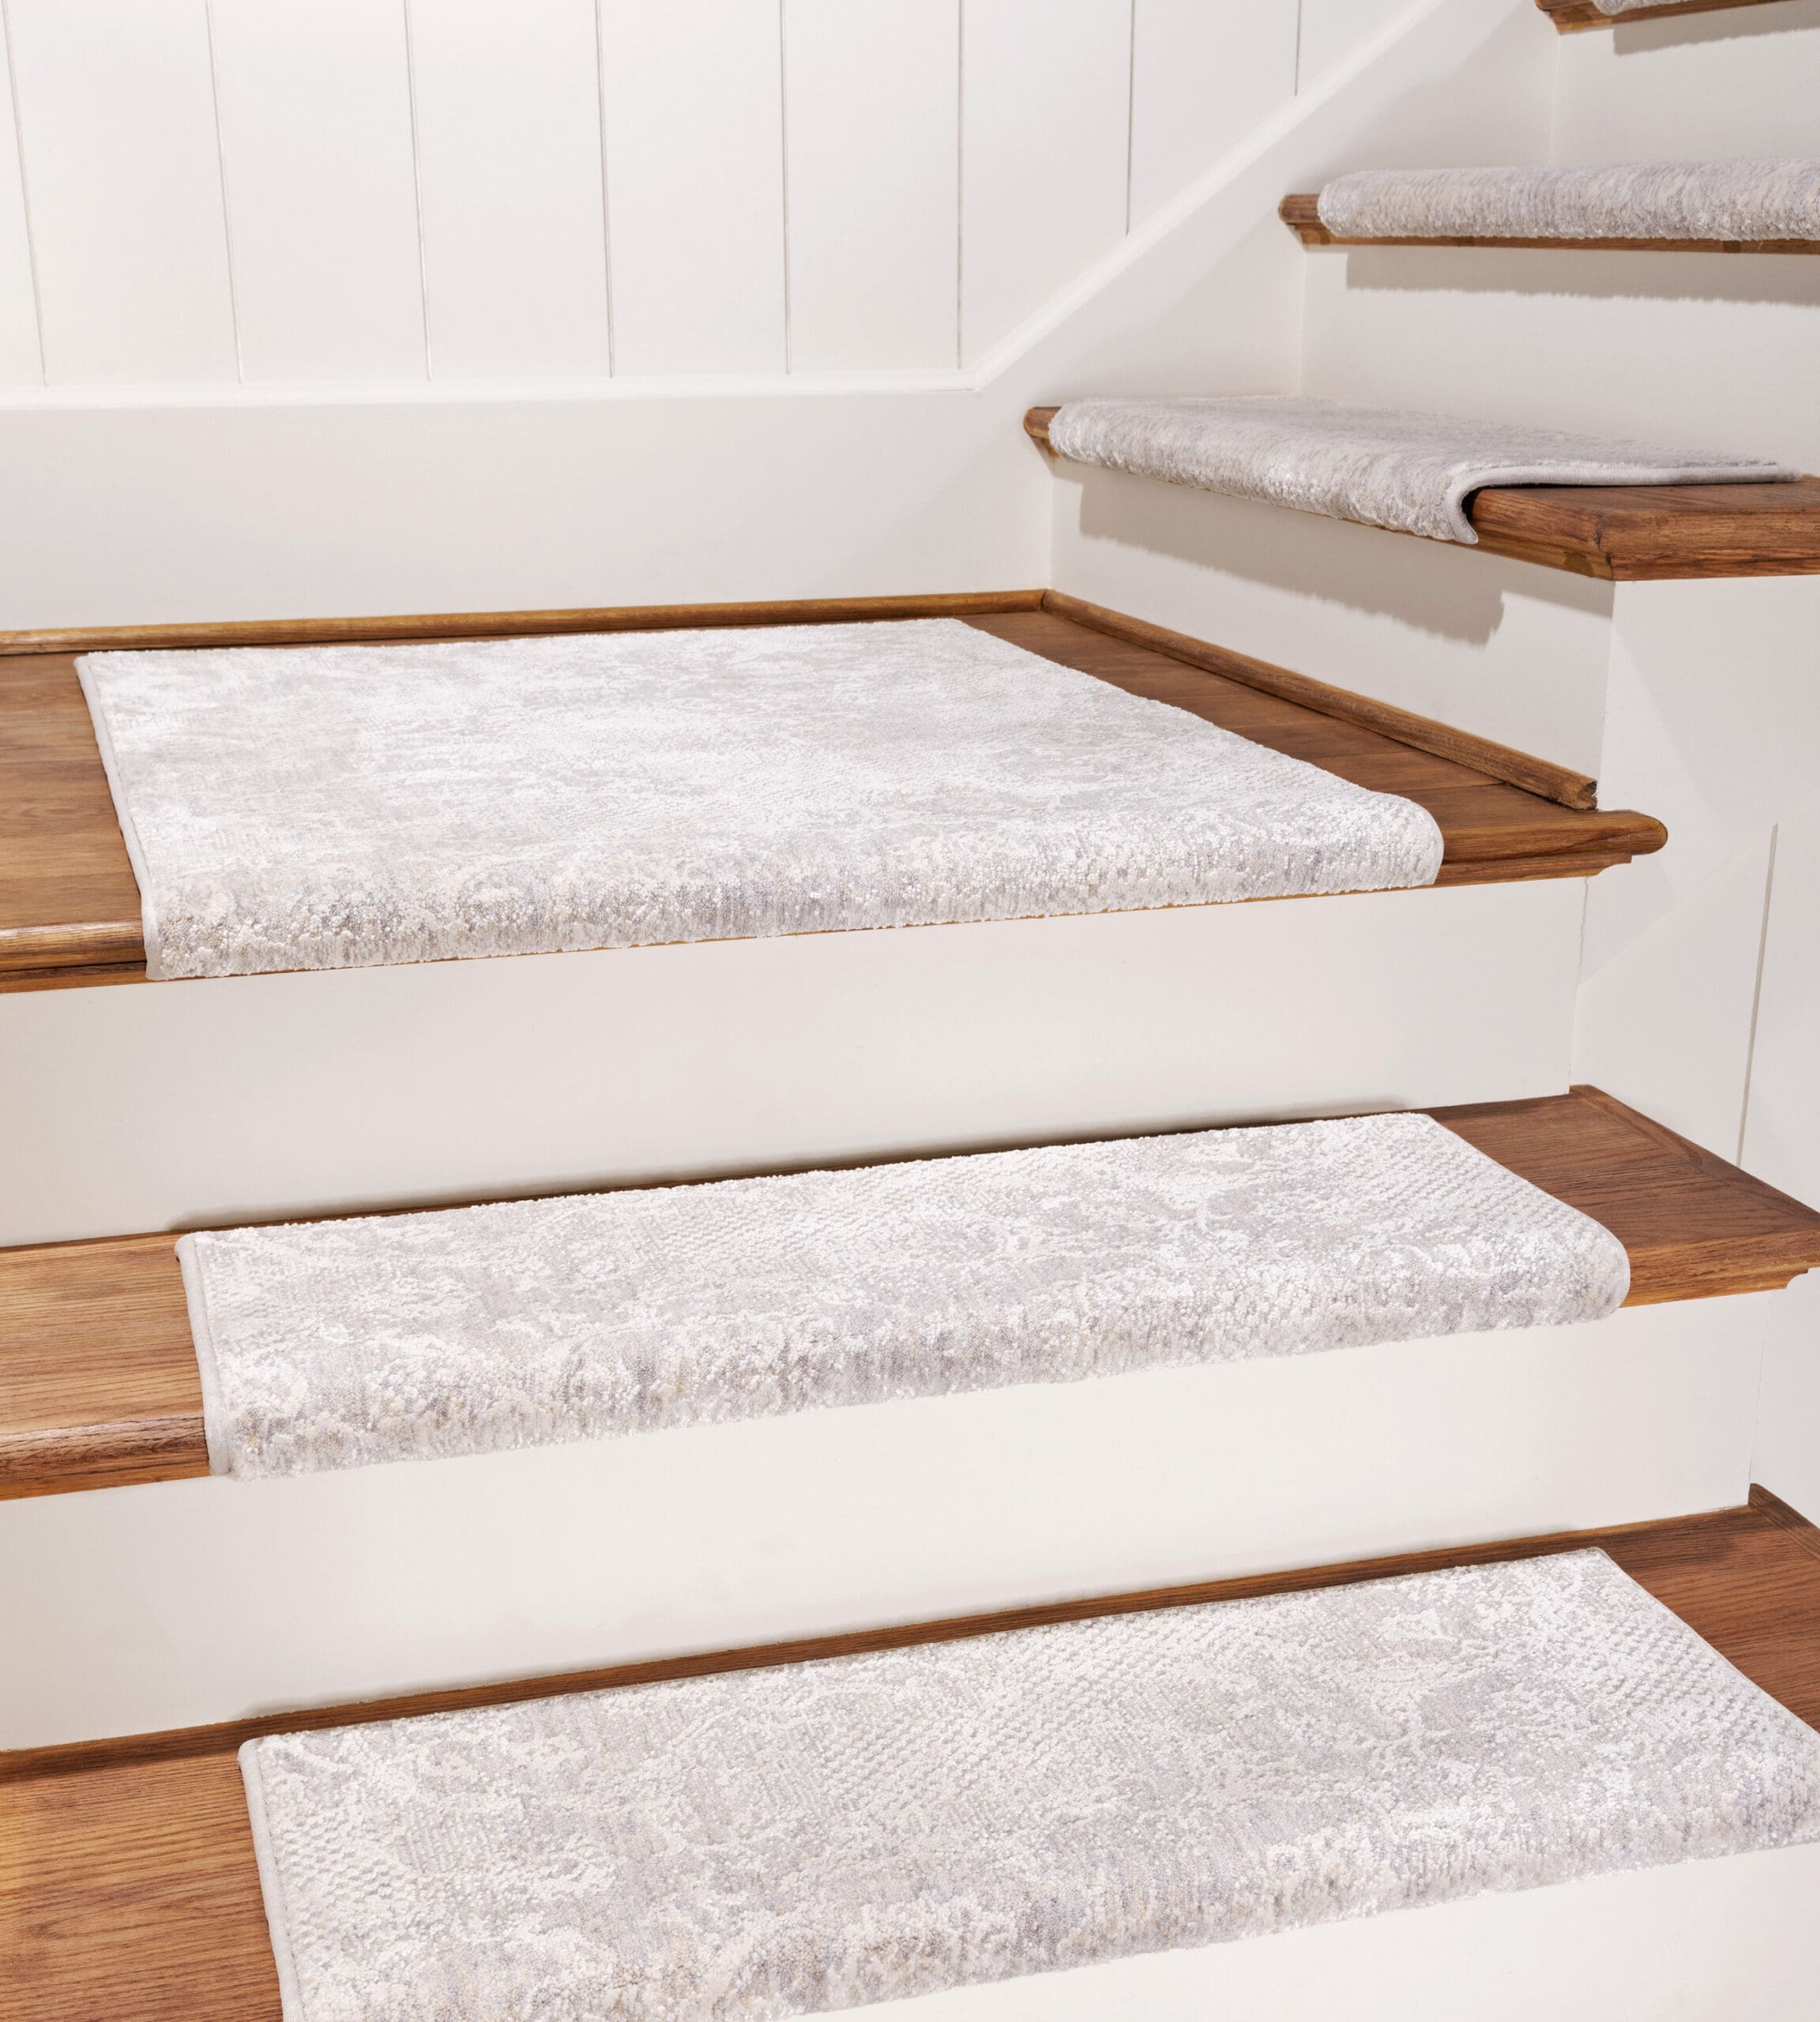
Attaching the Treads Securely to the Stairs
Using adhesive stair risers, securely attach the carpet treads to the stairs. Ensure that each tread is properly aligned and firmly pressed onto the surface for a secure installation.
Step 5
Selecting a Suitable Railing Design
If you are also doing a diy stair railing remodel explore various railing designs to find one that suits your style and complements the overall aesthetic of your home. Consider factors such as material, color, and architectural compatibility when choosing a new railing.
Removing the Old Railing (If Applicable)
If your staircase has an existing railing that needs to be replaced, carefully remove it using the appropriate tools and techniques. Take care to avoid causing damage to the surrounding structure during the removal process.
Installing the New Railing Securely and Aesthetically
Once the old railing is removed, install the new railing securely and aesthetically. Ensure that the railing is properly aligned and anchored to provide stability and support for safe use.
Step 6
Applying a Fresh Coat of Paint or Stain to the Staircase
To complete the DIY staircase makeover, consider applying a fresh coat of paint or stain to the staircase. Choose a color that complements your interior decor and enhances the overall visual appeal of the staircase.
Adding Decorative Elements for a Polished Look
Enhance the aesthetic of your remodeled staircase by adding decorative elements such as wall art, potted plants, or accent lighting. These finishing touches can elevate the overall look and create a polished, inviting atmosphere.
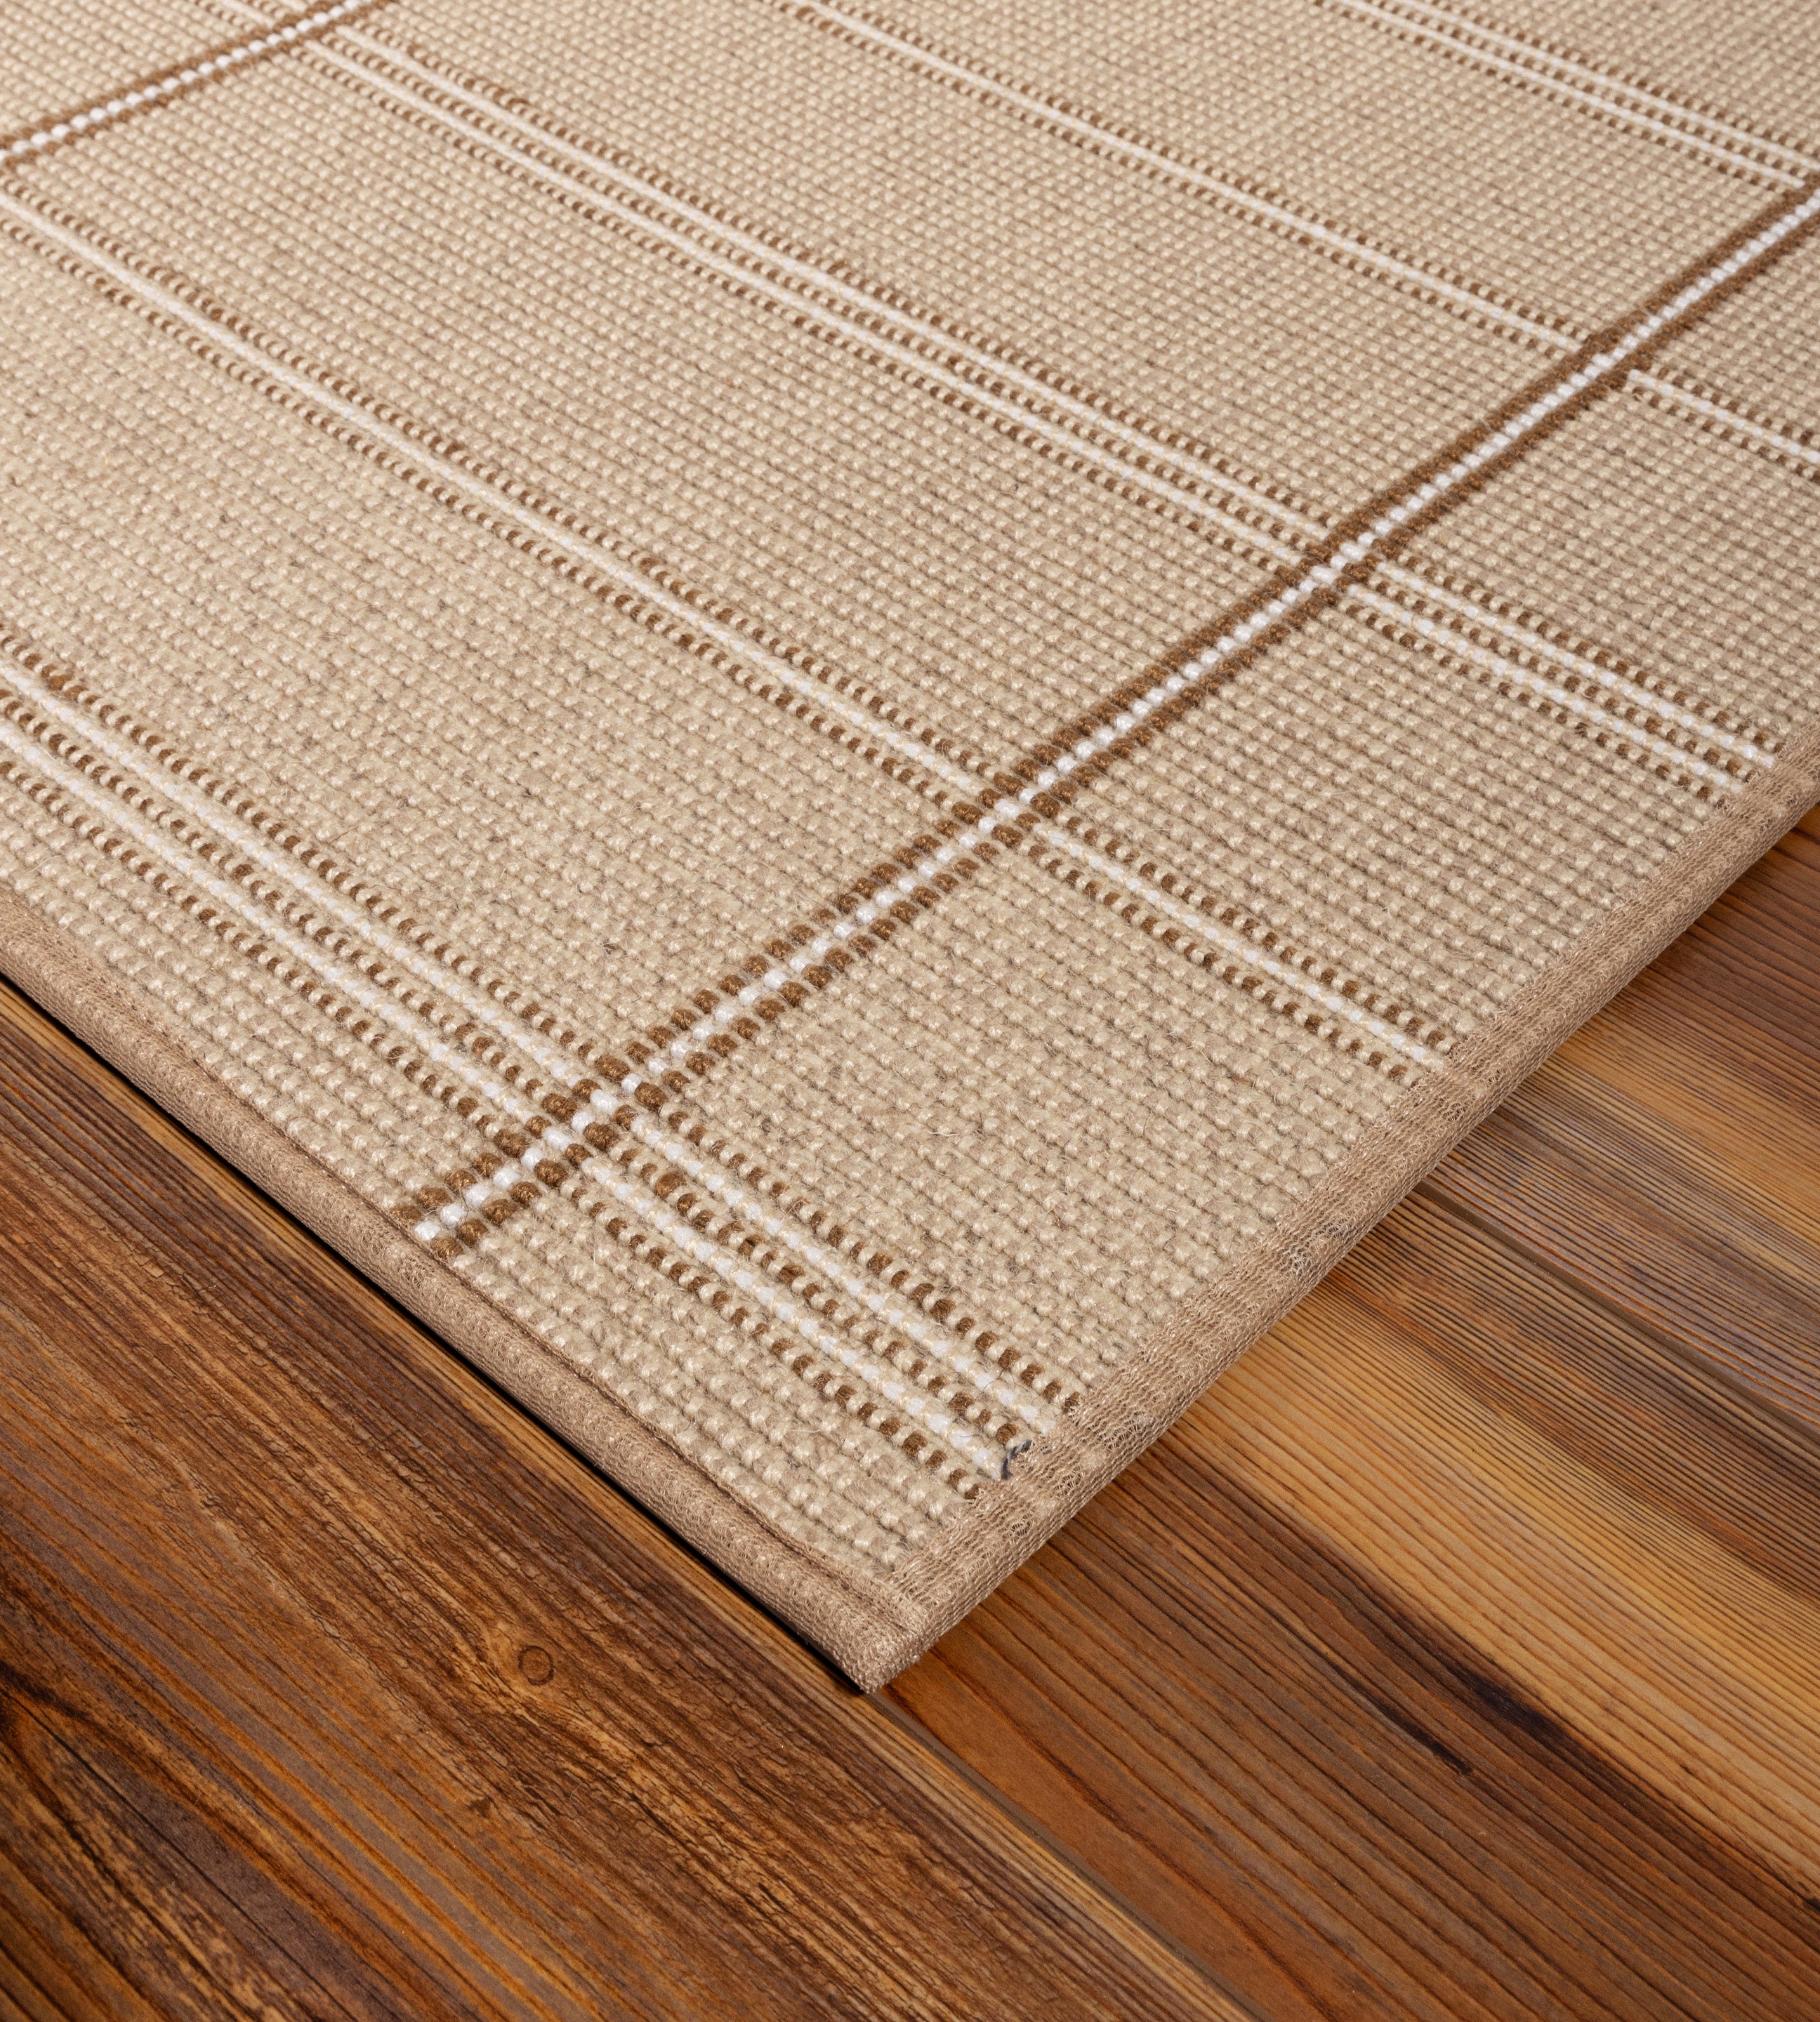
Tips for Maintaining the Newly Remodeled Stairs
After completing the DIY stair remodel, implement a regular maintenance routine to preserve the beauty and functionality of your newly remodeled stairs. Consider using carpet runner indoor outdoor to protect the treads and prevent excessive wear.
Conclusion
In conclusion, a DIY stair remodel is a rewarding project that can significantly enhance the visual appeal of your home. By following the step-by-step guide provided in this article, you can transform your old, carpeted stairs into a stunning focal point that adds value and style to your interior space. Encouraging readers to take on their own staircase upgrade, the impact of a stunning staircase cannot be overstated. Whether you’re looking to create a grand entrance in your foyer or add a touch of elegance to your bedroom, a well-designed staircase can make a lasting impression.